

It's official: I am now turning to Michelle for all of my yeasty dough endeavors. You might recall that it was Michelle's recipe that restored my faith in homemade hamburger buns. Now she's done it again, and this time it's pizza dough.
I've posted a recipe before--it's not worth linking to it now--but my feelings about it were lukewarm at best. What I really wanted was a chewy, substantial crust with great flavor and not too much bulk. I thought that I simply couldn't get it at home, at least not without building a dedicated pizza oven on my tiny little back patio. I was wrong. 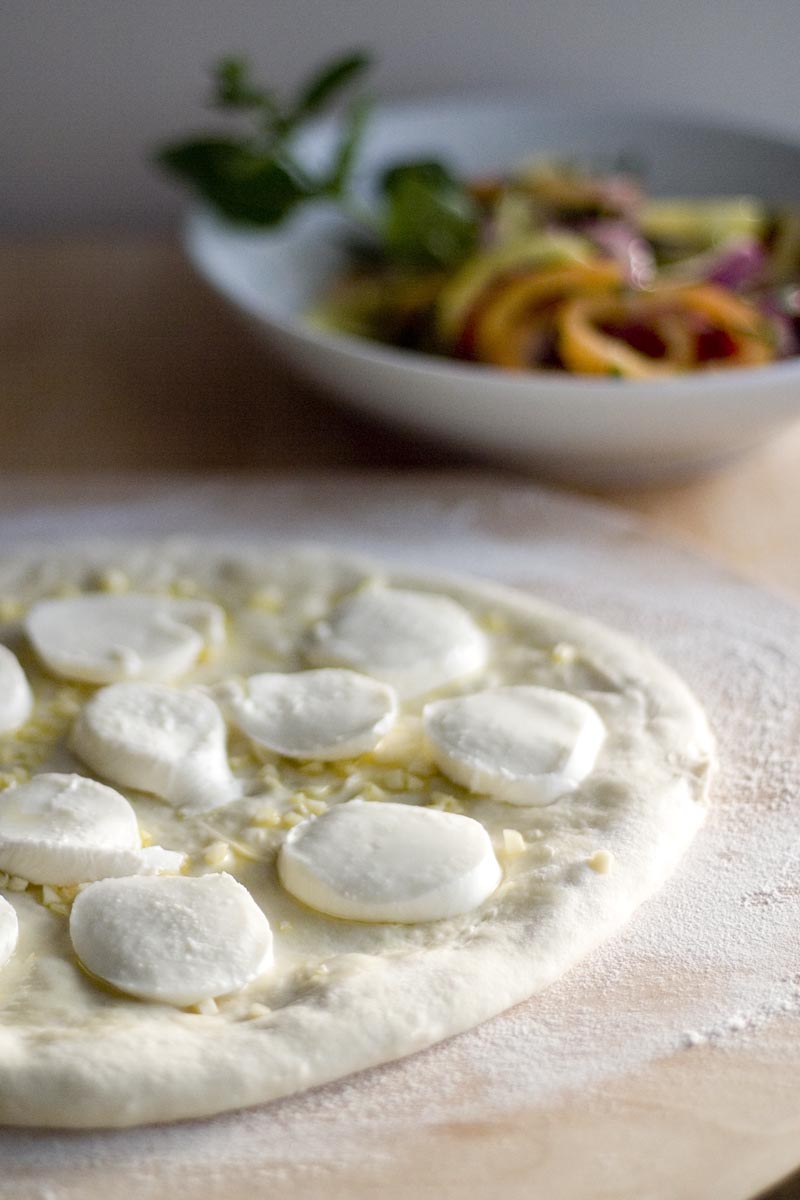
My problem was not the oven I was using (though I remain convinced that the very best pizza comes from those extra-hot ovens), but the dough. All that fuss over kneading, all that wondering whether I should use more oil or less, feeling like I couldn't make pizza on a weeknight unless I got home from work at 4pm: it's all over. Thanks to Michelle, I'm going the minimalist route from now on.
And I'm not kidding when I say minimalist. The ingredients in this recipe can be counted on one hand. The active time is under 10 minutes, and that includes the kneading. The paltry amount of yeast will draw one of your eyebrows inexorably upward. In short, apparently there's an inverse relationship between the complexity of a pizza dough recipe and the quality of the resulting dough. This is the easiest dough recipe I've ever used. It's also the best pizza I've ever made. 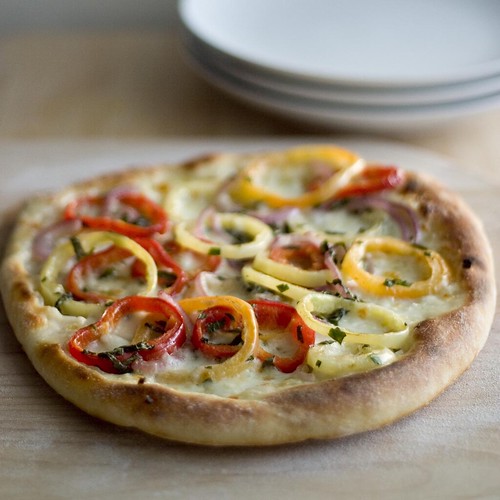
And it's not just shrug your shoulders and say "yeah, I guess it's better." This is a whole new ballgame. If you've been looking for a good, chewy crust, give this one a try. Don't be put off by the small amount of yeast, by the seemingly insufficient mixing and kneading, or by the lack of rise in the dough before you bake it. The gluten develops beautifully as the dough rests--I was amazed at how thin I could stretch the dough without it tearing--and the edge of the crust will bake up with just enough rise to give it a nice feel as you sink your teeth into it.
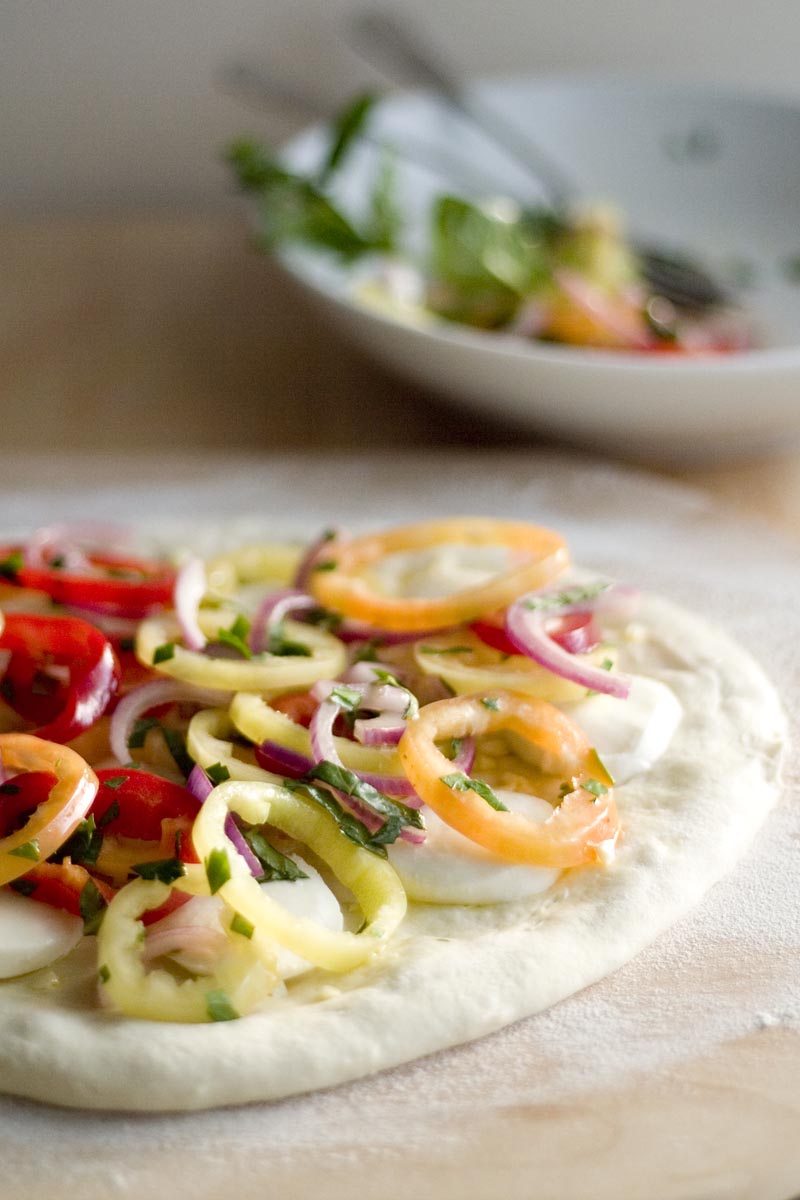
But I'm getting ahead of myself. Once you've made your dough, once you've let it rest overnight or for two nights and you're ready to bake it into something delicious, you'll need a topping. I'm certainly not one to turn up my nose at a good, old-fashioned tomato sauce and cheese pizza, but sometimes I like to branch out into something new and different, maybe even new and extraordinary. And let's be honest: sometimes I'm helped along by having a lot of something in the fridge and wanting to enjoy it before it spoils. 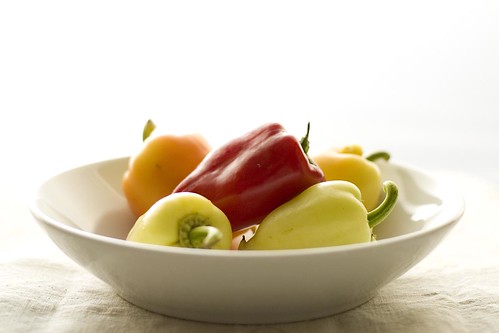
Yes, it's a bowl of peppers. I confess I'm not very good at using peppers. Oh, I can cook them just fine, the question is what to do with them. It wasn't very long ago that I first started liking them at all, so I'm still building up my arsenal of recipes for the summer months, when I get them by the bagful in my weekly CSA share. I've latched onto a few solid keepers, and this is one of them.
This pizza comes from Chez Panisse Vegetables, and I could eat it for weeks. It is nothing more than peppers and onion, thinly sliced, tossed with herbs and a light vinaigrette. The result: sweet and tart, with a hint of bite from the onion, gathered together and grounded by the herbs. I'm often tempted to skip the pizza and eat the topping raw, as a salad, just so that I can enjoy it sooner. But the high heat of the oven brings out an extra layer of sweetness in the peppers, and they nestle so cozily into the cheese, that the pizza version is (so far) irresistible. Did I mention that the crust is pretty good, too?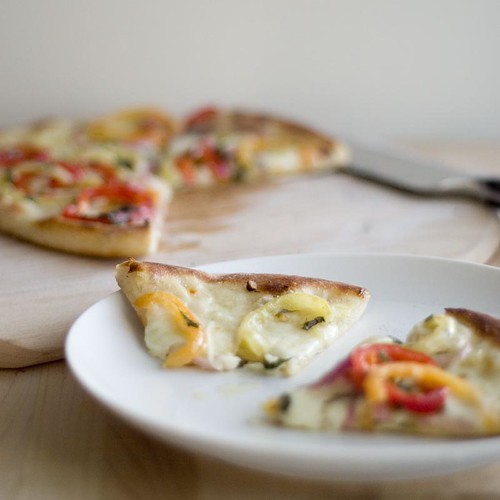
Sweet Pepper Pizza
Ingredients
Directions
Notes
Pizza Dough
Ingredients
Directions
Notes

From My Blogroll
Resource Pantry
Categories
- Breakfast (14)
- CCCP (2)
- Chocolate (15)
- Cleverness with Leftovers (8)
- Condiments (6)
- Cookbooks (2)
- Desserts (49)
- Domestic Delights (5)
- Fast Food (7)
- Foodie Education (2)
- Fruit (22)
- Gadgets (2)
- Grains (7)
- Holidays (21)
- Kitchen tips (4)
- Locavore living (22)
- Make-Ahead (13)
- Meat (11)
- Miscellaneous (17)
- Pastas (6)
- PSA (7)
- Recipes (101)
- Restaurants (12)
- Salads (4)
- Soups (4)
- Travel (7)
- Vegetables (29)
- Vegetarian (26)
Past Posts
It's not nice to steal. Please don't republish what you find here unless you have my express permission.
In other words: unless otherwise noted, images and text © Anne Sandman 2005-2010. All rights reserved.
Monday, October 19, 2009
Adapted from Chez Panisse Vegetables
Makes two 12-inch pizzas
Adapted from The Big Sur Bakery Cookbook
Makes enough dough for two 12-inch pizzas
Labels: Recipes, Vegetables, Vegetarian
Subscribe to:
Post Comments (Atom)
15 comments:
I think you have just inspired me to take another stab at pizza dough, which I had previously sworn off (mostly due to inadequate rolling skills). Beautiful!
You know, I actually prefer to work this dough into a circle by hand, rather than with a rolling pin. It's hard to explain what I do... I stretch it gently, mostly by letting gravity do all the work. It results in a more rustic shape, but I don't mind. And you don't have to worry about rolling skills!
That looks GOOD! I will have to give this a go!
I cannot try this one fast enough. In fact, I'm tempted now . . . but it is 1 am and I should really go to bed.
I've tried lots of pizza crusts, but I've never really achieved that bit of chewy texture that I'm looking for. So excited, Anne! (will report back of course)
that looks awesome!!
thanks for sharing!!
This looks great! I think I'll try it this week-end.
Thanks for sharing.
mmm, pizza for dinner tomorrow night, i think! :-) your pix are gorgeous!! what camera/lens are you using?
Thanks! Hope you enjoy it. The camera is a Canon D60, which is now discontinued. The equivalent in Canon's current lineup is the 50D. It's a hand-me-down from my papa, and I love it to pieces.
The lens for all of the photos in this post, and most of my photos recently, was a Canon 50mm f/1.8 II. It's very fast, very sharp, and very inexpensive (as lenses go).
Many of my other photos--all of them early on, and gradually fewer once I got the 50mm--were taken with Canon's kit lens, a 28-135mm f/3.5-5.6, which is sort of a jack-of-all-trades (and master of none). It's been a good all-purpose starter lens for me, but it's not as sharp as the 50mm, and I don't think the color is quite as good.
I just got another lens, a Canon 100mm f/2.8 macro, so stay tuned for some close-ups in future posts!
ooo this looks great. I've been experimenting with a lot of pizza dough recipes lately and haven't found the right fit for me yet - I'll have to try this!
After many, many years, I finally found a favourite pizza dough, but I'm always looking for another--especially if it comes highly recommended :-)
The one pizza crust that I've still to make is one similar to Brick Oven's in Austin. What is it about that one that makes it SO good? (probably the wood-fired oven... sigh)
PS That Big Sur Bakery Cookbook intrigues me!
Perhaps if you want to find a way to befriend eggplant, you might try a very-thinly-sliced eggplant Parmesan pizza. :)
There's actually an eggplant pizza recipe (grilled eggplant pizza, even!) on the blog:
http://www.beyondramen.net/2009/08/facing-down-eggplant.html
Any special tips for trying this recipe without the mixer?
Hi Anonymous, the recipe includes instructions for making the dough by hand. See step three:
"Add the flour to the yeast mixture, sprinkle the salt on top, and stir gently with a wooden spoon until the ingredients start to come together. "
I love making my own dough! I was scared at first, too. But now I do it all the time!
Post a Comment