Showing posts with label Vegetables. Show all posts
Monday, April 26, 2010

Green risotto for a green day

Serving

Last week I posted various links with information on how you can get more green in your life. Today I'm going to post about getting more green in your diet. I don't mean the sustainability kind of green (though of course it can be that, too); I mean the crisp, lively, juicy spring green that's so welcome when you're starting to have had your fill of root vegetables.
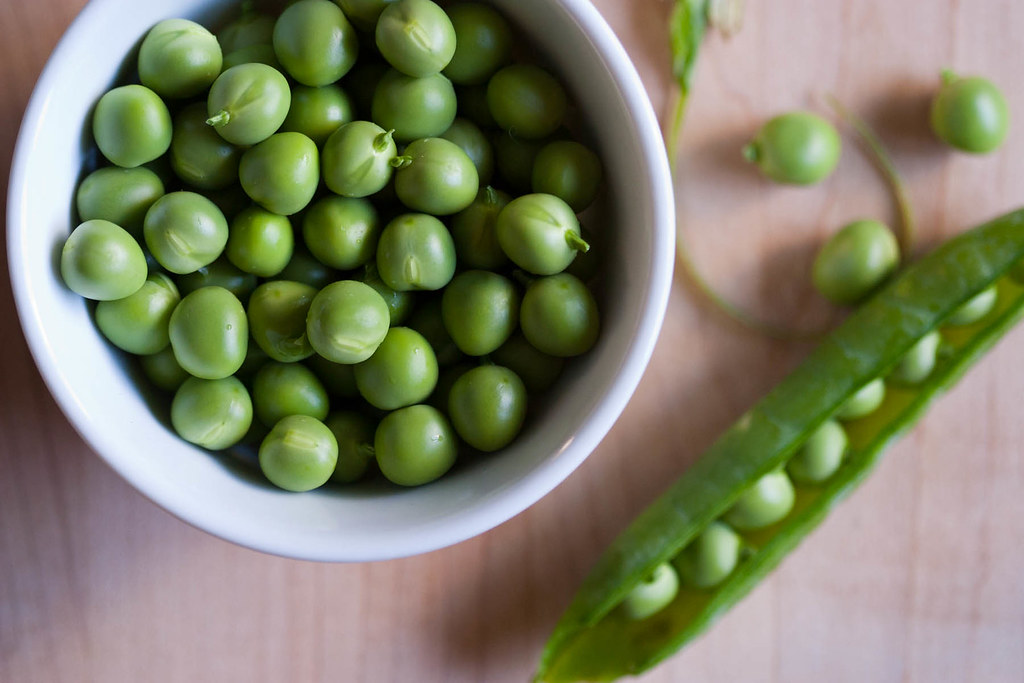
Shelling peas

The look of my local farmer's market is changing rapidly these days, exchanging the warm yellows and oranges of winter citrus for the vibrant greens of spring vegetables. Gone are the blood oranges and cara caras; in their place are tables overflowing with fresh peas. Last weekend we even got our first fava beans, and I was ready with a recipe. A green recipe!
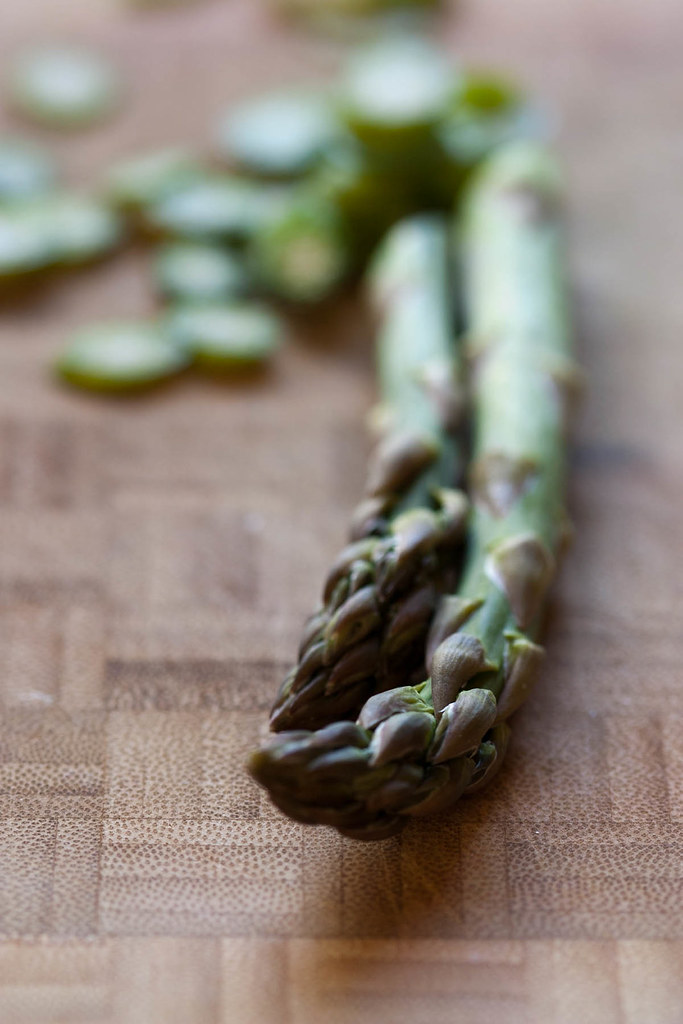
Slicing asparagus

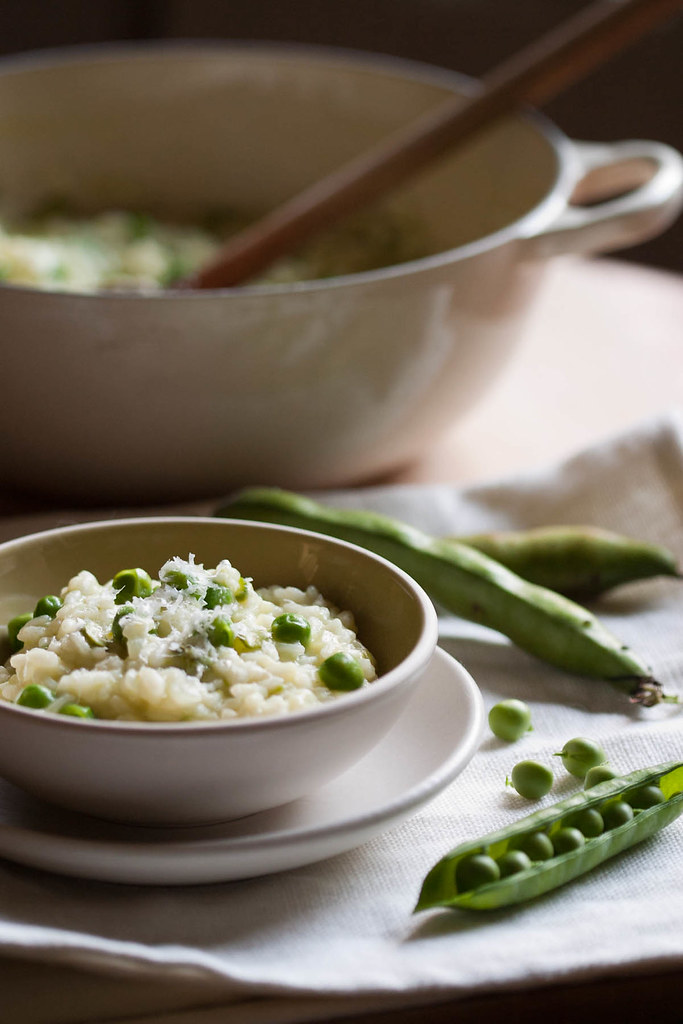
This risotto has been on my to-do list ever since I came across it in Alice Waters' Chez Panisse Vegetables last summer (after the favas had disappeared from the markets, naturally) because it combines one of my favorite things about spring (fresh peas) with one of my favorite things in general (risotto). But it's not just peas, and this is where we really get our green on. This risotto takes the best of the spring green vegetables: peas, fava beans, and asparagus.
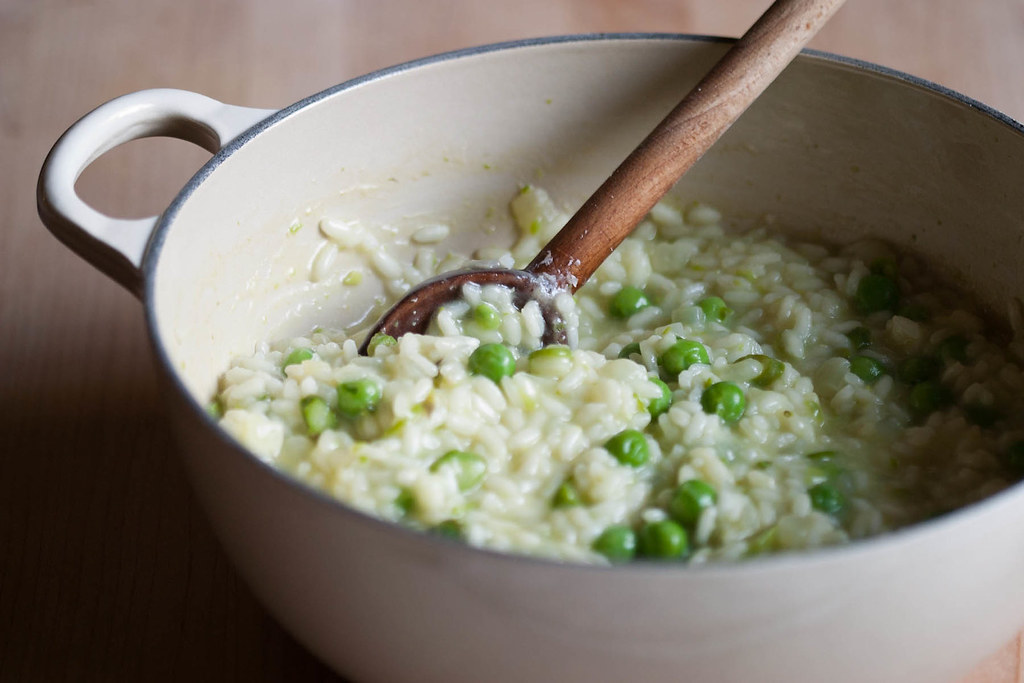
Risotto pot

That might sound like a lot--indeed, done poorly, I can imagine the result feeling clumsy--but Waters incorporates the vegetables in such a way that none of them steps on another's toes. And although in my mind risotto falls squarely in the warming, cozy "comfort food" category, this risotto manages to be at once comforting and refreshing. I don't know how better to describe it than to say that it tastes of spring. And if that doesn't chase away the winter doldrums, I don't know what will.
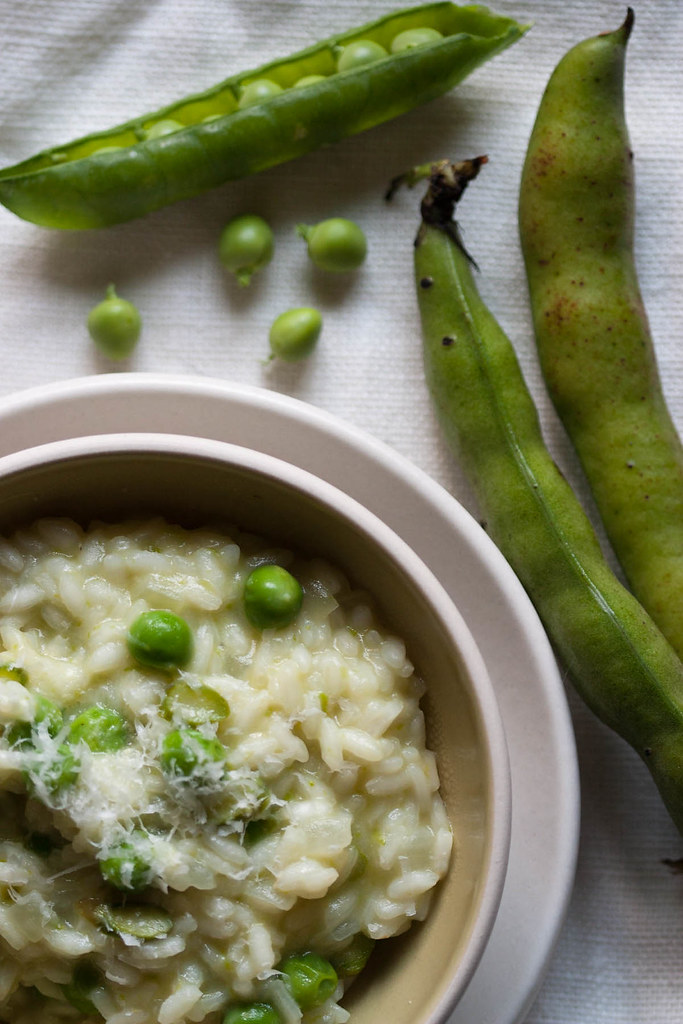
Spring vegetables and risotto

Green Risotto with Fava Puree, Peas, and Asparagus

Adapted from Chez Panisse Vegetables
Serves 6, or 4 generously

Ingredients

  • 1/2 pound young fava beans (weighed in their pods)
  • Olive oil
  • Coarse salt and freshly ground pepper to taste
  • 3/4 pound fresh green peas (again, weighed in their pods)
  • 4 spears of asparagus
  • 1 medium onion
  • 7 to 8 cups good stock (vegetable or chicken, as you like)
  • 4 1/2 tablespoons unsalted butter
  • 2 cups arborio rice
  • 1/3 cup dry white wine
  • 1/4 cup grated Parmesan cheese, plus extra for serving

Directions

  1. Bring a large pot of water to boil. While you're waiting for it to boil, prepare an ice bath, and shell the favas. Discard--or compost!--the pods.
  2. When the water's boiling, add the favas and let them cook for one minute before draining them and shocking them in the ice bath to stop the cooking.
  3. Drain them again, then peel them by piercing the outer skin with your thumbnail at one end, and squeezing the bean out with the thumb and forefinger of your other hand.
  4. Place the peeled beans in a small pot with a glug of olive oil, a dash of salt, and just enough water so that they're almost covered. Cook them over low heat, slowly, until they're squishably soft but haven't lost their bright green color. This should take about 15-20 minutes. If the pan goes dry and the beans start to stick, add water a bit at a time. Drain them once more, then either puree them with a food processor or pass them through a food mill.
  5. While the beans are cooking, prep the rest of the vegetables. Shell the peas and prep the asparagus. Trim the ends of the asparagus, then slice the stalks thinly on the bias. Chop the onion into small dice.
  6. When all of your vegetables are ready to go, heat the stock in a large pot and keep it at a bare simmer.
  7. Place another large, heavy pot over medium heat and add the butter. When the butter is melted, add the onion and cook until it is softened and translucent, about 5 minutes.
  8. Add a pinch of salt and the rice and cook, stirring frequently, until the rice is also slightly translucent, about 3 minutes.
  9. Increase the heat to medium-high as you pour in the white wine. Stir constantly until the wine is absorbed, then reduce the heat and add just enough stock so that the rice is covered.
  10. Keep stirring, adding more stock by the ladleful when the previous addition has been absorbed. Keep the rice at a low simmer.
  11. After 10 minutes of cooking, add the peas and the sliced asparagus, then continue with the stirring and adding of stock.
  12. After another 5 minutes, or when the rice is al dente to taste, add the fava puree, the cheese, and the remaining butter. Stir well, adding more stock if necessary to achieve the consistency of a thick sauce. Taste and adjust the seasoning, then serve immediately, with the extra cheese as a garnish.
There's more...

Monday, March 8, 2010

How I learned to love sweet potatoes

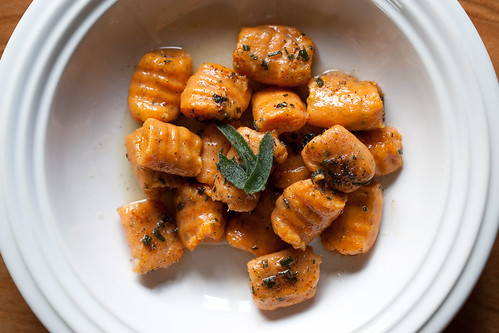
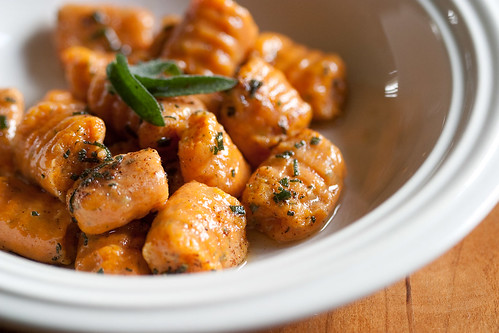
Sweet potato gnocchi with sage and brown butter

Somewhere in my past, I got off to a bad start with sweet potatoes. This is no great surprise: after all, I got off to a bad start with a lot of vegetables. But unlike with most other vegetables, I only overcame that bad start recently--as in, a few months ago rather than a few years ago.

And it's silly, isn't it? I don't know if I ever actually tried many sweet potato dishes before before digging in my heels about them. I don't even know what it was (is?) I didn't (don't?) like about them. I just had it in my head that they were... you know... ick.

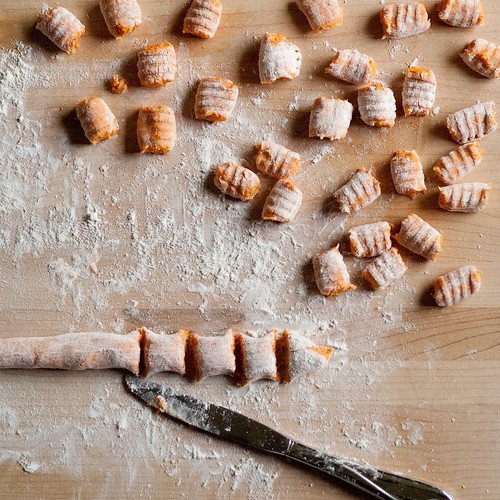
Gnocchi

Well, all that's changed, and I have Wendy to thank for it. The recipe that changed my mind, a sweet potato gnocchi with sage and brown butter, was Wendy's contribution to the inaugural round of the Cross Country Cooking Parade (CCCP) recipe exchange. In the CCCP we each submit one savory and one sweet recipe, we make all eight of the recipes, and we share with each other our thoughts on the recipes and the results.

One of the ideas behind the CCCP is that we'll be encouraged to cook foods that we might be hesitant to try, and I'm thrilled that I'm already benefitting from it. These gnocchi have not only revived my faith in my gnocchi-making abilities, they've sold me on sweet potatoes. Even if this is the only sweet potato dish I ever make, I'll be perfectly content, because I'm not sure how anything else involving sweet potatoes is going to top it. That's probably due at least in part to the fact that they involve a sage brown butter sauce, but really, they made a convert out of me even before I tossed them in the butter.

From the top

I suppose they fall under the "time consuming" label, but to be honest, they didn't feel like a lot of work. The sweet potatoes can be roasted a little while ahead of time, and roasting them is no trouble at all if you already have the oven on for, say, baking yourself a buttery, flaky croissant for breakfast. (Seriously, remind me to gush about those croissants in another post and make you all green with envy.)

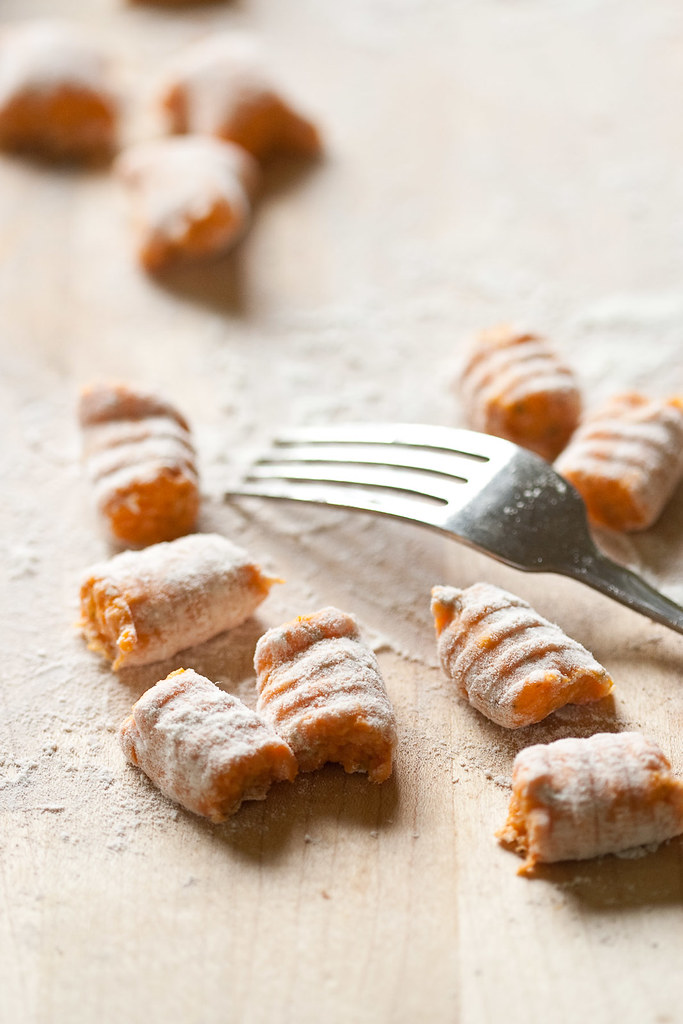
Once you're to the step of making up the dough, keep a light hand. The less you work the dough, the lighter and more pillowy the gnocchi will turn out, and the broader your smile will be when you finally sit down to eat them. (Or don't sit down, just eat them straight out of the pan in the middle of your kitchen. Who am I to judge?) In my experience--which, granted, has a sample size of only one--the dough is very soft and delicate, and sticky when bare, but not prone to absorbing additional flour. As a result, while you do need some extra flour while you're rolling and forming the gnocchi, you don't have to use a lot. One good dusting should be plenty.

Forming gnocchi

And speaking of plenty, a final note: the recipe calls for boiling the gnocchi for 10 seconds after they float to the top, and says that this should be about 5 minutes. Mine floated after 2 or 3, and, worried that they weren't done yet, I tried to let them cook the full 5 minutes. Big mistake--one that left me with a pot full of disintegrated gnocchi. If they float after 2 minutes, fine, that's plenty. Cook them for a further 10 seconds and get them out of the water. Then bathe them in brown butter and enjoy!

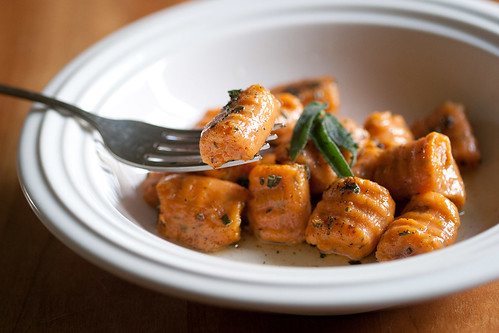
Bite

Sweet Potato Gnocchi with Sage and Brown Butter

Adapted from Marcella Hazan and The New York Times
Makes 6 servings

Ingredients

  • 1 1/2 pounds sweet potatoes
  • 1/2 cup all-purpose flour, sifted, plus up to 1/2 cup for kneading
  • 1/4 cup plus 2 tablespoons minced fresh sage
  • 1/2 teaspoon salt
  • 1 teaspoon freshly ground pepper
  • 1/2 teaspoon nutmeg
  • 1/4 cup grated Parmesan cheese, plus more for serving
  • 1/2 cup (1 stick) unsalted butter

Directions

  1. Preheat the oven to 350F/175C. Poke a few holes in each sweet potato to let steam escape, then place them on a baking sheet. Bake them until they're tender, about 45 minutes.
  2. When the potatoes are cool enough to handle, peel them and pass them through a ricer, or a food mill with a fine grate.
  3. Place the puree in a large bowl and add the flour, 2 tablespoons of the sage, the salt and pepper, and the cheese. Mix gently until just combined.
  4. Flour a work surface and scoop the dough out onto it. Dust the top and sides of the dough lightly with flour, and perhaps rub some flour between your hands so that they don't stick to the dough.
  5. Divide the dough into 6 equal pieces. Roll each piece under your palms so that it forms a long rope. [The original recipe says that the ropes should be about 1 inch wide and 20 inches long, but your mileage might vary.] Go ahead and sprinkle the dough with a bit of extra flour if it's sticking. Cut the rope into 1-inch segments, and roll each segment over the tines of a fork to form the characteristic indentations. (Use a gnocchi board if you're lucky enough to have one.) Collect the formed gnocchi on a baking sheet.
  6. When you've finished forming the gnocchi, bring a large pot of water to boiling and salt it generously. Drop several gnocchi into the boiling water (you'll need to work in batches so that you don't crowd the pot). Cook them for about 10 seconds after they rise to the surface. This could be only a couple of minutes, or up to five minutes. Use a slotted spoon to transfer the cooked gnocchi to a clean baking sheet, and cool completely.
  7. Place a large, heavy saucepan over medium-high heat and add the butter. Melt the butter and cook it, swirling occasionally, until the milk solids have turned a lovely chestnut color and smell nutty, about 5 minutes. If you plan to add fried sage leaves as a garnish, go ahead and fry them.
  8. Once the butter has browned, add the remaining chopped sage and turn off the heat. The mixture will bubble up, so don't be alarmed.
  9. Add the gnocchi to the sage butter, place over medium-high heat, and cook until the gnocchi are heated through, about 5-6 minutes. You might have to do this in batches, in which case it's useful to have the oven preheated to 300F/150C so that your earlier batches don't get cold. Divide the gnocchi and sauce among bowls, garnish with sage leaves (if desired), and serve.

Notes

  • Make-ahead: the gnocchi can be boiled up to 4 hours ahead, and kept at room temperature.
  • I haven't tried freezing these gnocchi, but based on this recipe I'm going to say go ahead and freeze them (prior to boiling) if you'd like to make them ahead of time and cook them later. Freeze them on a baking sheet, then transfer them to a zip-sealed plastic bag and freeze for up to 1 month. When you're ready to cook them, just dump them into the boiling water without thawing. They'll rise to the surface when they're done, just as with fresh gnocchi.
  • Wendy suggested, and I loved, a tart apple grated or cut into matchsticks and tossed with the gnocchi. I think it's a great variation.

There's more...

Saturday, December 5, 2009

Tea and Cake or Death

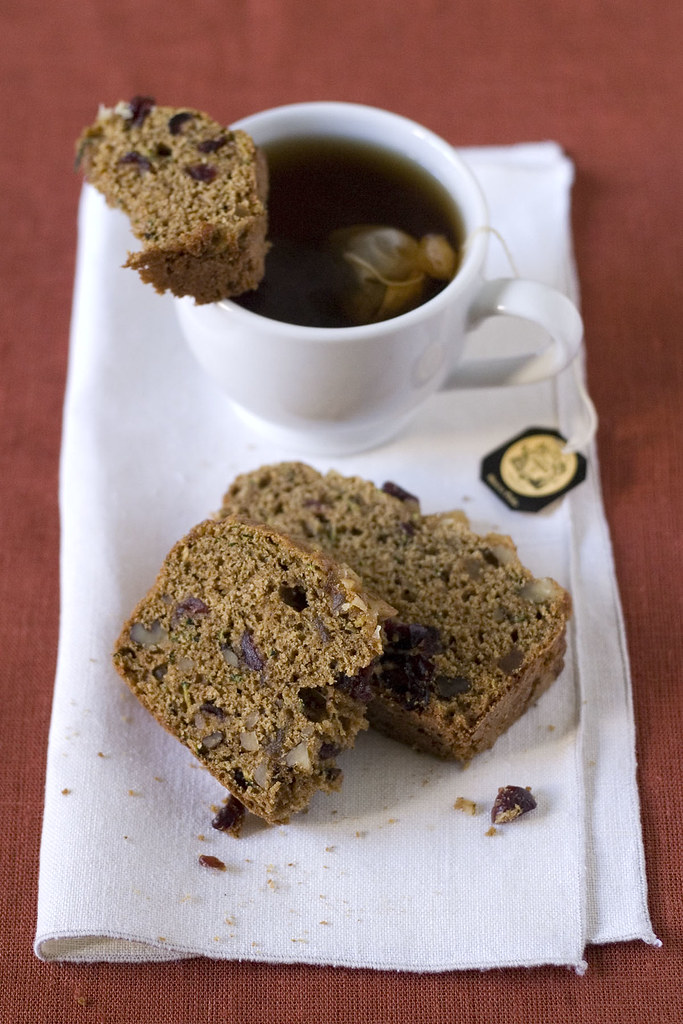
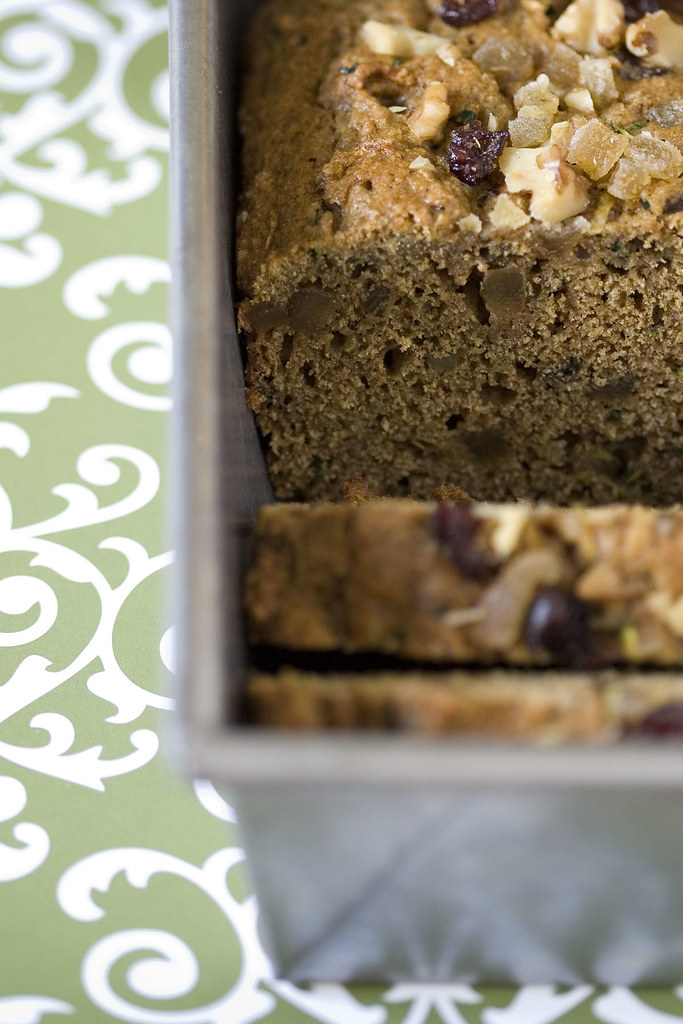
Tea and cake

That title probably needs an explanation, doesn't it? I can't possibly do the line justice, so I'll just refer you to this Eddie Izzard clip (or rather, the Lego version thereof). If you're not an Eddie Izzard fan or can't watch the video, just trust me that no one died, or was even mildly injured, in the making of this cake. Or bread--we refer to it as bread, and in fact it is a quickbread, but it's really more like cake, isn't it?

Perhaps we need a bit more context. The other evening when I was winding down the day with a cup of chamomile tea and a slice (okay, two) of this cake, I said to myself, "tea and cake." (What, you don't talk to yourself about what you're fixing in the kitchen?) Having watched that Izzard clip umpteen times, my brain's natural follow-on was "or death." And a post title was born.

Loaf panLoaf

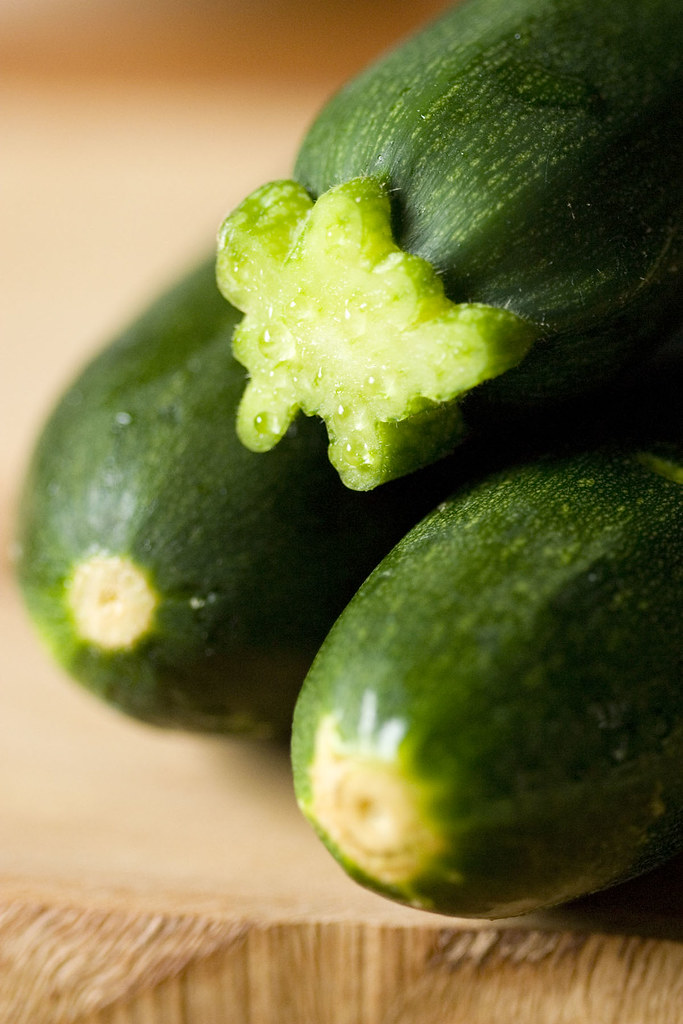
Anyway... Out here in this most mild-weathered part of the country, we get zucchini absurdly late in the year. We'll have summer squash and winter squash sitting side by side on the tables at the farmer's market. My enjoyment of zucchini has really been coming into its own this year, but by the time it got to October and November, I was starting to exhaust my growing, but still limited repertoire of zucchini recipes.

There was one obvious addition to said repertoire that I had always dismissed because of my skepticism about the results. Zucchini bread is the classic way for inundated gardeners to use up their zucchini (or courgettes, as they're known to some readers), but I have to admit that I've always wrinkled my nose a bit at the prospect--due in part, no doubt, to the remains of the not-so-warm feelings I had for the vegetable in years past. Zucchini bread? Wouldn't it taste like zucchini? Or to be more precise, like everything I disliked about zucchini?

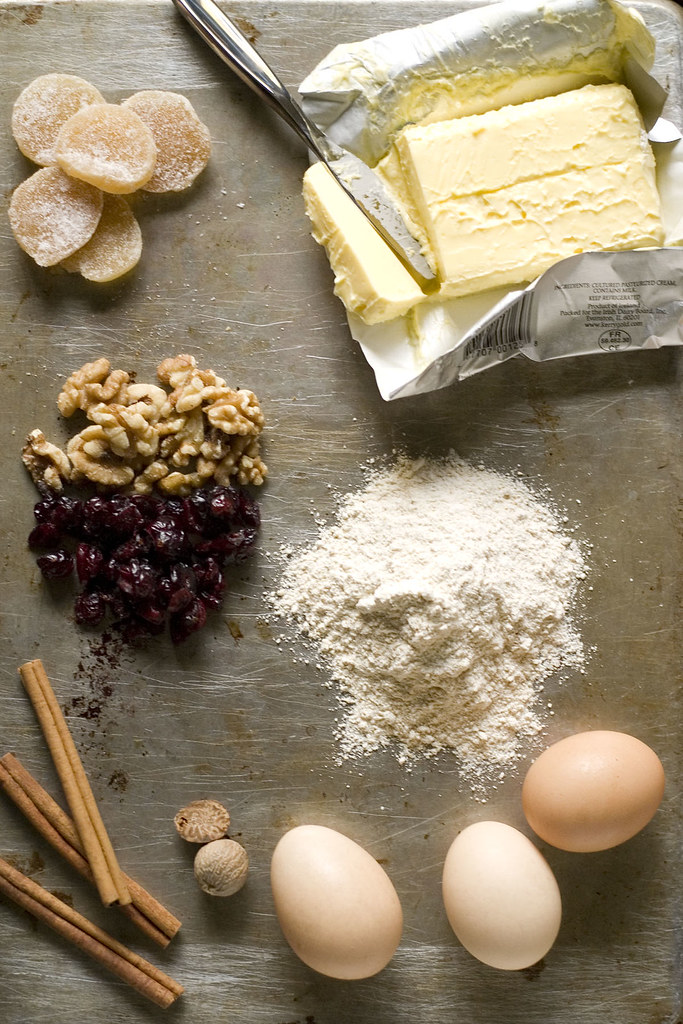
ZucchiniIngredients

Well, I'm here to tell you that zucchini bread doesn't taste anything like what I disliked about zucchini. Or at least, my zucchini bread doesn't, and that's because I did what's obvious when you're looking to hide a potentially unpleasant-tasting ingredient in a cake: I made a spice cake.

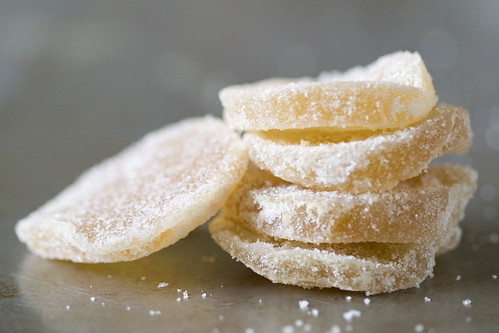
If you ask me, there's no better way to ensure that a baked good will taste delicious than adding cinnamon, cloves, and nutmeg. To err even more on the side of safety, and because by the time I was making this cake we were well on our way toward the season of holiday baking, I added dried fruit, nuts, and some crystallized ginger. There was really no way that this cake could go wrong.

Crystallized ginger

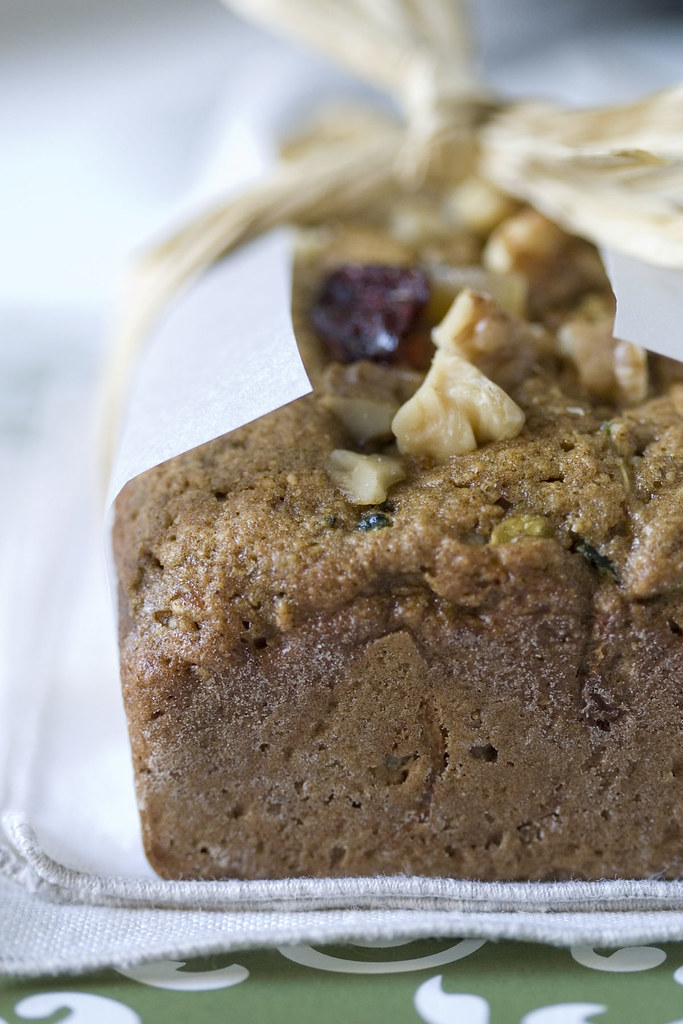
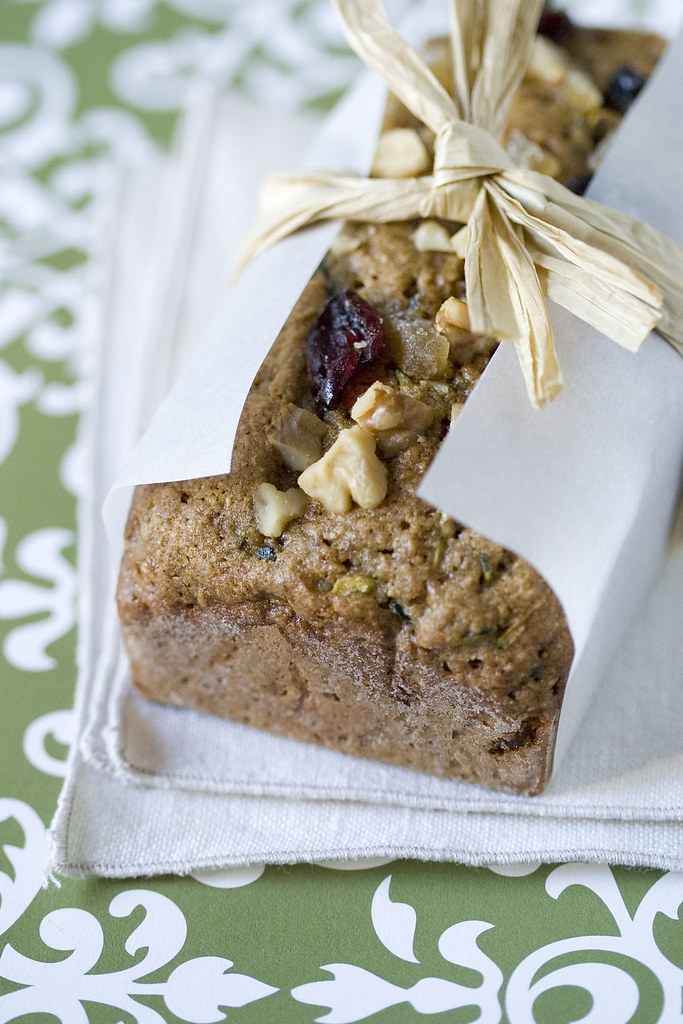
Sure enough, there is no hint of zucchini flavor; in fact, the only indication that there's any sort of vegetable in the cake is the tiny green bits you might see peeking out the top. The rest is nothing but tender, aromatic cake, studded with cranberries and walnuts and the occasional piece of candied ginger. What with all that decoration inside, this cake feels festive; and in fact, it's perfect for the holiday gift baking that I'm sure many of you will be undertaking soon (or have already started). But I, for one, won't blame you if you want to keep it all for yourself.

Wrapped

Whole Wheat Zucchini Spice Cake

Adapted from 101 Cookbooks
Makes 2 4x8-inch loaves, or 4-6 mini loaves

Ingredients

  • 1/2 cup (4 ounces, or 1 stick) butter, softened
  • 1 cup packed brown sugar
  • 3 large eggs
  • 2 teaspoons vanilla extract
  • 3 cups grated zucchini (about 3 medium zucchini)
  • 3 cups whole wheat pastry flour (see note)
  • 1 1/2 teaspoons baking soda
  • 1/2 teaspoon baking powder
  • 1 teaspoon salt
  • 2 teaspoons ground cinnamon
  • 1 teaspoon ground ginger
  • 1/2 teaspoon ground cloves
  • 1/2 teaspoon freshly grated nutmeg
  • 3/4 cup chopped walnuts
  • 3/4 cup dried cranberries
  • 1/2 cup minced crystallized ginger

Directions

  1. Place an oven rack in the middle position, and preheat the oven to 350F/175C.
  2. Prepare your loaf pans: line the pans with parchment paper, or butter them and dust them with flour.
  3. Combine the walnuts, cranberries, and crystallized ginger in a bowl and set aside.
  4. In a separate bowl, whisk together the flour, baking soda and powder, salt, and spices and set that aside as well.
  5. In a large bowl, cream together the butter and sugar until light and fluffy.
  6. Add the eggs one at a time, beating well and scraping down the bowl after each addition.
  7. Add the vanilla extract and mix well; then add the zucchini and stir until everything is combined.
  8. Add the flour mixture in two additions, stirring only until just combined, then gently fold in the dried fruit, nuts, and crystallized ginger.
  9. Divide the batter equally among the pans, and use a spatula to smooth it out a bit. Place the pans on a baking sheet for easy maneuvering.
  10. Bake for about 40-45 minutes for regular loaves, or 30-35 minutes for small loaves. They are done when a toothpick inserted into the center comes out with moist crumbs attached, or even a bit of almost-done batter. The loaves will be dry if you overbake them, so I like to err on the side of underbaking for a nice, moist cake.
  11. Cool the loaves in their pans for about 10 minutes, then turn out onto a rack to finish cooling.

Notes

  • A food processor, fitted with the grating blade, makes wonderfully quick work of grating the zucchini.
  • If you don't have whole wheat pastry flour, you can substitute 1 1/2 cups all purpose and 1 1/2 cups whole wheat.
  • Vary the fruit, nut, etc. combination as much as you like, perhaps staying close to the rough guideline of about 2 cups total additions.
  • As noted above, this cake can be prone to dryness if overcooked, so keep a close eye on it as it bakes.

There's more...

Wednesday, November 18, 2009

Welcoming fall--for real this time

Sprinkle

Oh dear. It's been a while, hasn't it? What with a crashed laptop hard drive, the end of daylight savings time (which has relegated any and all picture-taking to the weekends, when I'm actually home for the daylight hours), and my spending half of those weekends at work, I'm afraid my camera and blogging software haven't been getting as much love as I would like.

In the meantime, we've gone through not one, but two heat waves, with a spell of glorious (if brief) fall weather in between. Now, a good two weeks into November, we've finally--really, I mean it this time, no more surprise heat waves--shaken off the last of summer. This week, in fact, marks the first time since early spring that we've turned on the heat. Or, I should say, the Suitor turned on the heat. I rolled my eyes and tossed him a sweater.

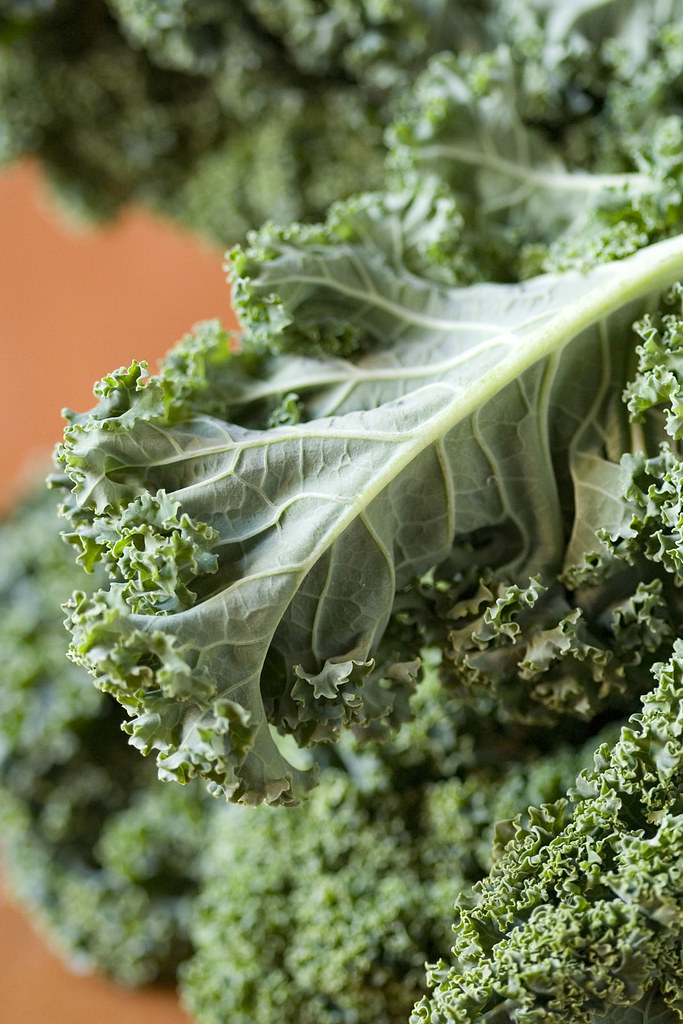
Curly kale

Which is a little odd, right? A California girl telling someone to buck up and deal with a bit of cool weather? Well, California born-and-bred I might be, but somewhere in the wind-chilled depths of my third or fourth Chicago winter, a long-dormant gene from my Danish ancestors switched on. After all the time I'd spent grumbling about the cold since my arrival, suddenly I loved the cold and everything about it--even that moment when you first step outside, and you cough because your lungs reject the air you've just breathed. I couldn't get enough of it.

Of course, eventually I graduated and moved away from those northern climes; but the damage was done, and ever since leaving Chicago I've missed "proper" winter something fierce. Now, between my convert's zealousness for cold and my penchant for fresh air, I want nothing to do with forced air heating until my fingers are stiff and numb. The Suitor has no such hesitation in turning on the heat, so we're off to a (good-humored) war with the thermostat. He prefers to make himself comfortable in a t-shirt, shorts, and liberal use of the house's heating system. I prefer to get cozy with long underwear, down booties, fleece blankets, and continual application of tea and warm, comforting foods.

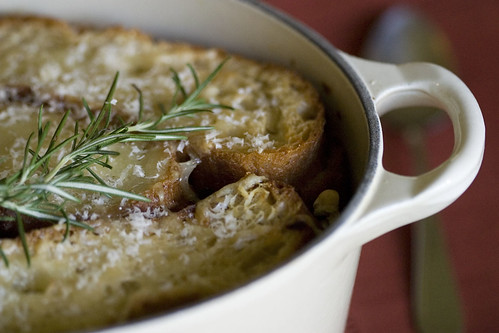
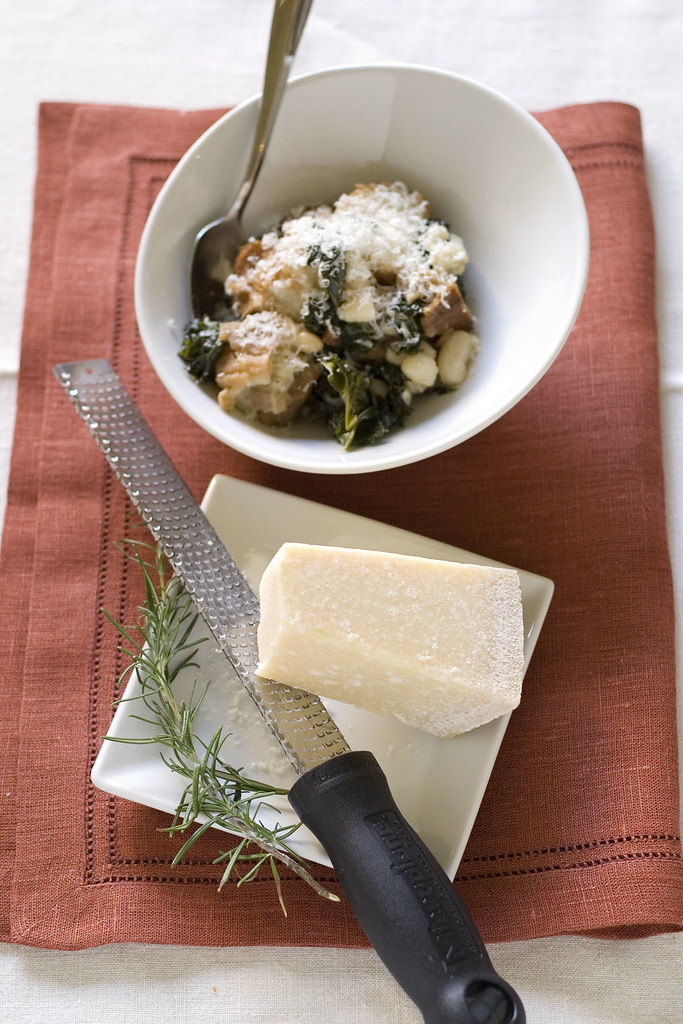
Panade

It's this sort of food that I've been craving recently: this food that comes steaming out of the oven or off the stove and onto your plate, then sticks to your ribs and warms your belly. In the last week or so, I've discovered (and tweaked) a recipe that it takes one of my favorite winter meals (a bean soup with greens) and one of my favorite things to do with it (ladling said soup over a slice of crisp bread), and bakes it all together in one big pot--including the bread.

The bread gets layered with a quick braise of greens, beans, and bacon (if you're into that sort of thing) and some cheese, over and over until you run out of your ingredients. Topped with a layer of bread and more cheese, doused in broth, and baked for a little while, it's an intriguing and most satisfying meal in a bowl. You can call it a panade, a bread soup, bready mush with greens, or whatever you like; but if you've been in the mood for the sort of hearty meal that one saves for cold evenings in front of the fire, I've got the dish for you.

Lunch

Panade with Kale and Cannellini Beans

Adapted from Jamie at Home
Makes 6-8 servings

Ingredients

  • olive oil
  • 3-4 ounces bacon or pancetta, chopped (optional)
  • 1 medium onion, halved and thinly sliced
  • 1 large bunch kale, or any combination of leafy greens, ribs discarded and leaves coarsely chopped or torn
  • 1 15-ounce can cannellini beans, rinsed and drained (see note)
  • 8-10 ounces stale bread, sliced
  • 1 clove garlic, sliced in half
  • 4 ounces grated Parmesan cheese, plus extra for serving
  • 4 ounces grated Fontina cheese
  • 2 medium sprigs rosemary, leaves picked and minced
  • 3 quarts broth (chicken or vegetable, as you wish)

Directions

  1. Arrange the oven racks so that they will accommodate a large pot, and preheat the oven to 350F/175C.
  2. Heat the oil in a large Dutch oven over medium heat, then add the bacon (if using) and cook, stirring occasionally, until the fat has rendered and the bacon is beginning to turn brown and crisp.
  3. Add the sliced onions and cook, stirring frequently, until the onions are very soft and have picked up some lovely browned edges. Adjust the heat if necessary to keep them from browning before they soften.
  4. Meanwhile, grate the cheeses and combine them in a medium bowl with the minced rosemary. Set aside.
  5. When the onions are done, add the greens, stirring and tossing to coat them with the fat. Add the beans and about 1/2 cup broth, give it a good stir, and place the lid on the pot. Cook until the greens are wilted and just barely tender; the amount of time that this takes will depend on your greens. They will cook more in the oven, so they don't need to be very tender.
  6. Transfer the onion-bean-kale mixture to a large bowl and set aside. Rub the cut side of the garlic halves over the stale bread, and place one layer of bread slices face down in the bottom of the Dutch oven. Top with some of the kale mixture, then some of the cheese mixture. Repeat with additional layers of bread, kale mixture, and cheese, ending with a layer of bread. Use your hands to press down on the top layer of bread and give it a good squish. Don't be shy!
  7. Pour enough broth over everything to come up to the top level of bread, then sprinkle the remaining cheese mixture over the top.
  8. Bake for 30-40 minutes, until the top layer is crisp and golden.
  9. Serve in individual bowls with a drizzle of olive oil and a sprinkling of grated cheese.

Notes

  • Instead of using canned beans, you can also cook your own. Soak 6 ounces of dried white beans in plenty of water overnight. Drain, place in a large pot, and cover with cold water by at least two inches. Add a bay leaf, a rosemary sprig, and a Parmesan rind if you have one. Bring to a boil and simmer until the beans are tender.
  • Instead of Fontina, you could conceivably use Gruyere, Comte or another melty cheese.
  • I'm sure that this would also work with thyme, sage, or any other substantial herb.

There's more...

Monday, October 19, 2009

Game-Changing Pizza Dough

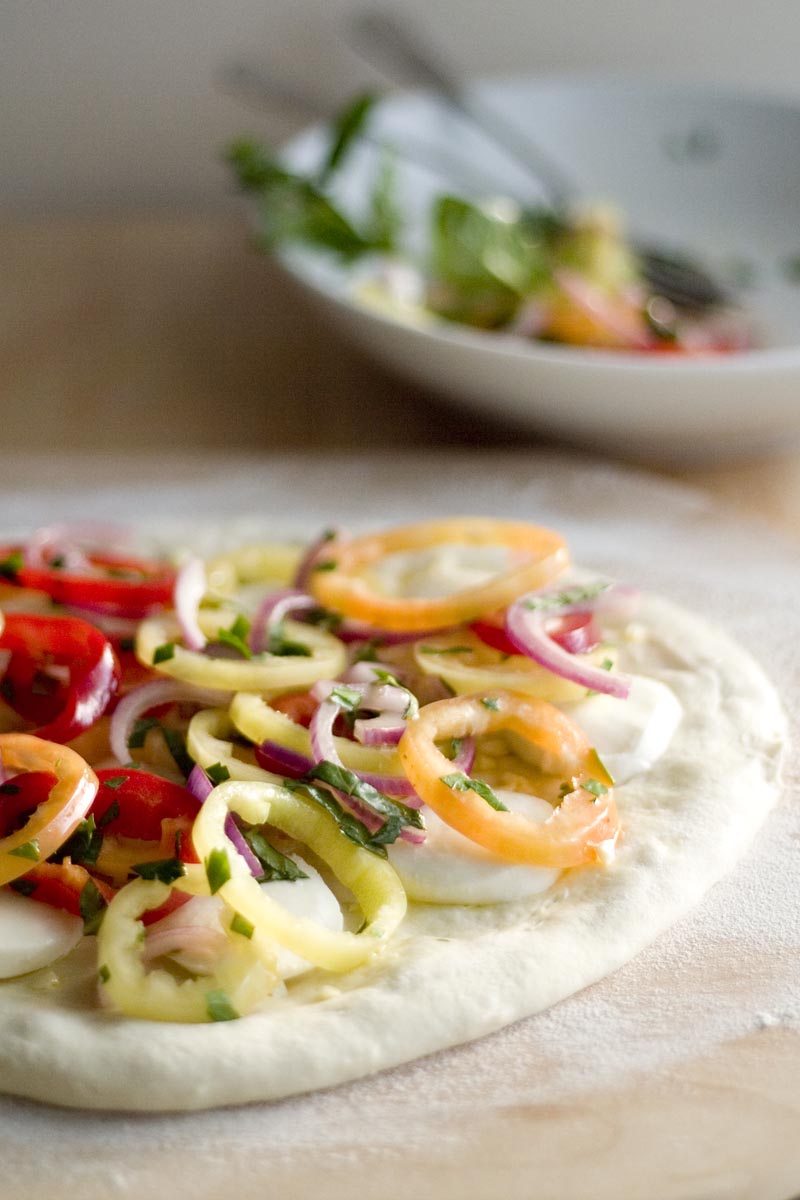
Peppers on pizza

It's official: I am now turning to Michelle for all of my yeasty dough endeavors. You might recall that it was Michelle's recipe that restored my faith in homemade hamburger buns. Now she's done it again, and this time it's pizza dough.
I've posted a recipe before--it's not worth linking to it now--but my feelings about it were lukewarm at best. What I really wanted was a chewy, substantial crust with great flavor and not too much bulk. I thought that I simply couldn't get it at home, at least not without building a dedicated pizza oven on my tiny little back patio. I was wrong.
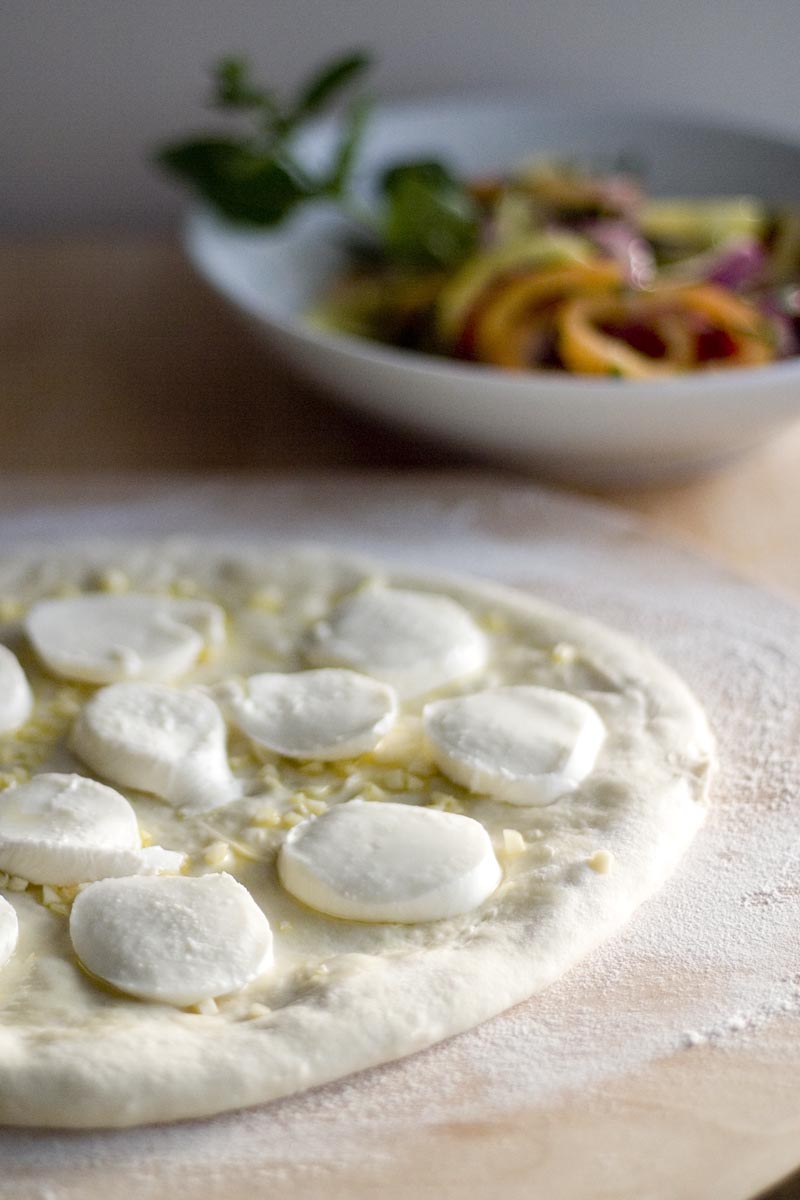
Cheesy pizza

My problem was not the oven I was using (though I remain convinced that the very best pizza comes from those extra-hot ovens), but the dough. All that fuss over kneading, all that wondering whether I should use more oil or less, feeling like I couldn't make pizza on a weeknight unless I got home from work at 4pm: it's all over. Thanks to Michelle, I'm going the minimalist route from now on.

And I'm not kidding when I say minimalist. The ingredients in this recipe can be counted on one hand. The active time is under 10 minutes, and that includes the kneading. The paltry amount of yeast will draw one of your eyebrows inexorably upward. In short, apparently there's an inverse relationship between the complexity of a pizza dough recipe and the quality of the resulting dough. This is the easiest dough recipe I've ever used. It's also the best pizza I've ever made.

Pizza pizza!

And it's not just shrug your shoulders and say "yeah, I guess it's better." This is a whole new ballgame. If you've been looking for a good, chewy crust, give this one a try. Don't be put off by the small amount of yeast, by the seemingly insufficient mixing and kneading, or by the lack of rise in the dough before you bake it. The gluten develops beautifully as the dough rests--I was amazed at how thin I could stretch the dough without it tearing--and the edge of the crust will bake up with just enough rise to give it a nice feel as you sink your teeth into it.

But I'm getting ahead of myself. Once you've made your dough, once you've let it rest overnight or for two nights and you're ready to bake it into something delicious, you'll need a topping. I'm certainly not one to turn up my nose at a good, old-fashioned tomato sauce and cheese pizza, but sometimes I like to branch out into something new and different, maybe even new and extraordinary. And let's be honest: sometimes I'm helped along by having a lot of something in the fridge and wanting to enjoy it before it spoils.

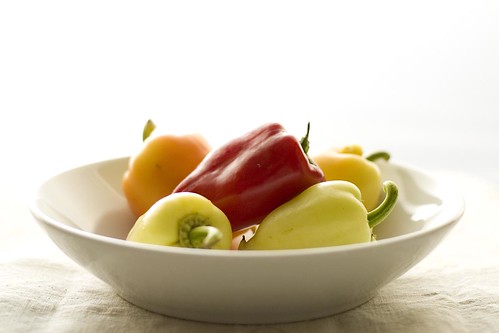
Sweet peppers

Yes, it's a bowl of peppers. I confess I'm not very good at using peppers. Oh, I can cook them just fine, the question is what to do with them. It wasn't very long ago that I first started liking them at all, so I'm still building up my arsenal of recipes for the summer months, when I get them by the bagful in my weekly CSA share. I've latched onto a few solid keepers, and this is one of them.

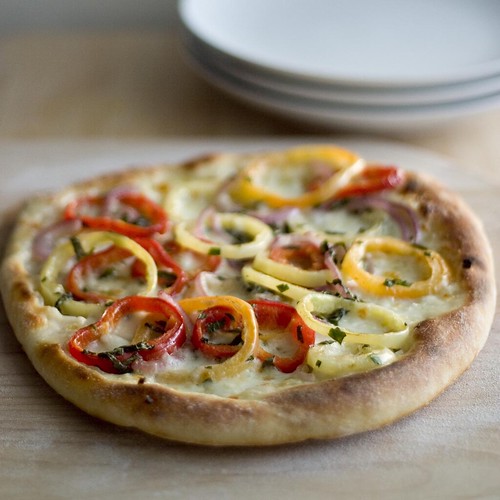
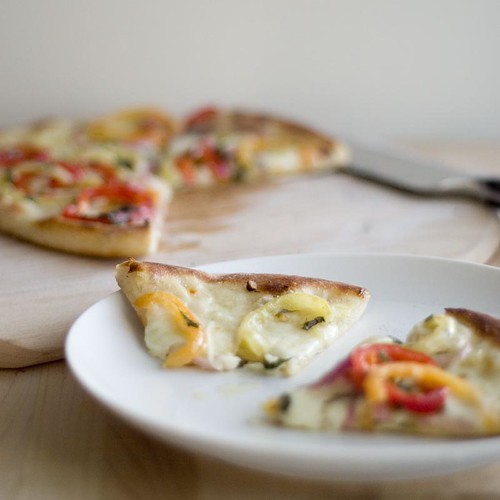
This pizza comes from Chez Panisse Vegetables, and I could eat it for weeks. It is nothing more than peppers and onion, thinly sliced, tossed with herbs and a light vinaigrette. The result: sweet and tart, with a hint of bite from the onion, gathered together and grounded by the herbs. I'm often tempted to skip the pizza and eat the topping raw, as a salad, just so that I can enjoy it sooner. But the high heat of the oven brings out an extra layer of sweetness in the peppers, and they nestle so cozily into the cheese, that the pizza version is (so far) irresistible. Did I mention that the crust is pretty good, too?

Sweet pepper pizza

Sweet Pepper Pizza

Makes two 12-inch pizzas

Ingredients

  • 3 medium bell peppers of various colors, thinly sliced
  • 1 small or 1/2 medium red onion, thinly sliced
  • 1/2 cup parsley leaves, chopped
  • 1/2 cup basil leaves, chopped
  • 1/4 cup plus 2 tablespoons olive oil, divided
  • 2 teaspoons red wine vinegar
  • Salt and freshly ground pepper to taste
  • 4 ounces mozzarella cheese
  • 2 cloves garlic, minced
  • Pizza dough for 2 pizzas (see below)

Directions

  1. If you have a pizza stone, place it in your oven. Preheat the oven to 450F to 500F (230C to 260C).
  2. Combine the peppers, onion, and herbs in a medium bowl.
  3. Pour the red wine vinegar and 1/4 cup of the olive oil over the pepper mixture, and toss to combine.
  4. Coarsely tear, grate, or even slice the cheese, and set aside.
  5. Mix the minced garlic with the remaining olive oil.
  6. If you are using a pizza stone, dust a peel with flour or fine cornmeal. Otherwise, sprinkle a large baking sheet with the flour or cornmeal. Roll or stretch half of the pizza dough to 12 to 14 inches in diameter, and place it on the peel (or baking sheet).
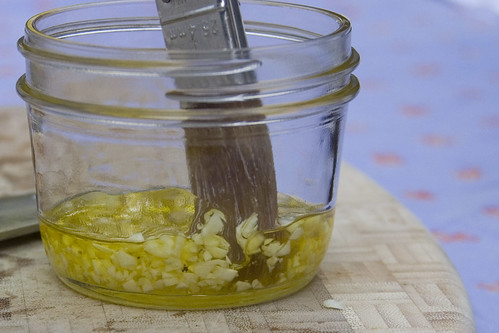
  7. Use your fingers or a pastry brush to brush the garlic oil over the dough. Don't be afraid to get some of the garlic bits on the dough, and make sure to leave a 1/2-inch border free of oil.
  8. Distribute half of the cheese over the dough, then top generously with the pepper mixture.
  9. Slide the pizza directly onto the pizza stone (or place the baking sheet in the oven) and bake for 4 to 6 minutes. The pizza is done when the cheese is bubbling and the crust is golden brown.
  10. Repeat with the other half of the dough. Serve immediately.

Notes

  • Variation #1: season the pepper mixture with thyme and either marjoram or oregano, rather than the basil and parsley; sprinkle the crust with crushed red pepper; and add chopped parsley prior to serving.
  • Variation #2: season the peppers with cilantro and julienned hot pepper (jalapeno or serrano), and garnish with lime juice and more cilantro.
  • Variation #3: if you're feeling very adventurous, use only spicy peppers rather than bell peppers. Slice the jalapenos crosswise, and marinated them in rice wine vinegar, salt, cilantro, and olive oil.


Pizza Dough

Makes enough dough for two 12-inch pizzas

Ingredients

  • 1/2 teaspoon active dry yeast
  • 1 1/2 cups plus 2 tablespoons bread flour, plus extra for dusting
  • 1 teaspoon kosher salt

Directions

  1. Place 3/4 cup warm water in a medium bowl. Sprinkle the yeast over the water, and stir to combine. Set the mixture aside for about 5 minutes.
  2. Meanwhile, flour a baking sheet or other portable board and set it aside.
  3. Add the flour to the yeast mixture, sprinkle the salt on top, and stir gently with a wooden spoon until the ingredients start to come together. You can also do this in a stand mixer with the dough hook attachment, on low speed. It should take about 1 minute in the stand mixer.
  4. Once the ingredients have come together, increase the speed with which you beat the dough (turn the mixer up to medium), and beat for a couple of minutes.
  5. Finally, sprinkle a clean work surface with flour (not the baking sheet you prepared earlier), turn the dough out onto the board, and knead it gently with your fingers. There won't be enough dough to knead with the heel of your hand, so I find that fingers work best. The dough should be very moist, soft, and supple. Alternatively, turn the mixer up to high speed for 2 minutes.
  6. Divide the dough in half, and roll each half into a tight little round. Place the rounds on the prepared baking sheet, giving them several inches to spread out. Enclose the baking sheet inside a large plastic bag, and tie the bag loosely at the opening.
  7. Refrigerate the dough at least overnight, preferably for 2 nights. On the day that you make the pizza, pull the dough from the fridge about 1 hour before you intend to bake the pizzas, and leave it in a warm area.

Notes

  • This dough is quite moist, so a bench scraper is very helpful when handling it.
  • I have not had great success making multiple batches of this recipe at once, but that might be due in part to the fact that the one time that I tried, I crowded the balls of dough onto a too-small baking sheet. Give them plenty of space, otherwise they'll all smoosh together and you'll have a sticky mess on your hands.
  • If you are baking with a pizza stone, try to let your oven preheat for a good hour before you make the pizzas. Your crust will be better for it.
  • I like to turn on the broiler for the last minute or two of baking. I find that in my oven, at least, it results in better browning of the crust.


There's more...

Thursday, August 27, 2009

Facing Down Eggplant

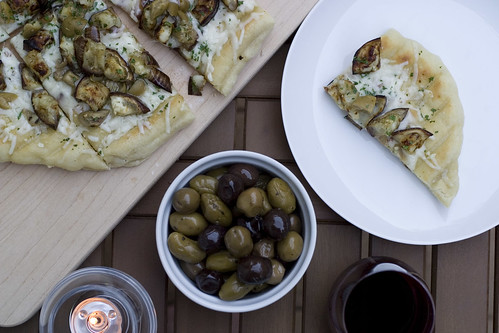
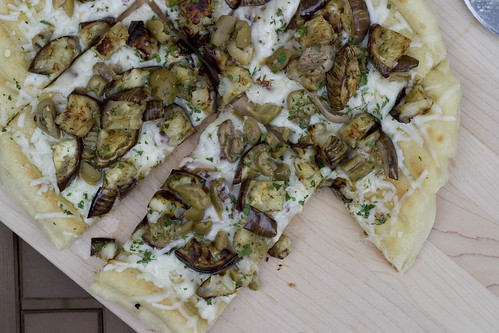
Pizza and olives

Remember a wee while back when I said I used to be a picky eater? Well, to be completely honest, I haven't outgrown all of my picky eater dislikes. I've gotten over the majority of them, but a few of them linger. Eggs are the biggest one, but not far behind them is eggplant.

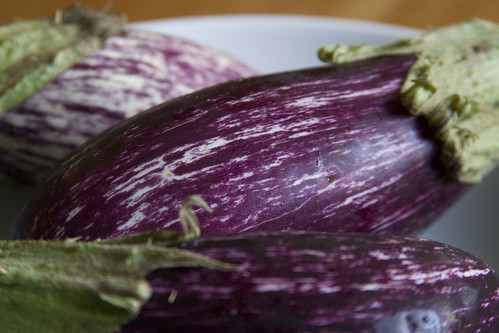
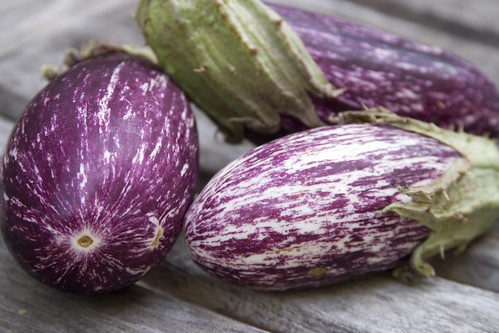
Eggplant (I)

I won't go into all the reasons I dislike it--after all, this is a blog about liking food--I'll just say that overall, I try to steer clear. I can appreciate it aesthetically, and I'll grant that its smooth, shiny skin is pleasant to the touch. Eating it, however, is just not for me.

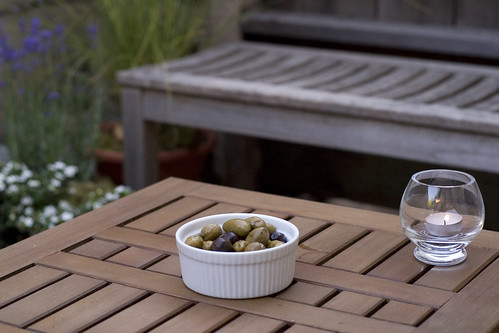
Olives on the patio

Of course, it's never that simple. In addition to the cold, harsh reality that sometimes we need to eat things that we don't much care for, just for the sake of politeness, there is the small matter of my weekly installment of the season's bounty. There are certain fruits and vegetables that my CSA farm doesn't grow, despite all my wishing that they would. Peas and tomatillos are among them; sadly, eggplant is not.

Eggplant (II)

Now that we're in high season for the fruit-bearing nightshades, alongside the tomatoes and peppers I'm getting eggplant. Fortunately for me, I have a mother who not only loves eggplant, but also lives close enough that I can dispense with the eggplant fairly easily. Still, I feel a duty to try, at the very least, one or two recipes to see if I can get myself to a point where I can use the eggplant myself--and hopefully even enjoy it. I've become a convert to the theory that you can like anything as long as it's prepared in the right way; surely there's an eggplant recipe out there that will win me over, right?

Sliced eggplant

So, when I saw this recipe in a recent issue of Gourmet, I flagged it. It's been my experience that sometimes a previously objectionable vegetable will become palatable when cooked with very high heat, and I was hoping that that would be the case with my eggplant. Rather than sauteing it, baking it, braising it, or what have you, this recipe calls for grilling it. And if there's any iffy fruit or vegetable that isn't improved by grilling, well, I haven't tried it yet.

Grilling eggplant

The grilling wasn't the only thing this recipe had going for it: it's pizza. Hard to go wrong, right? And it's grilled pizza, to boot. (You could, of course, do it in the oven if grilling isn't an option.) Toss in some cheese, some olives, and some garlicky olive oil, and I was on board.

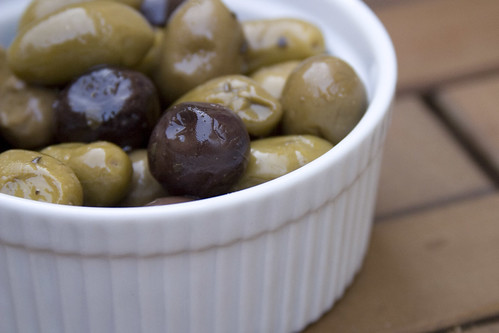
Olives
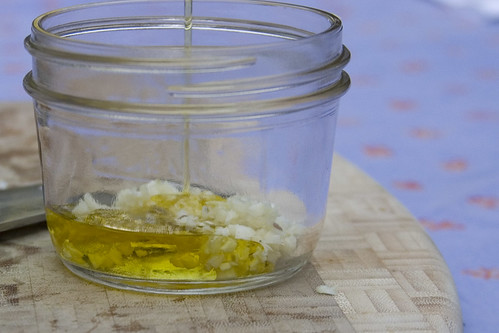
Pouring olive oilSwirling oil with garlic

If you've never grilled pizza before, or even if you have, it can be a little scary. Perhaps "thrilling" is a better word. Ordinarily, making pizza is a straightforward affair that involves, at its most complicated, sliding the prepared pizza from a peel to a pizza stone, and back again once it's cooked. Everything's flat, everything's solid, and unless you're a little overzealous in the jerking motion you use to transfer the dough to the stone, it's hard to lose the dough along the way.

Fire

On the other hand, when you grill pizza, it's a bit more hair-raising, or at least it is for me. I have this constant fear that I'm going to drop the dough either wholly or partially down through the grill grate, and that it will be ruined in any number of different ways. Covered in ash, burned and blackened, misshapen, and so on. At first I figured that I'd approach it the way I do pizza in the oven: prepare the dough on the peel, and slide it quickly (hopefully effortlessly and perfectly) onto the grill. What could go wrong?

Dough squishGrilled pizza doughBrushing oil on pizza dough

Well, I realized that I had to brush one side of the dough with oil and put the dough on the grill with the oiled side facing down, that's what. So much for my effortless sliding. In the end, I put the dough on the peel (not before shaping it beautifully and oiling it on a different board, necessitating an awkward transfer to the peel and resulting in the loss of the beautiful shape) and in one determined-but-not-quite-fearless motion, flipped it over, oiled side down, onto the grill. Success! I don't have a picture of the dough on the grill, but trust me, it worked perfectly. Nothing slipped through the cracks, it was aligned directly over the coals, and I was on my way to grilled pizza.

Pizza

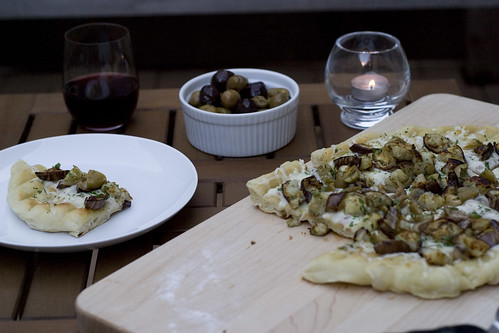
Not just that, I was on my way to a good grilled pizza. You know what? Grilled eggplant isn't half bad. My faith in the principles of "anything's okay if you cook it right" and "everything's better with high heat" remains intact. It's a curious combination--the smoky eggplant, the briny olives, and the slightly nutty provolone--but somehow it works. I wouldn't say that this is my favorite pizza ever, but it's one I'll make again.

What foods have you had trouble convincing yourself to like? Are there particular recipes that helped you like them? Please share!

Dinner

Grilled Eggplant, Green Olive, and Provolone Pizza

Serves 4

Ingredients

  • 2 medium or 1 large clove of garlic, minced
  • 1/3 cup extra-virgin olive oil
  • 1 1/4 pound eggplant, cut into rounds 3/4-inch thick
  • 1 pound pizza dough, store-bought or homemade (see note), at room temperature
  • 5 ounces grated provolone cheese
  • 1/3 cup coarsely chopped pitted green olives (about 12-18 olives, depending on size)
  • 1/4 cup chopped parsley
  • salt and freshly ground pepper

Directions

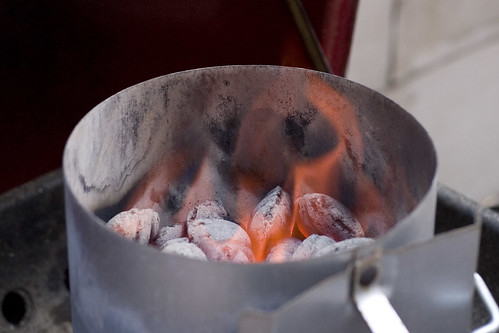
  1. Prepare your grill for medium, direct heat. The coals are ready when you can hold your hand 5 inches above the grill grate for 3-4 seconds.
  2. Combine the garlic and olive oil in a small bowl, and stir together.
  3. Brush both sides of the eggplant slices with garlic oil, and sprinkle them with 3/4 teaspoon salt and 1/2 teaspoon pepper.
  4. Place the eggplant slices on the grill. Cover the grill and cook the eggplant, turning once, for 6-8 minutes, or until tender and browning. Transfer the slices to a plate and, when cool enough to handle, cut them into rough 1-inch pieces.
  5. Roll or stretch the dough (see note) into a rectangle approximately 12 by 10 inches on a large baking sheet or a pizza peel. Brush it with with the garlic oil.
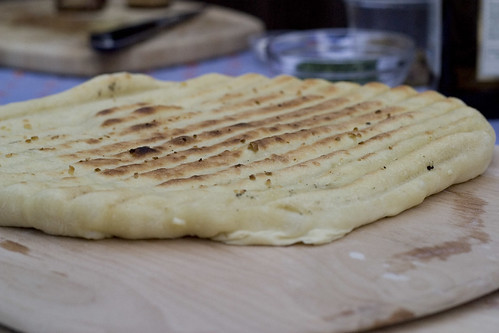
  6. Flip the dough onto the grill so that the oiled side is facing down. Brush the top of the dough with more of the garlic oil, then cover the grill. Cook the dough until the underside is beautifully golden, about 2-3 minutes (start checking after 1 1/2).
  7. Use some long tongs to transfer the crust back to your baking sheet or peel, grilled side up. Brush it with a bit more oil, then scatter the cheese, olives, eggplant, and parsley over it.
  8. Slide the crust back onto the grill (topped-side up, obviously), cover, and cook a further 3 minutes or so, until the underside is golden and the cheese is nice and melted.
  9. Transfer to a cutting board, slice, and serve.

Notes

  • This recipe is a fairly good basic pizza dough. It's easy, it's reliable, and I think it tastes pretty good. The dough is even better the next day--it's easier to work with and has better flavor--so don't hesitate to make it a day or two ahead of time. You could even mix it up before work and just let it rise in the fridge until you get home!
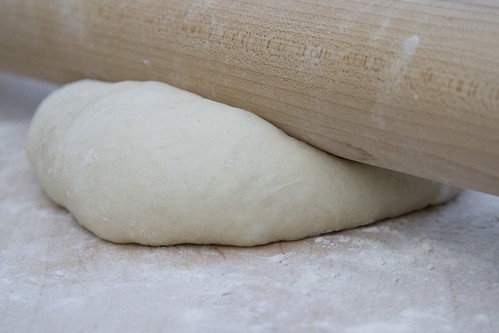
  • When shaping the dough, I find that it's easiest to get the dough started with a rolling pin, and then switch to stretching it by hand. I hold it near the edges and work my hands along the edge, so that it stretches under its own weight. It develops a flat bed and a nice swell of a crust.

There's more...

Sunday, August 16, 2009

Risotto caprese

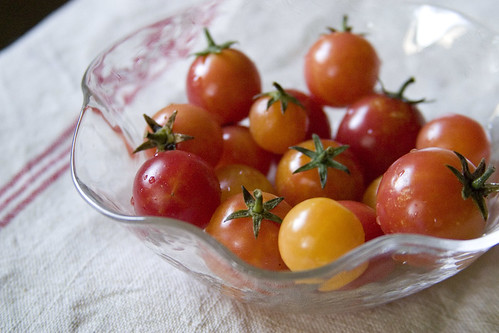
Cherry tomatoes in bowl (I)

It's on virtually every Italian restaurant's summer menu, and one of the star ingredients is overflowing on a farmer's market table near you. Insalata caprese, that iconic antipasto, takes the delight of a fresh tomato and does it one better by adding two of the tomato's most natural partners: basil and cheese. It's a classic that's taken firm hold in the States, or at least in this corner of my state, and has become so common that it's almost cliché.

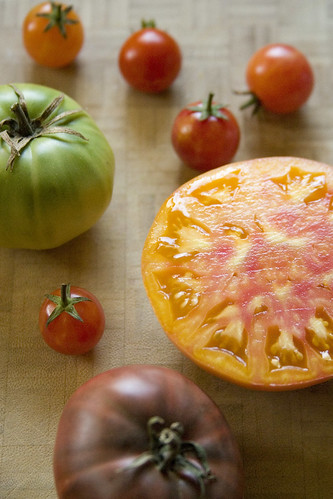
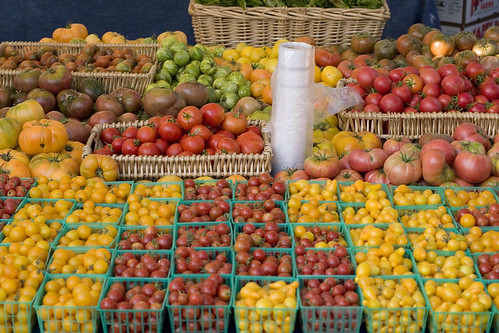
Red, yellow, orange, and green tomatoes

But like so many clichés--Beethoven's 5th symphony, anyone?--there's a good, solid grounding at the heart of its overwhelming popularity. What better distillation of summer's bounty than fresh, juicy tomatoes, soft mozzarella cheese, and sweet basil? Oh, you can dress it up with some balsamic vinegar and some black pepper or what have you, but all you really need is some salt and perhaps a bit of olive oil. Perfection.

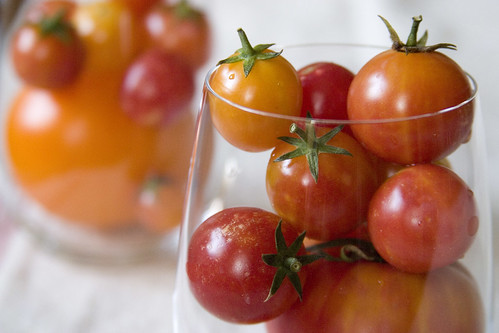
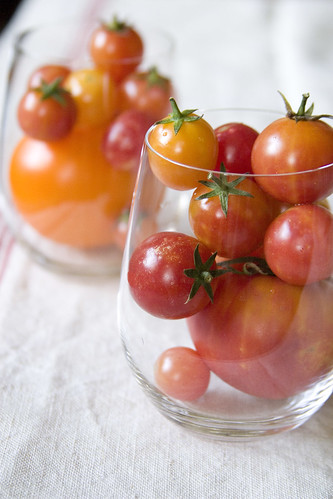
Cherry tomatoes in glasses (II)Multi-colored heirloom tomatoesCherry tomatoes in glasses (I)

It's hard to imagine making insalata caprese even more sublime than it already is, but if there's a way, I think I've found it. The key--bear with me here--is rice. Not just rice, but lovely short-grain Italian rice that's been slowly cooked with leeks and broth and wine until it becomes a creamy, unctuous mess. In other words, risotto.

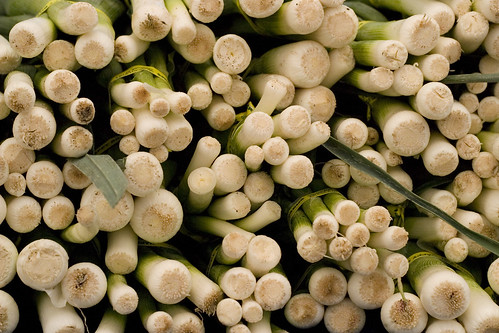
Leek ends

Making risotto in the middle of summer might sound crazy, and all I have to say about that is thank goodness for air conditioning! If I'm going to be standing around stirring a pot over a hot stove for half an hour when it's 85F or warmer outside, I'll be a much happier camper if there's a modern marvel blasting cool air into my kitchen. I typically feel guilty for running the air conditioning just so that I can be comfortable while cooking something that probably isn't very summer-friendly, but to be honest, I forgot all about the guilt when I tasted this risotto.

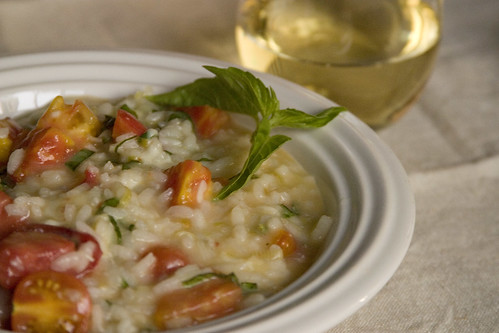
Summer risotto (I)

Folks, this one's a winner. I encourage--nay, I implore you to make the pilgrimage to your favorite farmer's market, buy yourself some ripe tomatoes and basil and cheese, and cook this risotto as soon as you possibly can. (Unless you don't care for risotto, in which case, you may picture me giving you my sternest look.) Make it, taste it, love it. The tomatoes, added in off the heat, don't cook so much as warm gently, swathed in risotto's viscous goodness.

You can serve it with a green salad if you like; but when you taste the risotto, in all likelihood you'll forget about everything else on the table. The real danger here is that you'll want to eat the whole pot yourself, which will risk a) the alienation of your dining companions, and b) the need for a dolly to wheel you from the table to your bed. Don't say I didn't warn you.

Heirloom tomatoes

Summer Risotto with Tomato, Basil, and Mozzarella

Adapted from Annie Somerville's Everyday Greens
Serves 4... barely

Ingredients

  • 1 cup halved cherry or grape tomatoes
  • 1 1/2 cups tomato of various colors, seeded and cut into 1-inch pieces
  • 1/2 teaspoon salt
  • 1/4 cup basil chiffonade, plus additional basil for garnish
  • 2 tablespoons olive oil
  • 3 tablespoons butter
  • 1 cup sliced leeks, white and light green parts only, from 1 large or 3-4 small leeks
  • 1 tablespoon minced garlic, from about 2 medium cloves
  • 1 cup arborio or carnaroli rice
  • 1/2 cup dry white wine
  • 6 cups (roughly) stock (vegetable or chicken, as you wish)
  • fist-sized ball of fresh mozzarella, preferably buffalo mozzarella
  • grated Parmigiano Reggiano for serving (optional)

Directions

  1. Bring the stock to a simmer, and keep it warm on the stove.
  2. Combine the tomatoes, basil chiffonade, salt, and olive oil in a large bowl and toss to coat the tomatoes evenly. Set aside.
  3. Heat butter in a medium-sized pot over medium heat. When the butter has melted, add the leeks and cook until they are fragrant and softened, about 5 minutes.
  4. Toss in the garlic and cook for about 1 minute, until fragrant.
  5. Add the rice and cook, stirring frequently, for 2 minutes.
  6. Add 1 cup stock and cook, stirring constantly, until the liquid has been almost fully absorbed and your spoon or spatula leaves a clear trail when drawn across the bottom of the pan. Repeat with another 1 cup stock, adjusting the heat to keep the pot at a bare simmer.
  7. When the second cup of stock has been absorbed, add the wine and cook, still stirring, until it has been absorbed as well.
  8. Continue cooking and stirring, adding stock 1/2 cup at a time, until the rice is al dente, creamy, and saucy. Remove the pot from the heat.
  9. Drain and pat dry the mozzarella. Pinch off rough, bite-sized pieces and drop them onto the risotto.
  10. Add the tomato-basil mixture to the risotto and cheese, and stir gently just so that it is evenly mixed.
  11. Serve sprinkled with additional basil chiffonade and grated Parmigiano.

There's more...

Sunday, August 9, 2009

This just in

I think it's tomato season:

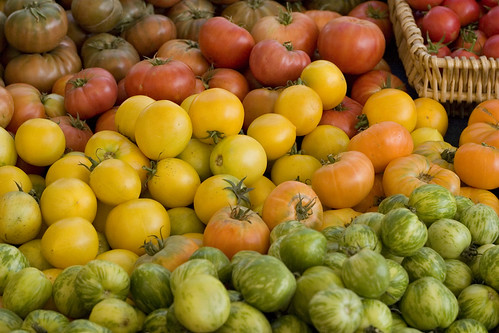
Tomatoes of all kinds

There's more...