Showing posts with label Fruit. Show all posts
Sunday, July 10, 2011

Welcome back

Cherry frangipane tart

Well. It's been a while, hasn't it. Much to my surprise, life after graduate school does not, in fact, automatically come with more free time. On the contrary, along with my shiny new job came a shiny new commute, and part of me feels a perverse longing for the "free" time I had a year ago. Finding the time and energy to cook dinner with any kind of regularity has been a challenge, let alone finding the motivation to photograph and write about what I manage to cook.

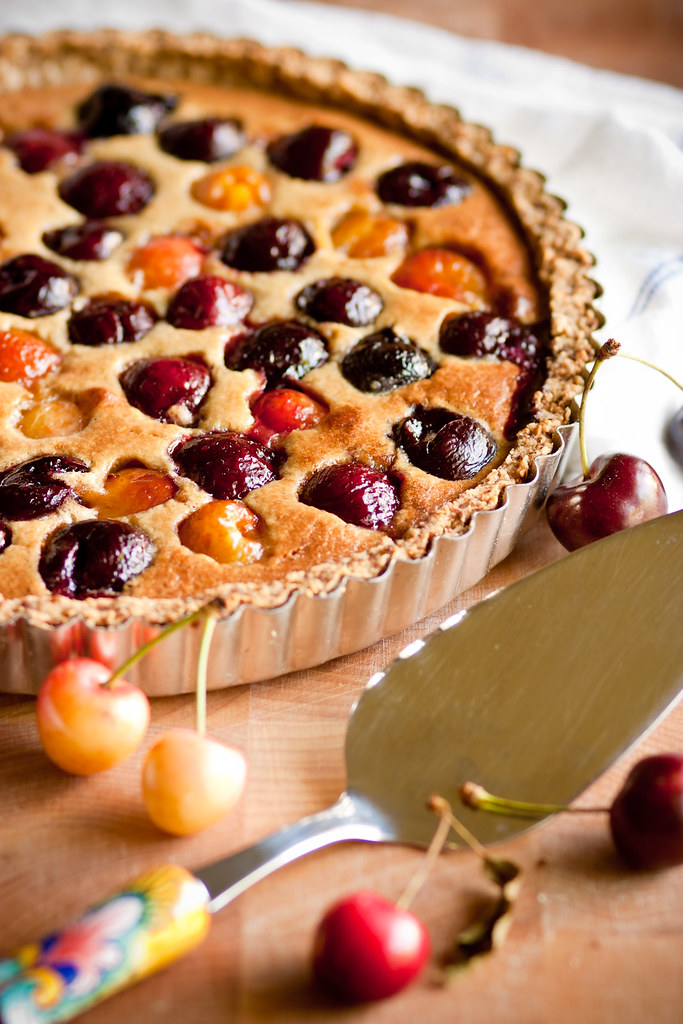
Recently, though, I've enjoyed some extra inspiration to make time for baking. Summer fruit hit its stride a few weeks ago, just in time for Amy I. to return to the Bay Area. Now, when a friend arrives back in town after six months abroad, when she and her spouse move into their new place, housewarming goodies must be baked. And baked they were. I could think of no more delightful way to celebrate their return than with an abundance of summer's best in one of my favorite fruit desserts: a frangipane tart.
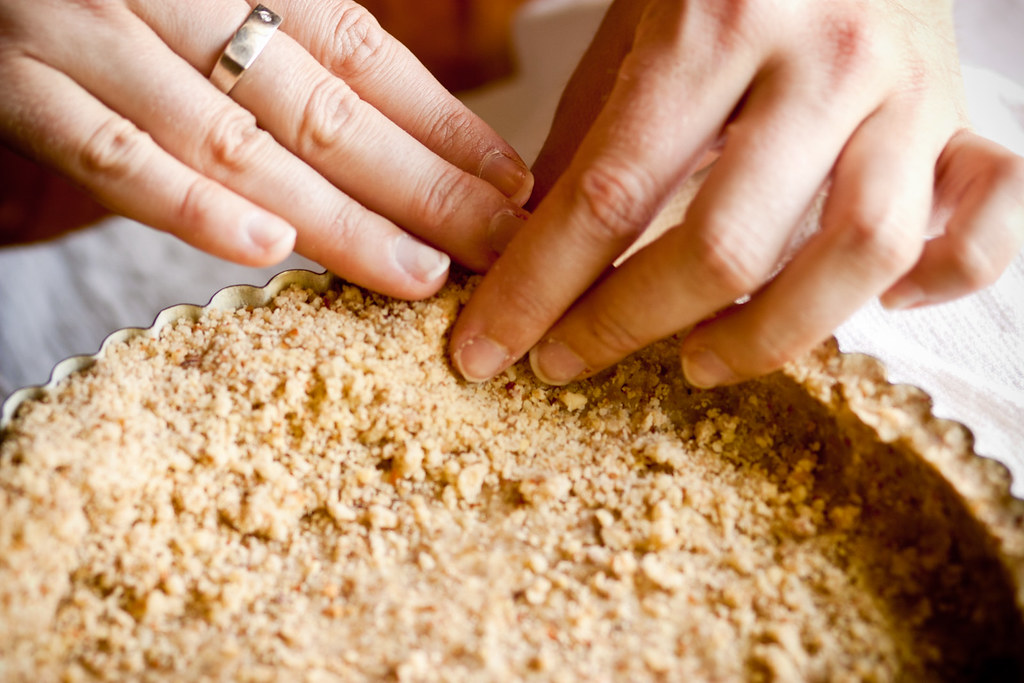
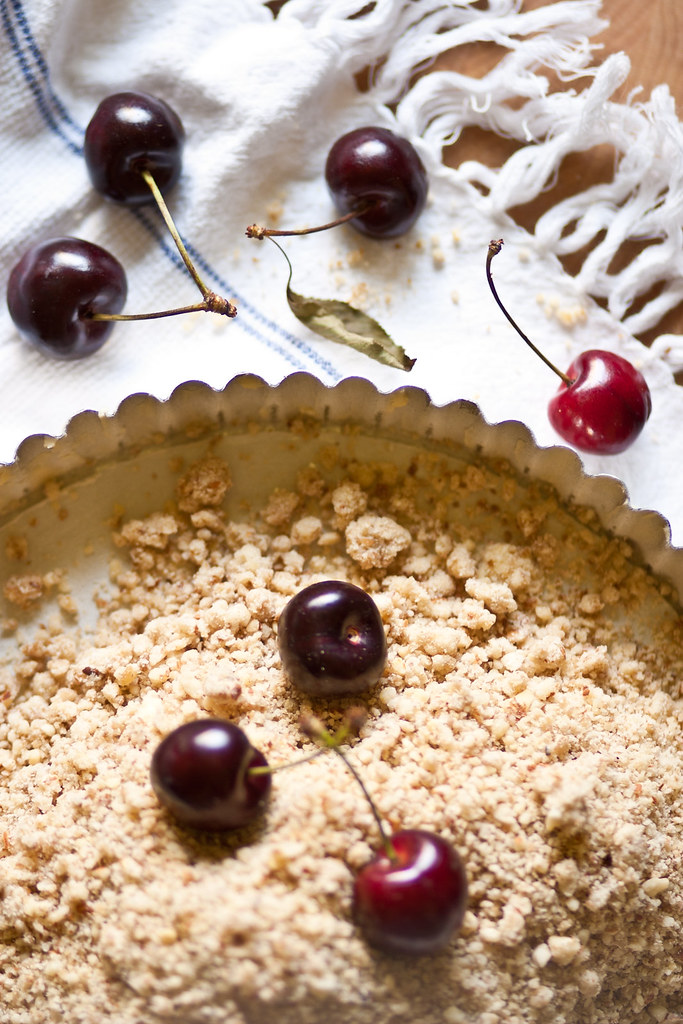
Shaping

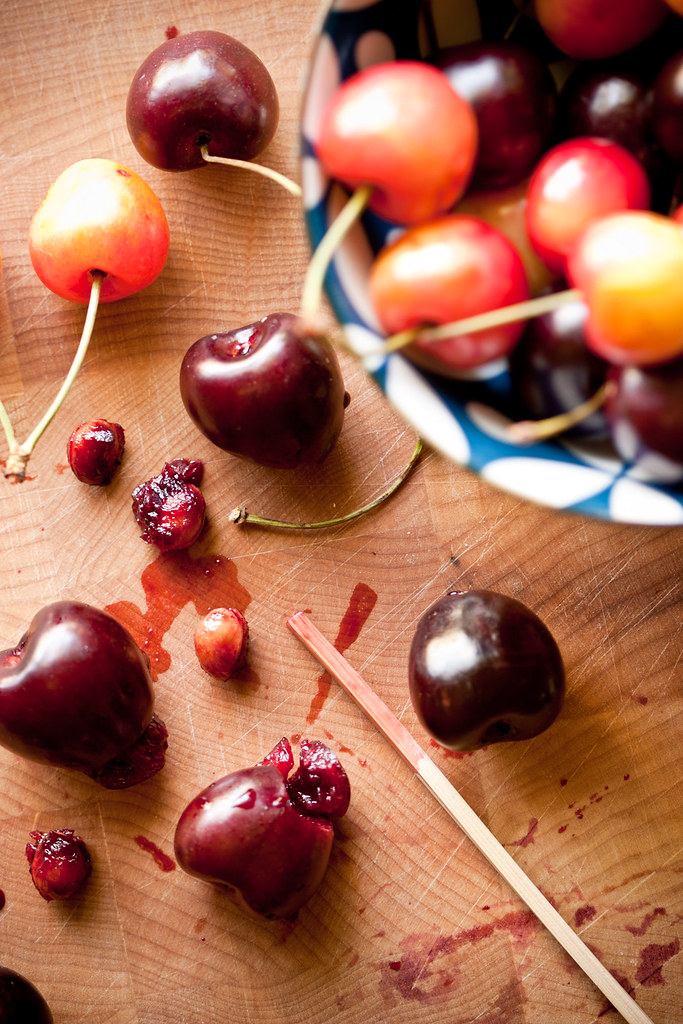
Tart crustPitting cherries

You see, I am a sucker for many things nut-related, but perhaps most of all for frangipane. So simple, so easy, frangipane feels disproportionately (almost guiltily) rewarding for how little work goes into it. A food processor makes quick work of the filling, and whether you scatter the fruit haphazardly or arrange it artfully, the result rarely fails to take on a kind of elegance. In the end, for reasons I can't quite identify, frangipane tarts feel at once rustic and refined, the sort of dessert that feels equally at home eaten off of a napkin or china plates.

This is a choose-your-own-adventure sort of dessert, one that works with a variety of crusts and virtually any fruit you can imagine pairing with nuts. I think that stone fruits make the best frangipane tarts, but pear and apple also shine in this setting (pear frangipane tarts are a classic French dessert), and I will probably try a fig and frangipane tart before the summer's out. For this tart, however, the timing couldn't have been better for cherries.
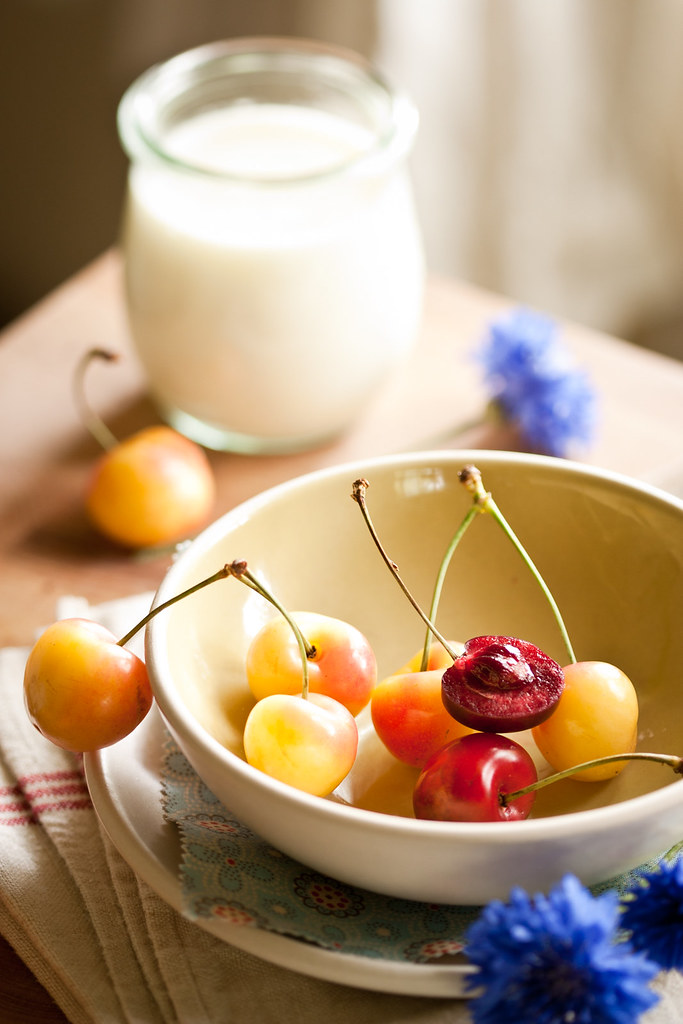
Life is...

Sweet and succulent, and just hitting their peak, cherries have had me on a veritable baking streak. They seem particularly fine this year, despite (or perhaps thanks to?) an unusually rainy and cool spring, and I am enjoying cherries like never before: packed in lunches, at picnics in the park with puppy, out of hand as I putter about the house, and of course baked in tarts like this one. I do hope you'll give it a try.
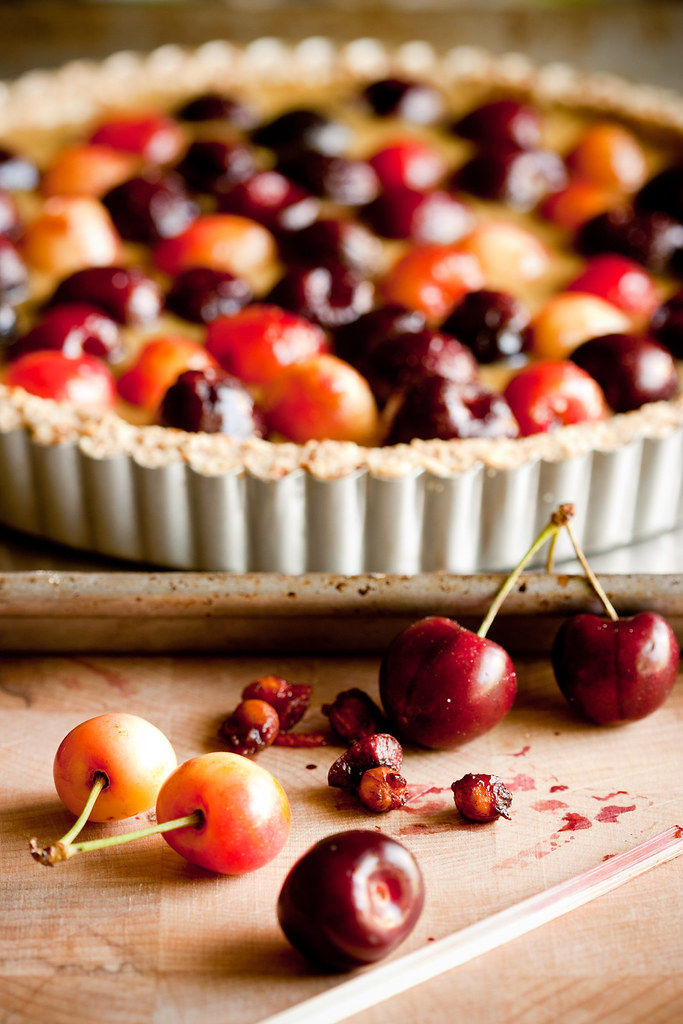
Pitted cherries

Cherry Frangipane Tart

Adapted from Deborah Madison's Seasonal Fruit Desserts.
Makes one 9-inch round tart, plus enough frangipane for another tart.

Ingredients

  • One 9-inch tart shell (recipe of your choice), partially baked, cooled
  • 1 1/2 cups raw almonds
  • 1/2 cup plus 2 tablespoons unrefined sugar (see note)
  • 1/4 teaspoon salt
  • 2 tablespoons all-purpose flour
  • 7 tablespoons unsalted butter
  • 1 egg plus 2 egg yolks
  • 1/2 teaspoon almond extract
  • 2 tablespoons Kirsch (optional, see note)
  • 1 1/4 pounds cherries
  • 3 tablespoons good quality fruit preserves (I used homemade apricot jam)
  • 1 tablespoon granulated sugar

Directions

  1. Combine the first four ingredients in the bowl of a food processor and process until the nuts are finely ground.
  2. Add the butter in pieces and process until the mixture is smooth.
  3. Add the egg, yolks, almond extract, and liqueur (if using), and process until well blended. Divide into two equal portions, and refrigerate one half for later use. You may refrigerate the other half if not using right away; bring the mixture to room temperature before spreading into the prepared crust (see note).
  4. When ready to bake the tart, place a rack in the center of your oven and preheat the oven to 400F (200C).
  5. While the oven is coming up to temperature, heat the preserves, strain them, and stir together with 1 tablespoon water.
  6. Stem and pit the cherries, then toss with the sugar and strained preserves.
  7. Spread the room-temperature frangipane over the cooled crust, and distribute the cherries over the top.
  8. Bake until the frangipane is puffed and golden, and the fruit has softened, about 35 minutes.
  9. Serve warm or at room temperature, as you prefer

Notes

  • You can also use white sugar, but I like the extra depth of flavor that raw or other kinds of unrefined sugar (such as sucanat) lend to the filling. The exception is the cherry mixture, where the fine grains of ordinary granulated sugar lend themselves to more even distribution.
  • Kirsch works beautifully for a cherry tart, but you can also use Amaretto, especially if you're using a different fruit.
  • This recipe makes twice as much frangipane as you need for one tart, but the mixture keeps, refrigerated in a clean container, for approximately one week. I find it a very handy thing to have around in case you need to make a dessert on short notice, and in summer I'm rarely without a jar of it in the fridge.
  • You can also make frangipane using almond paste, which contains more finely ground almonds, but I prefer the texture of frangipane made with ground almonds. An example of almond paste frangipane can be found here.
There's more...

Sunday, April 18, 2010

Preserving the best of winter

Clementine-kumquat marmalade

Before we begin, I must beg your pardon. I've waited so very long to share this recipe with you that at this point, I fear you'll have some difficulty in obtaining the ingredients. But it would be a shame to have to wait until next winter to make this marmalade, so I'm going to post it anyway. I hope very much that, what with California often being on the leading edge of the change in the turnover of seasonal produce, the bright hues of winter citrus are still in abundance at your local markets.

Breakfast table

Personally, I've missed my window. I made only a small batch as a test run, and as it often does, life (*cough* grad school *cough*) kept me from making another, larger batch before kumquat season came to an end. Now that that one small batch is long gone, I find myself pining for it.

I still love orange marmalade, but after making and tasting tangerine-kumquat marmalade, I admit that I'm spooning ordinary orange marmalade onto my toast with a little less enthusiasm than I used to. There might even be a sigh now and then as I remember that what I have left in my pantry for the next nine months or so is not, in fact, tangerine-kumquat marmalade.

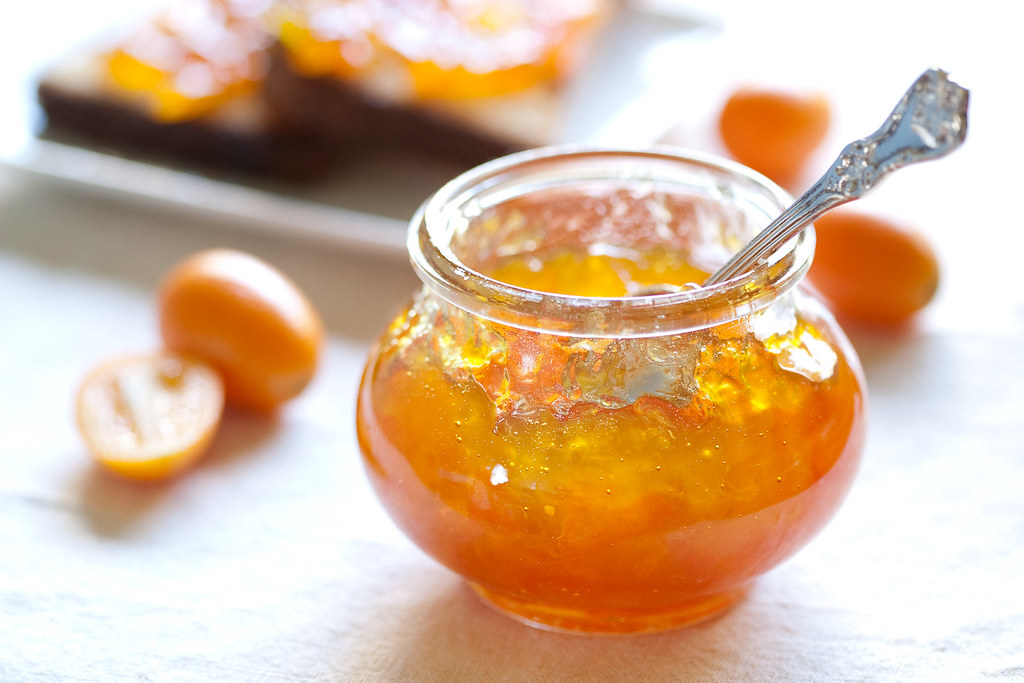
Pot of marm

Most marmalades succeed reasonably well in striking a balance among sweet, tart, and bitter flavors. None, in my experience, does it with the grace that this one possesses. As Thomas Keller notes at the beginning of the recipe, this marmalade is at home aside an elegantly prepared duck as it is atop a humble bagel with cream cheese.

Marmalade skeptics might look askance at the relatively large pieces of rind suspended in the jelly. Indeed, the marmalade does have a substantial (in my opinion, very pleasant) chew, but the rind's bitterness mellows with an overnight soak in water, so those large pieces are not as bold as they otherwise might be. In fact, other than the color, there's not much about this marmalade that is bold. But don't let that dissuade you. It doesn't need to be bold. It's perfectly content to wait, earnest and smiling, for you to discover its virtues in your own good time. And I'm sure you will--assuming you can find some kumquats.

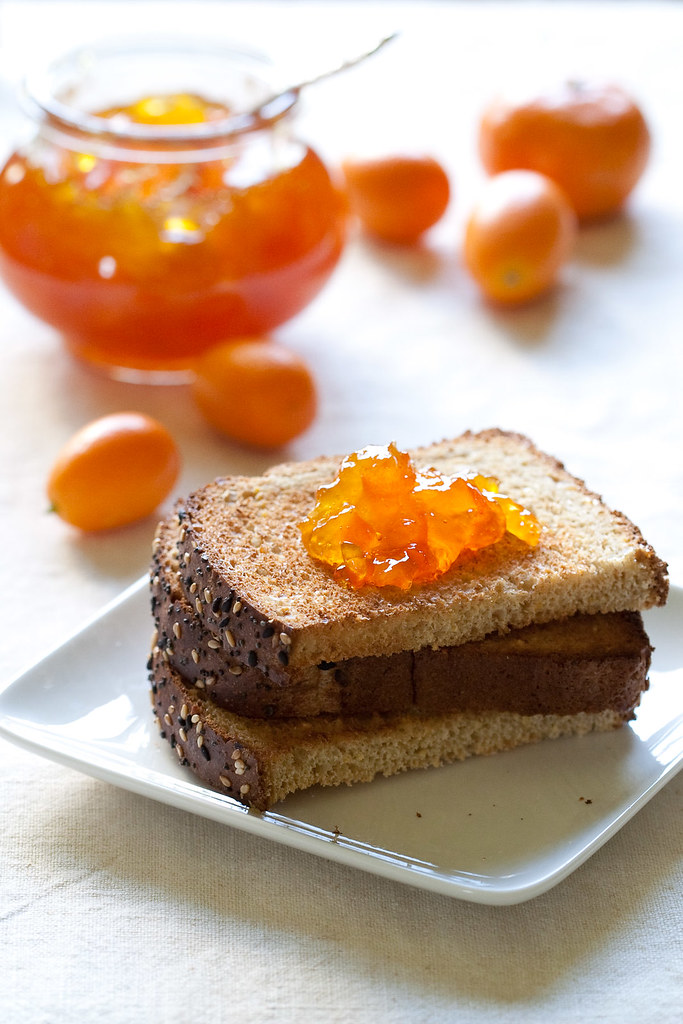
Marm on toast

Tangerine-Kumquat Marmalade

Adapted from Ad Hoc at Home
Makes about 2 1/2 cups

Ingredients

  • 1 1/2 pounds kumquats
  • 6 tangerines or other mandarin oranges, or enough to provide 1 cup of juice
  • 2 1/2 cups sugar

Directions

  1. Quarter the kumquats lengthwise, and remove the stems and all of the seeds. (If you prefer your pieces of rind to be smaller, cut the kumquats into eighths instead.)
  2. Put the kumquat pieces in a large bowl, and pour in enough cold water to cover by about 2 inches. Place the bowl in the refrigerator, and chill for at least 18 hours, or up to 24 hours. This soak and chill will temper the rind's bitterness.
  3. When you are ready to make the marmalade, quarter the tangerines and pour the juice from the cutting board into a 1-cup (or larger) measuring cup. Working with one quarter at a time, cut the tangerine flesh away from the skin (being careful not to cut into the pith). If you encounter any seeds, remove and discard them.
  4. li>Squeeze the tangerine juice into the measuring cup. Discard the rind, but reserve the juiced flesh. Continue until you have 1 cup of juice, then set the juice aside.
  5. Gather up the reserved tangerine flesh, chop it, and transfer it to a medium-sized pot.
  6. Add the kumquats, the juice, and the sugar, and stir to combine. Affix a candy thermometer to the side of the pot.
  7. Bring the mixture to a simmer and cook, skimming off as much foam as you can, until it registers 215-220F (100-105C) and a small amount dribbled onto a chilled plate sets nicely and wrinkles when pushed with your finger. Remove the pot from the heat.
  8. Ladle the marmalade into clean jars, cover, let cool to room temperature, and chill. The marmalade should be chilled for at least 2 hours, and ideally for 24 hours, before being served.

Notes

  • The marmalade keeps, refrigerated, for 1 month--that is, if you can make it last that long.
  • Alternatively, you can use the hot pack canning method for shelf-stable jars.


There's more...

Saturday, February 6, 2010

Promises, promises

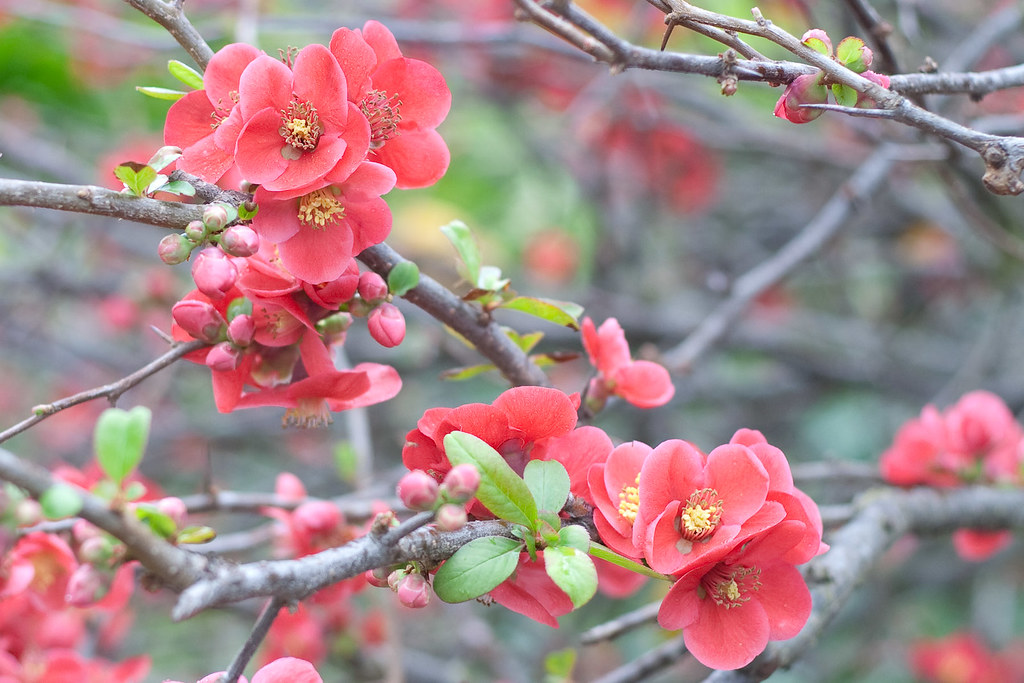
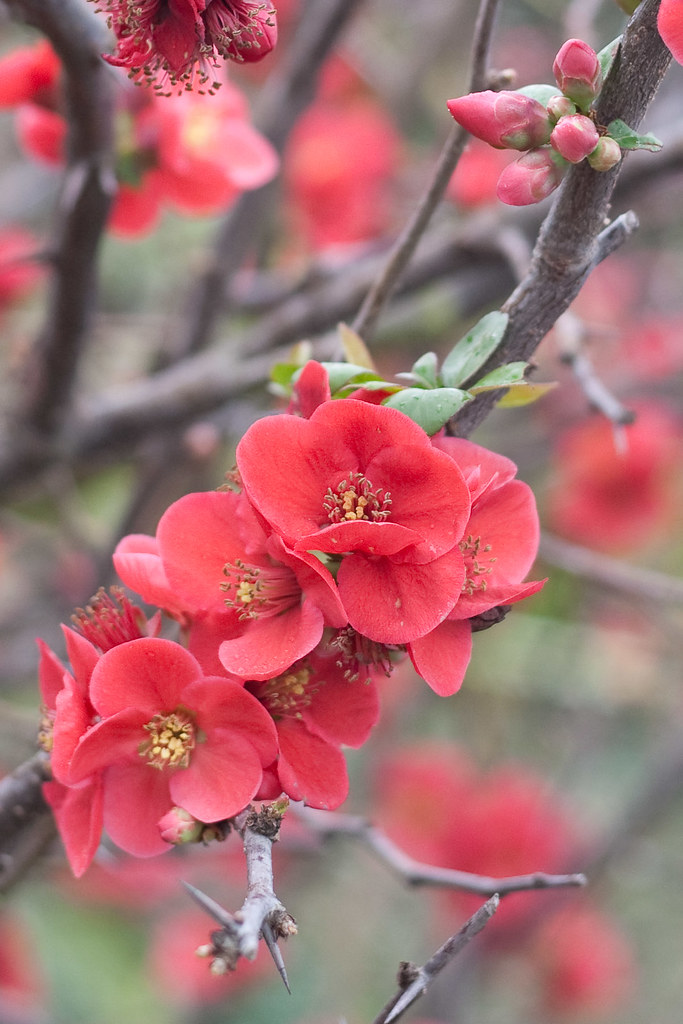
Quince blossoms

Dear, patient readers, I know it's been a while. I'm hoping to get back into regular blogging soon. (Regular cooking would be a good start.) Meanwhile, I'll leave you with the promise of delicious things to come, both verbally and photographically. These quince blossoms brightened my day, as I hope they do yours.

Pink

There's more...

Sunday, January 3, 2010

Starting off on the right foot

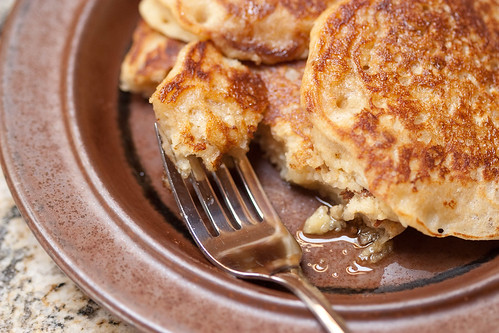
Breakfast

A year, much like a day, ought to begin on solid footing, don't you think? Even if you don't subscribe to the view that a new year is a clean slate, there's something heartening about getting a new calendar year off to a good start. We can define "good" in various ways, of course; but since this is the season of new gym memberships and diet resolutions, let's play along and go for something healthy.

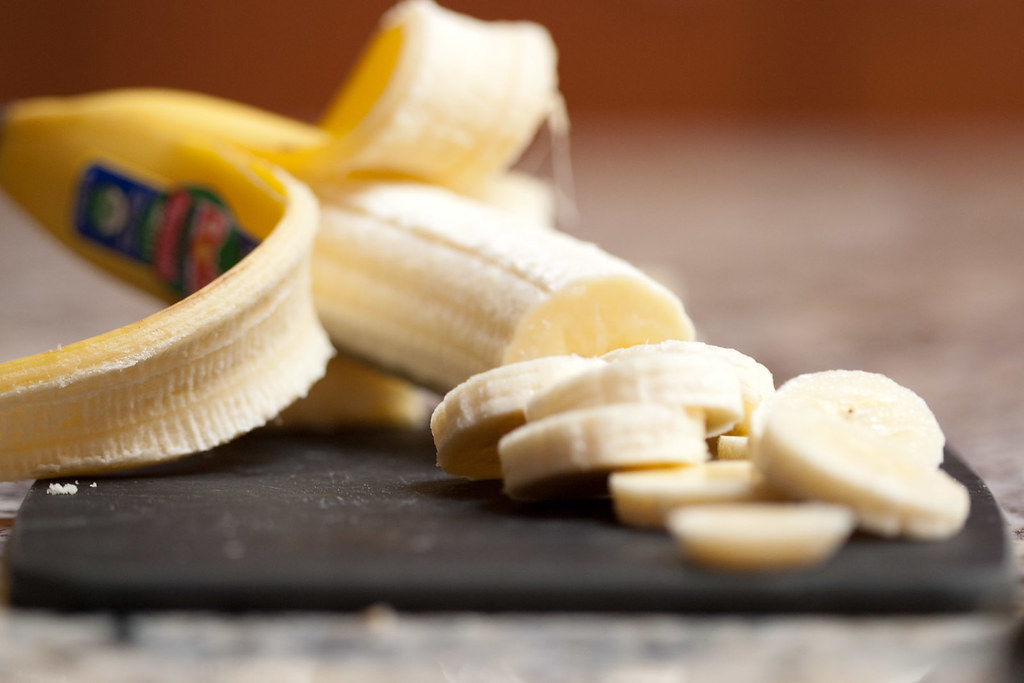
Sliced banana

Don't worry, I'm not about to convert this blog to a diet blog. On the contrary, given my new toy, I'll probably have all sorts of new and decadent recipes to share. And what with being on blood-thinning medication for the next several months, I don't exactly have free rein with most of the vegetables that are now in season. But that doesn't mean that we can't find new and interesting (and, above all, delicious) ways to nourish ourselves.

I've done a fair bit of nudging and winking recently about whole wheat recipes that I try to pass off as healthy, with varying degrees of success. This recipe falls right into that theme. These pancakes are cooked in butter (or at least I recommend that you cook them that way), and are delicious drizzled with maple syrup, so there's no claiming that they are 100% guilt-free. That said, of all the whole wheat recipes that I've posted, this is perhaps the one with the most bang for its nutritional buck.

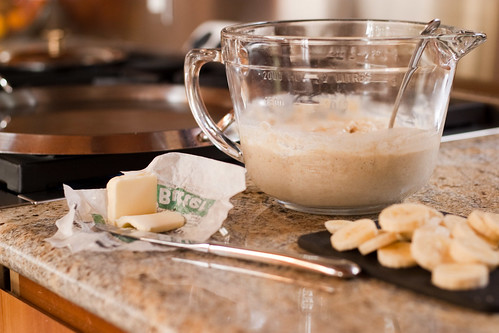
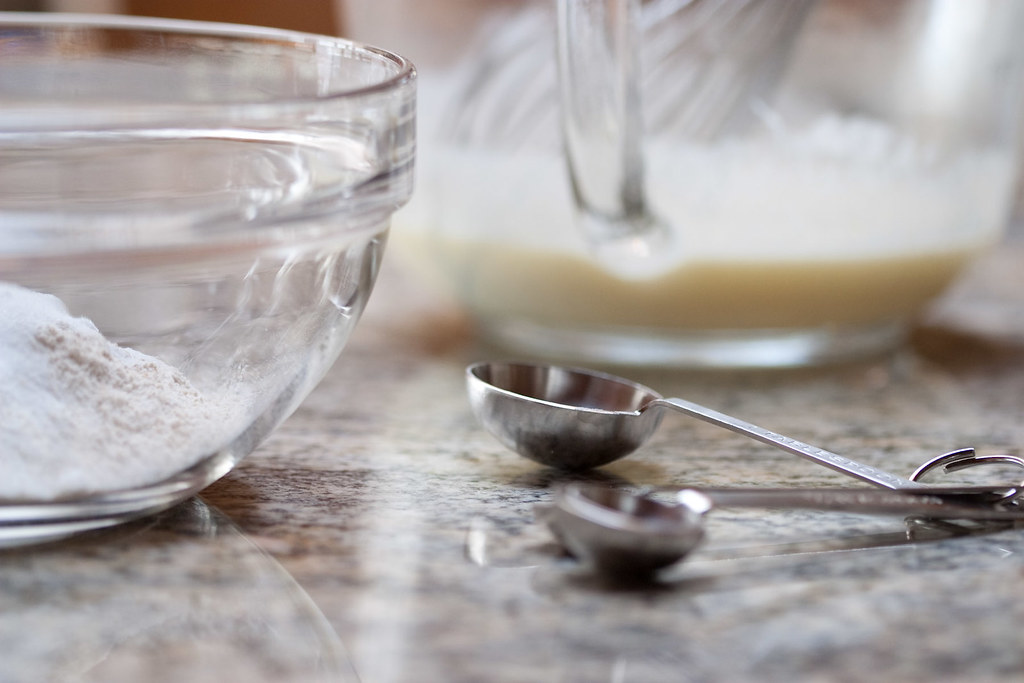
Mise en place

With some of the other recipes, I felt like you couldn't mess too much with the butter or sugar quantities before the intended tasty treat became, well, not as much of a treat. Unlike those recipes, these pancakes don't need a lot of dolling up in order to make you feel like you're starting your morning with something special. They've just a touch of oil and sugar--so little sugar, in fact, that I think you'd hardly miss it if you left it out--but tasting them, you wouldn't know it.

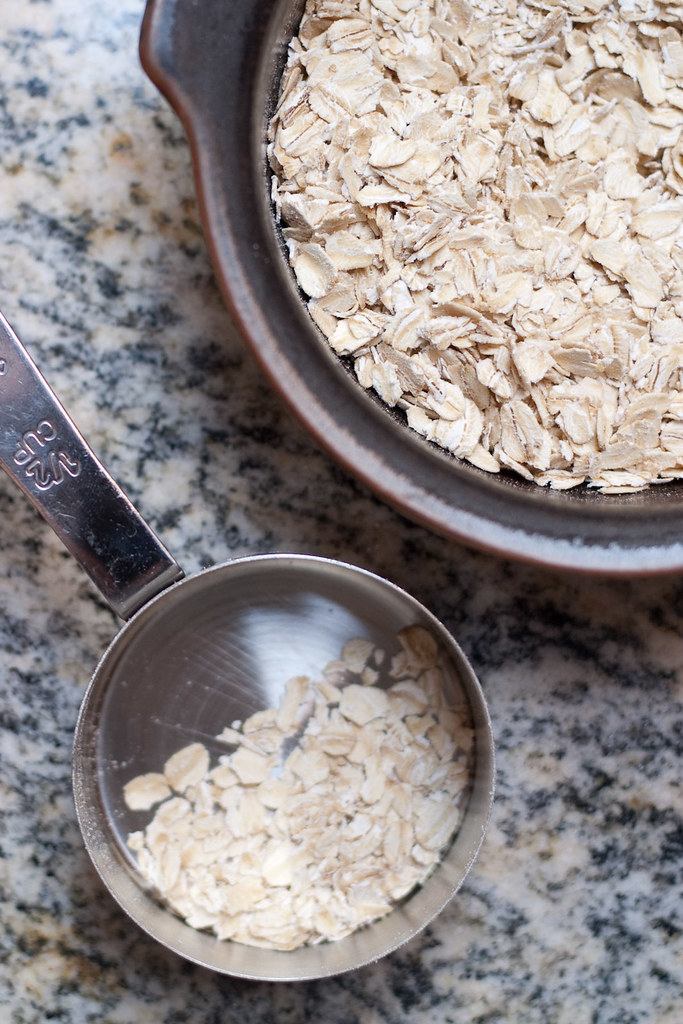
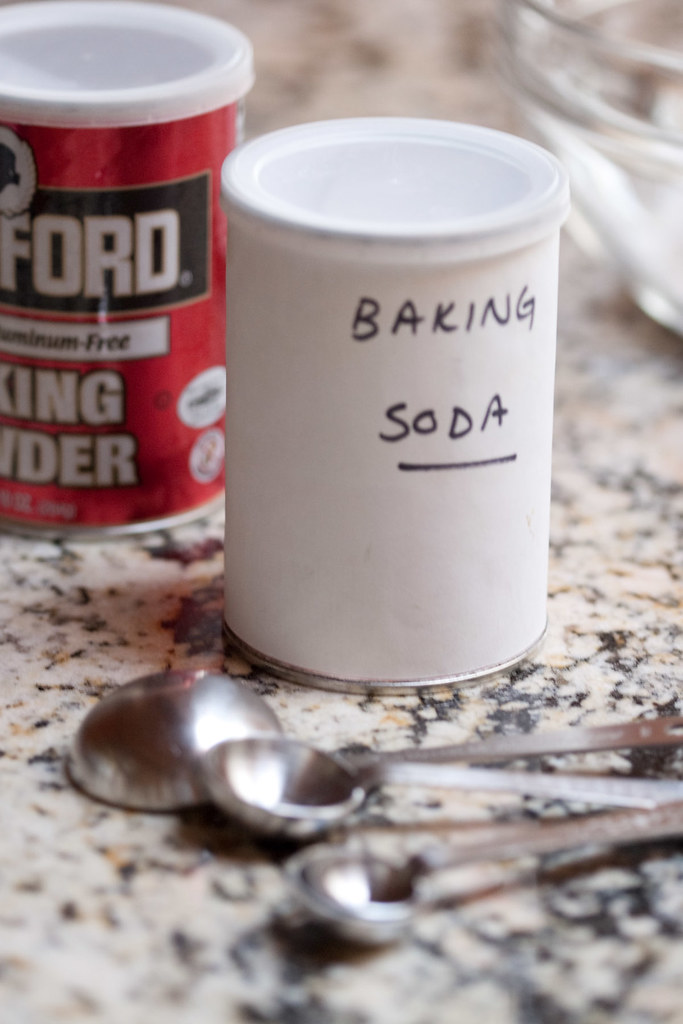
OatsLeavening

And here's another thing you might not guess from tasting these pancakes: they're actually two breakfast foods in one. That's right, these pancakes are made with oatmeal--the better to make your heart jump for joy when you sit down to a plate full of them. But the texture doesn't feel like a bunch of oats, the way oatmeal raisin cookies do. They dissolve (or something?) into the pancake batter, and you're left with a soft and hearty--but not tough or chewy--pancake.

The introductory comments on the original recipe mentioned something about these pancakes being rather dense, but I don't think that's the case at all. The buttermilk makes them pillowy, lighter than one might expect of whole wheat pancakes. And if you have your heart set on a truly fluffy pancake, you can always separate the eggs, make the batter with the yolks only, and then fold in the beaten whites.

Measuring

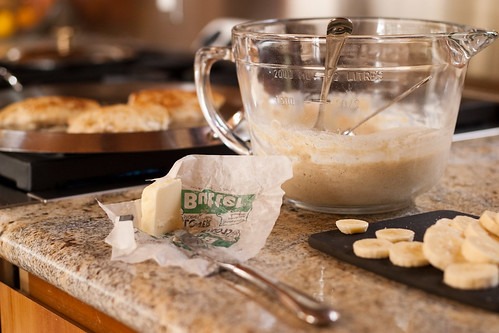
These pictures reflect a banana-walnut version of the pancakes, but that's just a variation born of necessity. The recipe was originally written with blueberries in mind, and the pancakes are equally good that way. I imagine they would also be good with no fruit at all, or made plain and topped with fresh raspberries, or apple (or pear, or quince) compote... I'll let your imagination keep that train of thought going.

But before I lose you to your reverie, I'd like to wish you all a peaceful and prosperous (and pancake-filled!) new year. Here's to another year of good eating!

Pancakes

Oatmeal Buttermilk Pancakes

Makes 15-20 pancakes, depending on size

Ingredients

  • 1/2 cup rolled oats (not steel-cut)
  • 1/2 cup (4 fluid ounces) low-fat milk
  • 1 cup whole wheat flour
  • 1/2 cup unbleached all-purpose flour
  • 2 teaspoons baking powder
  • 1 teaspoon baking soda
  • 1 tablespoon sugar (optional)
  • 1/4 teaspoon salt
  • 2 large eggs
  • 1 1/2 cups (12 fluid ounces) buttermilk
  • 1 teaspoon vanilla extract
  • 3 tablespoons canola oil
  • 1 cup fruit (optional)
  • 1/2 cup chopped nuts (optional)
  • butter or cooking spray for greasing the pan

Directions

  1. Combine the oats and milk (not the buttermilk) in a bowl and set aside.
  2. Sift or whisk together the two flours, the baking powder and soda, the sugar (if using), and the salt, and set them aside as well.
  3. In a large bowl, whisk together the eggs and buttermilk. Add the vanilla extract and the oil, and whisk to combine.
  4. Stir the flour mixture into the buttermilk mixture until just barely combined (a few lumps of flour are fine). Fold the oats mixture and nuts (if using) into the batter. The batter can sit out at room temperature for up to an hour, or you can refrigerate it overnight.
  5. When it's time to make the pancakes, heat a griddle over medium heat until water droplets skitter across the hot surface. (Fun physics fact: this is called the Leidenfrost Effect.)
  6. Grease the pan with a small pat of butter. When the foam subsides, ladle or scoop the batter in scant 1/4-cupfuls onto the pan, leaving a few inches of spreading room. If you are adding fruit, now's the time to drop it onto the individual batter portions.
  7. Cook the pancakes until the edges are set and there are several bubbles on the surface of the pancake, a few minutes. Flip them and cook for another minute or so further, until nicely browned. Remove from heat and, if desired, keep warm until serving.

Notes

  • Cooled, well wrapped pancakes can be kept in the refrigerator for a few days, or in the freezer for a few months. Rewarm before serving.
  • If you don't have buttermilk, feel free to substitute yogurt or sour cream; in a pinch, you can even use regular milk, but the pancakes might not be as puffy.
  • For those who are watching their blood pressure, I absent-mindedly omitted the salt one morning and didn't notice the difference. Then again, I did cook them in salted butter.

There's more...

Monday, October 12, 2009

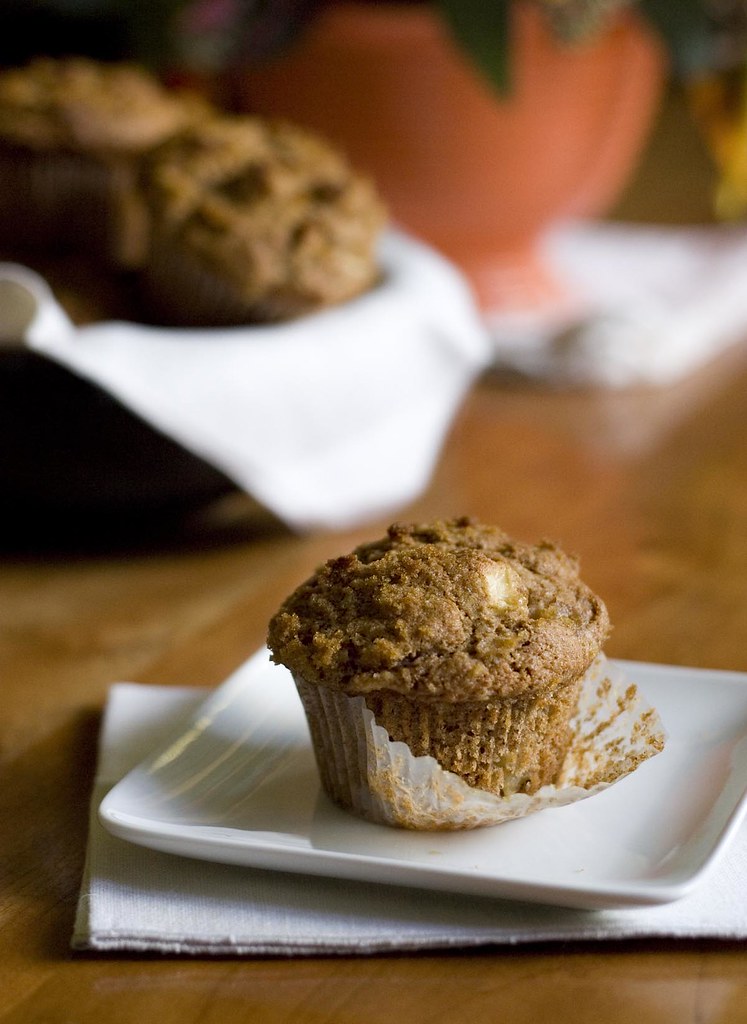
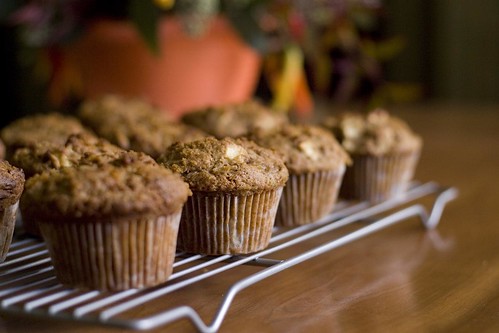
Almost-healthy Apple Muffins

Whole wheat apple muffin

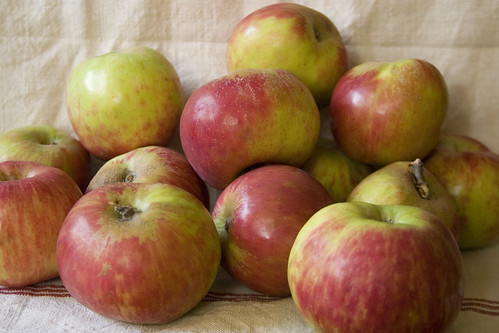
I mentioned recently that one of my strategies for using up a bunch of apples is to make muffins. Well, I have a confession to make: it's not actually a very good strategy, namely because making muffins doesn't really get you through that many apples. After all, there's only so much apple that you can pack into muffins without your muffins falling apart.

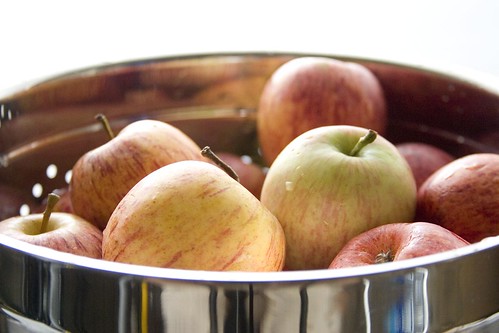
Apple pile

Yet this notion persists in my head (and I'm sure that it's completely in my head) that making muffins is a good way to use up apples. Not only good, but "better" for you than making something like a pie, which would of course use up even more apples than these muffins do. And it's silly, isn't it? A fruit pie, at least the way I make my fruit pies, isn't terribly unhealthy as far as desserts go. Oh, there's the crust, but it's not so bad; and the rest of the pie is simply fruit--maybe with some seasonings, but quite little added sugar or fat.

Muffins, on the other hand... Well, let's face it: they're essentially little bits of cake. We can tweak the ingredients all we want in various efforts to turn them into something healthy, but at heart they're bits of cake. Perhaps that's why I love them so.

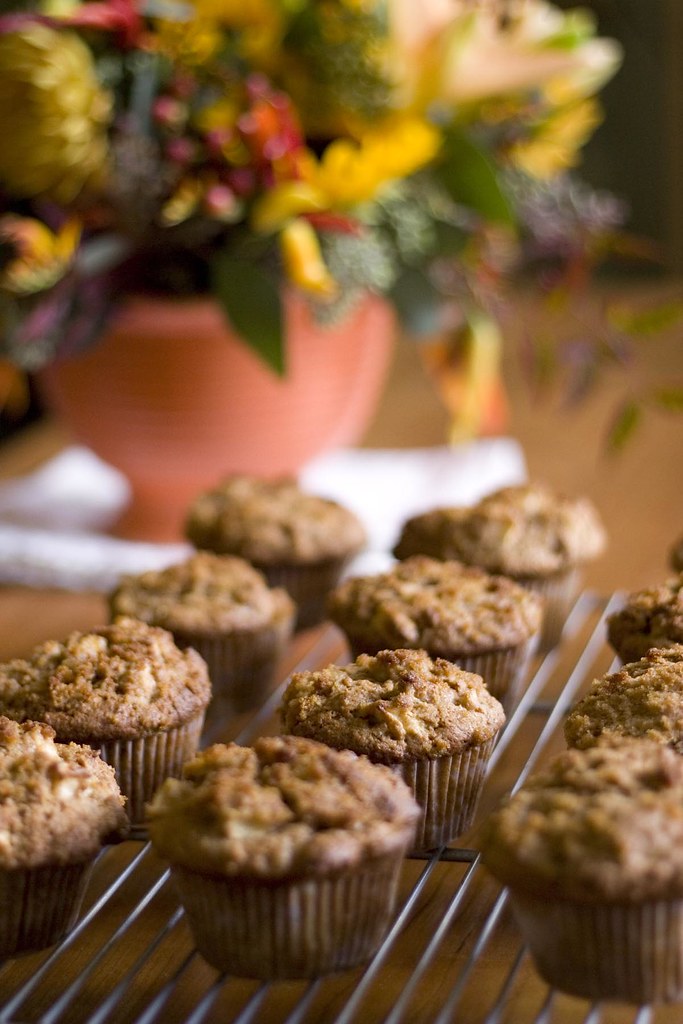
Muffins cooling

That said, while these muffins are still, you know, muffins, they do have a couple of saving graces. First, they contain whole wheat flour. Now, whole wheat flour alone does not a health food make, but it does bump up the nutrition value at least a little bit. At least you're getting some vitamins and fiber along with your fat and sugar. The apples help with that, too.

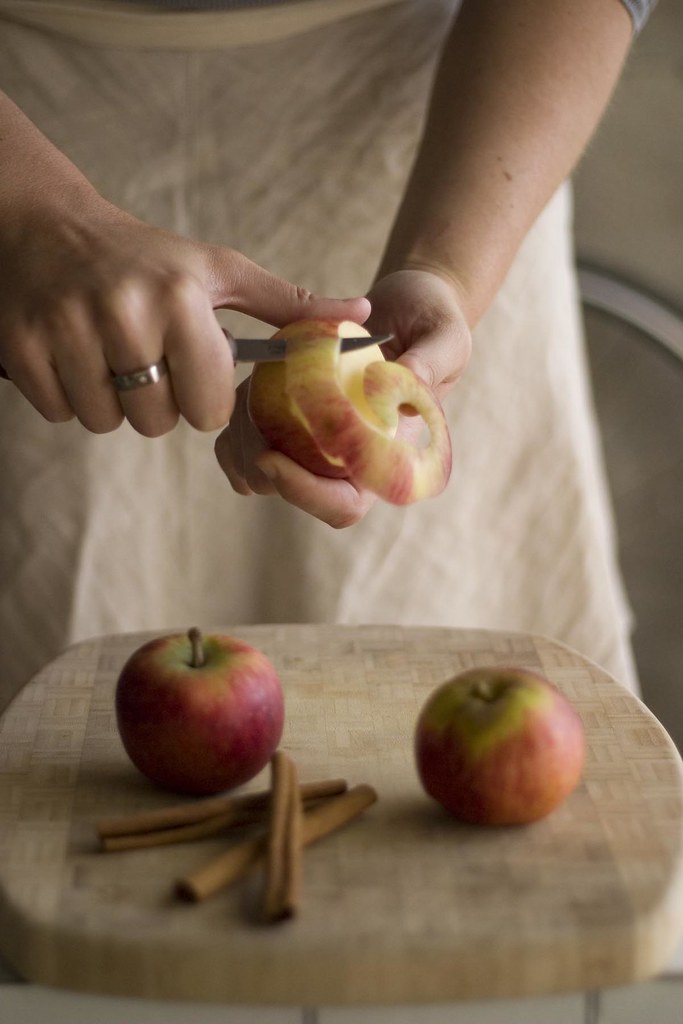
Peeling apples

Second, thanks to their being deliciously dark and moist, they keep better than any other muffins I've made. Most muffins lose a lot of their luster by the second day, but these keep for three or four (or five) days, meaning that you can space out your indulgence over several days. That is, you can try to space it out.

Let me just say right now that I take no responsibility for what happens to your willpower after you taste these muffins. I typically think of whole wheat baked goods as heavy, perhaps tough, and not always very pleasant to eat. These muffins have blown away that particular notion. Honestly, I tend to forget that they have any whole wheat flour in them at all, and I bet you will, too. Of course, that assumes that you make them, but really, why wouldn't you?

Muffins cooling

Whole Wheat Apple Muffins

Adapted from King Arthur Flour
Makes 12 muffins

Ingredients

  • 1 cup whole wheat flour
  • 1 cup all-purpose flour
  • 1 teaspoon baking powder
  • 1 teaspoon baking soda
  • 1/4 teaspoon salt
  • 1 generous tablespoon cinnamon (or to taste)
  • 1/4 teaspoon ground cloves
  • 1/2 cup (4 ounces) unsalted butter, at room temperature
  • 1/2 cup granulated sugar
  • 1/2 cup brown sugar, packed, divided
  • 1 large egg
  • 1 cup (8 ounces) buttermilk
  • 2 large apples, peeled (if desired), cored, and chopped

Directions

  1. Place an oven rack in the middle position and preheat the oven to 450F/230C. Line a 12-cup muffin tin with paper liners, or grease and flour the cups.
  2. Whisk together the flours, the baking powder and soda, the salt, and the spices; set the mixture aside.
  3. In a large bowl, beat the softened butter until it is smooth and creamy. Add the granulated sugar and 1/4 cup of brown sugar, and beat until the mixture is fluffy.
  4. Add the egg and beat well to combine, scraping down the bowl as needed.
  5. Stir in the buttermilk. If you over-mix it, the mixture might curdle, but I haven't found that to be a problem for the finished muffins.
  6. Gently stir in the dry ingredients until just combined, then fold in the chopped apples. The batter will be rather stiff, almost more like a very sticky dough.
  7. Divide the batter among the muffin cups. The cups will look like they have too much in them, but the batter should be stiff enough to hold its shape, and the muffins don't rise very much. Sprinkle the remaining 1/4 cup brown sugar over the top of the muffins.
  8. Bake at 450F/230C for 10 minutes, then decrease the oven temperature to 400F/205C and bake for a further 15-20 minutes. The muffins are done when a toothpick or cake tester comes out clean.
  9. Cool the muffins in the pan for 5 minutes, then remove to a wire rack and let cool completely.

Notes

  • If you happen to have whole wheat pastry flour on hand, using 2 cups whole wheat pastry flour rather than the combination of all-purpose and regular whole wheat works fine. The resulting muffins are more delicate and might have less rise to them.
  • Batter tip: a spring-action ice cream scoop makes it easy to portion batter evenly.

There's more...

Tuesday, September 29, 2009

Finally feeling fall-ish

Jars

Well, it's about time. After more than a week of temperatures that felt better suited to the dog days of August than the first few days of fall, on Monday we finally got our first breath of fresh fall air. Stepping out of the office into a pleasant 70F afternoon, the air felt almost brisk. Well, brisk compared with the 90F days we've had recently.

This morning, even more so: the skies were overcast, and a breeze with aspirations of being a wind swept in cool air to replace the remaining warm. (You know fall is really starting to hit when the cats are at the window, transfixed by rustling, falling leaves.) By this afternoon, you could taste fall in the air, as if it were whispering, psst! I'm here.

Apples

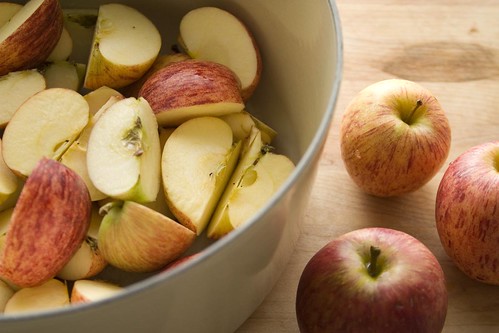
And not a moment too soon. For a few weeks now I've been accumulating apples from my CSA share, and this weekend I reached a point where the word "overrun" was not an inaccurate description of my kitchen counter. Between my regular share and my extra fruit option, I get 12-18 apples per week, and even an apple a day won't make all those apples go away.

I needed to do something with them, something that would use up a bunch of apples at once and didn't involve making a lot of muffins. I love apple muffins, and in fact I've been meaning to put up a post with my new favorite recipe. But I can only make so many batches of apple muffins--even of the "they're whole wheat, so they're not quite as bad for you!" variety--before I start anxiously eyeing my waistline.

Cutting up apples

The problem, of course, was that it was still hot outside--or at least it was on Sunday, when I decided to take back my kitchen counter. I love my apples spiced, with cinnamon and cloves and allspice, and eating cozy spiced foods when it's hot outside just doesn't feel right. Get me far enough into September, though, with enough apples on my hands, and I get over my squirmy feeling about ill timed spiced apples. Weather be damned, it was (technically) fall and I was going to make my house smell like it.

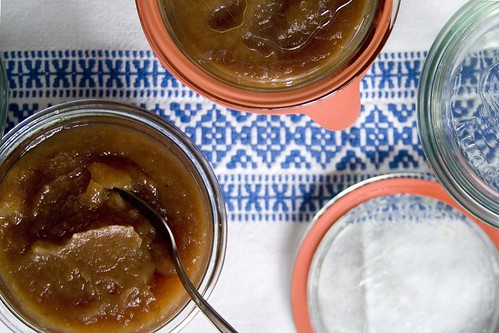
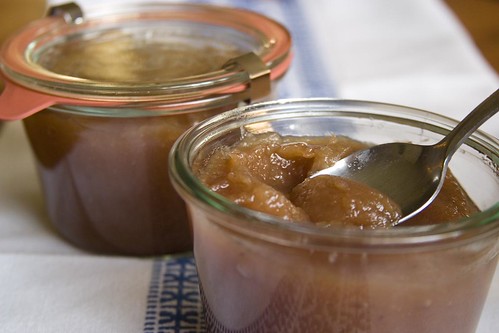
Apple butter

And what better way to do that than with hours of slow cooking over low heat, with aromatic spices and fruit full of flavor? Applesauce is one thing--it's delicious, and it has its place. But for the slow cooking and the spices, it's all about apple butter.

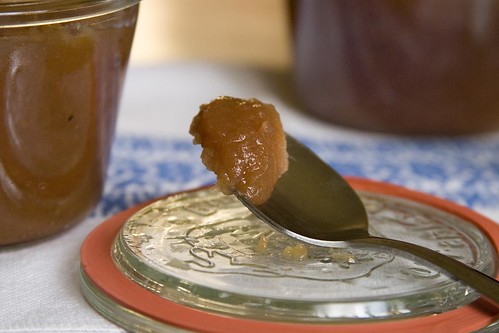
This was my first time making apple butter, and I can't say that I'm disappointed. Not just with the results, which included making the house smell like everything that is good and delicious about fall, but with the fact that making apple butter turns out to be surprisingly easy. Did you know that you don't even have to peel and core the apples? Extra flavor hides in the peels, and extra pectin in the cores. You want both the flavor and the pectin, so you quarter the apples and cook them as they are. Brilliant!

Apples in pot

You'll need a food mill eventually, of course, as you don't want the peels or cores in the butter. And after the milling, all you need to do is cook and stir, cook and stir. Maybe you adjust the seasonings, and maybe you adjust the heat, but all it needs is a little attention every few minutes.

I do mean every few minutes, mind: you don't want it to scorch, and as it thickens it will be more prone to sticking and scorching. You definitely want to keep an eye on it, so this is not one of those recipes where you can get it going and then forget about it for a few hours. (Unless you use a crock pot.) It is a recipe that requires patience, perfect for a rainy day when you're entertaining yourself inside. Fix yourself a cup of tea, clear off a big table, and dig out a puzzle to work on as you tend the apples. I would say make sure you have some bread on hand so that you have toast for when you finish the apple butter; but in truth, there's no reason not to eat it with a spoon, straight out of the jar.

Apple butter

Apple Butter

Makes 2-3 cups

Ingredients

  • 4 pounds ripe apples, preferably ones that are good for cooking
  • juice of 1 lemon
  • whole or ground spices, to taste (cinnamon, cloves, allspice, ginger...)
  • sugar: 1/4 cup for each cup of pureed applesauce, or to taste

Special Equipment

  • food mill, chinois, or fine mesh sieve
  • canning jars and lids, if you intend to can the butter

Directions

  1. Fetch yourself a large, heavy pot. I find enameled cast iron well suited to this task.
  2. Rinse the apples well, taking care to remove any debris that you don't want in the butter. Cut them into quarters or eighths, depending on the size of the apples, and place the pieces in the pot.
  3. Add the lemon juice, about two cups of water, and any whole spices (if using), and bring the pot to a boil. Reduce the heat, cover the pot, and simmer until the apples are fall-apart tender. Remove the pot from the heat and let cool slightly.
  4. When the apples are cool enough to handle, run them through the food mill (the finer the grate, the better). You might need to pass them through more than once in order to extract all of the applesauce.
  5. Measure the resultant applesauce and return it to the (cleaned) pot. Add the sugar, salt, and any ground spices, and stir to blend. Cook the applesauce over low heat, stirring very frequently, until it is very thick and wrinkles a bit when you push it around on a cold plate.
  6. If you are canning the apple butter, pack it while hot into clean, sterilized jars with approximately 1/2 inch of head space. Process the jars in boiling water, with the jars submerged by at least one inch, for 15 minutes.
  7. If you are not canning the butter, store it in the freezer or refrigerator.

There's more...

Monday, September 21, 2009

Summer goes out with a bang

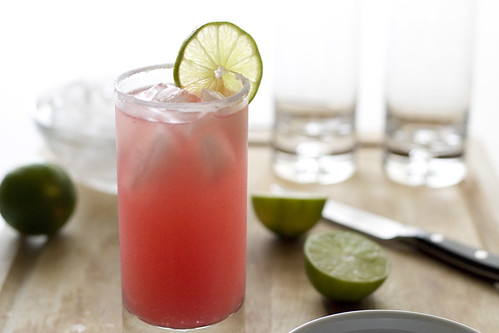
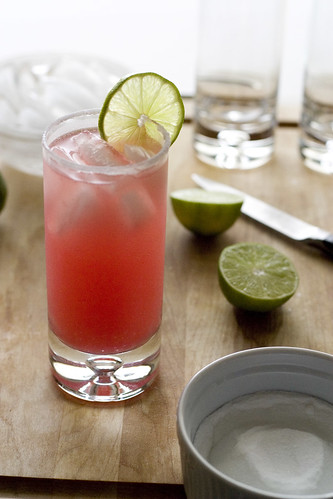
Watermelon agua fresca

Fall might be just around the corner, but looking at the weather forecast around here, you wouldn't know it. Far from giving up without a fight, summer is hanging on like a bulldog with a juicy bone in what I can only hope is the last heat wave of the summer. Like many of you, I'm sure, I'm ready to trade in breezy skirts for wool trousers, and sleeveless tops for snug overcoats; but Mother Nature has other plans.

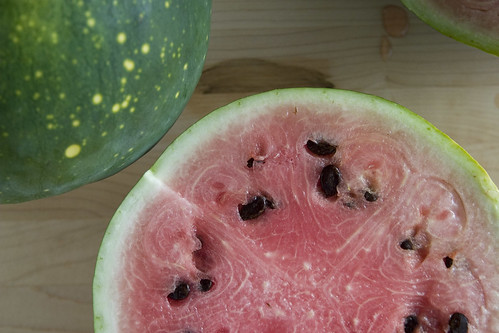
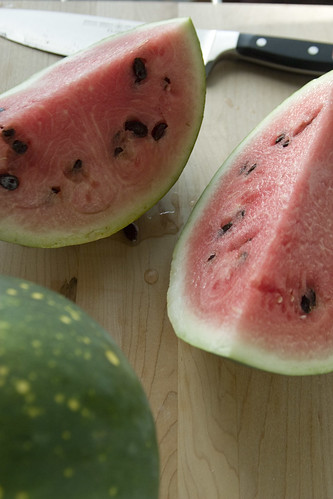
Halved watermelon

While there's not much we can do about those plans, we can at least make ourselves more comfortable until the winds change. Watermelon has a well deserved place in the pantheon of classic hot weather refreshments: cool, crisp, and juicy, it shines without any interference whatsoever. But if we're in the mood to take a good thing and make it even better--and let's face it, when it's nearing 100F outside I'll take all the "better" I can get--we can add some lime.

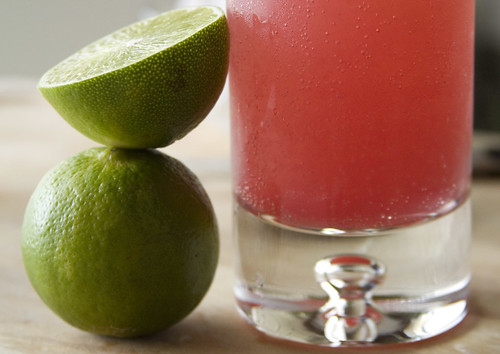
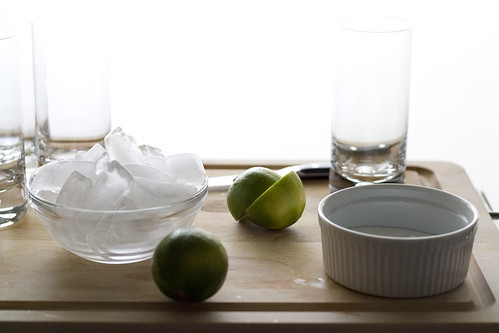
Stacked limes

You can squeeze a lime over slice of watermelon, of course, and for quick-and-easy, that's the way to go. (Plus, who doesn't love biting into a big piece of watermelon and feeling the juice dribbling down your chin?) But if you're looking for slightly more dignified, a tidier option (at least after the prep is done) is to take the watermelon, the lime, and anything else you want to include, and turn it all into something you sip. The Mexicans figured this out ages ago: they made aguas frescas, or "fresh waters," out of all manner of fruits and other foodstuffs. In the end, that's all this is: watermelon agua fresca, laced with lime and a hint of sugar.

I'm not going to write up a proper recipe this time, because the proportions are simply what you want them to be. You might like a lot of lime, or not much at all; plenty of sweetness, or perhaps a dash of salt. It's easy to adjust the flavors, so taste early and often. Unless you have a very small watermelon, you will probably have to do things in batches, which makes it easy to test out lime and sugar levels on a small scale before fully committing.

Quartered watermelon Watermelon agua fresca

For the first step, you'll likely want some sort of electric blender or food processor. Alternatively, you could do it by hand by pressing the watermelon chunks through a sieve, or perhaps gathering them up in a large piece of cheesecloth and squeezing until you've extracted all the liquid. (Now that I think about it, that method actually sounds like a lot of fun, if very messy indeed.) To keep things easy, though, I recommend a blender. Toss a bunch of watermelon chunks and their accumulated juices into the blender--maybe with a bit of water to get things moving--and blend until smooth.

Next up is the (slightly) tedious part: passing the watermelon liquid through a sieve to get rid of the tiny solid bits. It's a pain, but it makes for a cleaner final product--and if you're looking for a bright side, it's not as bad as passing pureed raspberries through a sieve. My watermelon, about 10-12 inches in diameter, yielded about four cups of juice. Your mileage may vary.

With juice in hand, the only thing left is to play with the flavors. You can use granulated sugar to sweeten your agua fresca, but I prefer to use simple syrup. Otherwise, you might have a hard time getting the sugar to dissolve in the cool liquid. To make simple syrup, place two parts sugar and one part water (by volume) in a sauce pan and bring to a boil, stirring often. Stir until the sugar has completely dissolved, then let cool. You can store any unused syrup in a jar or bottle in the fridge; it keeps for quite a while.

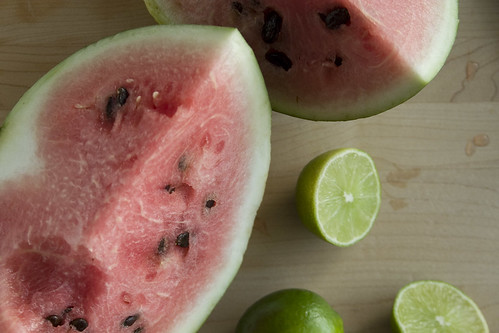
Watermelon and lime

When it comes to lime, I tend to err on the side of more rather than less, but I adore lime and can't get enough of it. You might start with the juice of one lime for every two to three cups of juice, and work your way up from there. Add salt if you wish--I understand from the Suitor that salt on watermelon is a southern staple--but I confess I find the idea of a salty summer beverage a bit odd. (Unless you add tequila, in which case all bets are off.)

Typically the fruit juice for agua fresca is cut with water, so that it's more of a flavored water than a juice. Plain water does the job just fine, but I find that sparkling water (such as club soda or, if you prefer, mineral water) takes the "refreshing" factor and kicks it up a level or two. Either way, whether you use sparkling or still water, you'll have a drink that's brilliant for beating the heat--and giving summer a sweet sendoff.

Setup

There's more...

Thursday, July 16, 2009

Now this is summer

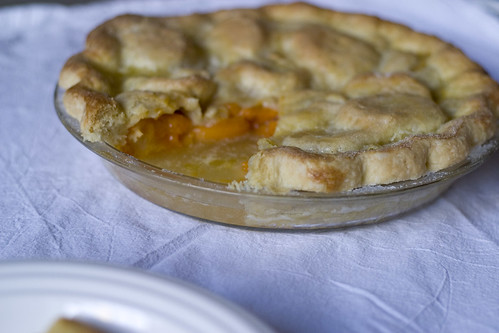
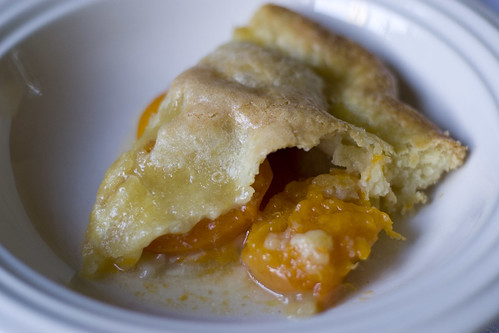
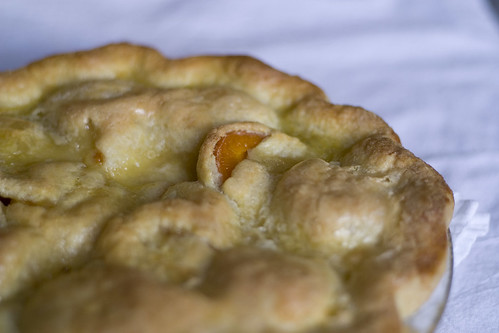
Sliced apricot pie

I mentioned recently that I don't really feel like it's summer until the stone fruit appear in the market. That's true of all stone fruit: peaches, plums, nectarines, cherries, and so on. But the food that I most associate with summer, the food without which it cannot possibly be summer, is apricot pie. And not just any apricot pie, Blenheim apricot pie.

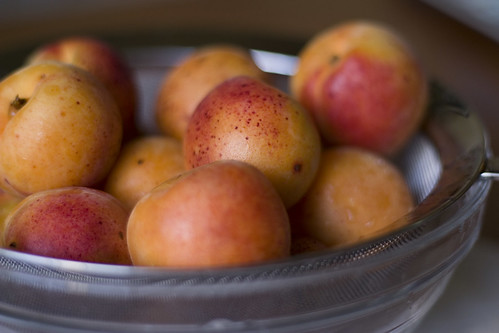
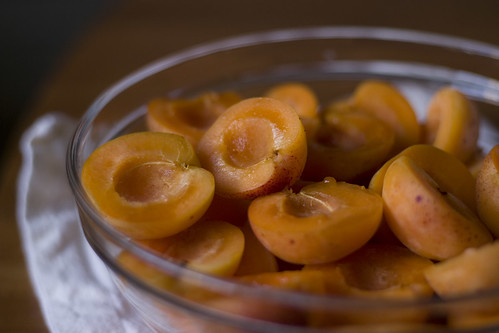
Blenheim apricots

Because I am an unapologetic apricot snob and will not eat or cook with apricots unless they're Blenheims, this is the only time of year I make apricot pie. Blenheims come in for two or three weeks every year, and around here those weeks start just after the summer solstice. Typically peak Blenheim time is the tail end of June and first few days of July, which works out nicely for Fourth of July desserts involving apricots.

Slice o' pie

As such, apricot pie is a kind of opening games dessert, declaring summer well and truly here. It signifies for me not just summer, but the warm, leisurely evenings early in summer when we kids were still basking in the glow of the first few days of summer vacation. This is a fat and happy dessert, a lazy days dessert, a dessert that is guaranteed to put a smile on my face with just one whiff.

Sliced apricots

The preparation, as with most pies, is simple: line a pie plate with one crust, add some fruit and seasonings, cover with another crust, and bake until browned and bubbling. In this case, the seasoning includes a bit of sugar (adjust to taste), some flour or cornstarch to thicken up all of the juices that the apricots produce, a bit of lemon juice for brightness, and some nutmeg to deepen the flavor a bit. It's a good basic pie. Nothing too fancy, nothing but good summer flavor. Recipe after the jump.

Peeking 'cot

Apricot Pie

Makes one 9-inch pie

Ingredients

  • your favorite pie crust, enough for a 9-inch pie, refrigerated for at least 30 minutes
  • 1 1/2 - 2 pounds fresh apricots
  • 3/4 cup sugar
  • 3 tablespoons all-purpose flour or cornstarch
  • 1/4 teaspoon freshly grated nutmeg
  • juice of 1/2 lemon
  • 2 tablespoons butter

Directions

  1. Place an oven rack in the middle position, place a baking sheet on a lower rack (to catch any overflowing juices), and preheat the oven to 425F/220C.
  2. Roll out half of the pastry dough (keep the rest chilled) and line a 9-inch pie plate. Use kitchen shears or a sharp knife to trim the excess so that you have about 1 inch of overhang. Chill the crust while you prepare the remaining ingredients.
  3. Mix together the sugar, flour or cornstarch, and nutmeg in a small bowl and set aside.
  4. Halve the apricots lengthwise, and remove the pits.
  5. Retrieve the pie plate from the fridge, and arrange half of the apricots in the lined plate. Sprinkle half of the sugar mixture over them.
  6. Spread all remaining apricots on top, and sprinkle with the rest of the sugar mixture. Squeeze the lemon over the pie, then dot the apricots with the butter.
  7. Roll out the other half of the pastry dough, and drape it over the pie. Cut the overhang to about 1 inch, then fold the overhang of both the top and the bottom crust together and tuck it underneath the bottom crust to create a neat edge.
  8. Flute or crimp the edges as desired, then cut a few steam vents in the top of the pie.
  9. Bake for 15 minutes, then lower the heat to 350F/175C and bake or a further 30-40 minutes, or until the crust is nicely browned and the juices are bubbling.
  10. Cool completely or to warm room temperature before serving.

Notes

  • My favorite pie crust can be found here.
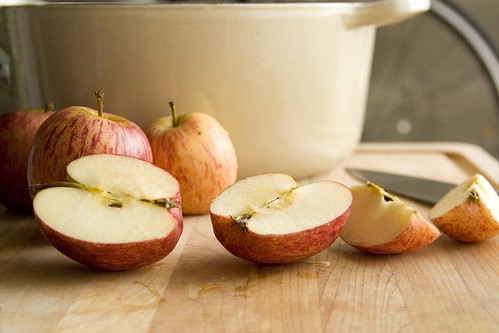
  • I seem to recall something about placing the apricots cut side up, but I can't remember where I heard it, so take it with a grain of salt.
  • For extra presentation points, before cutting the steam vents, brush the top of the crust with a beaten egg and sprinkle it with a few tablespoons of sugar.
  • The pie keeps at room temperature for about a day.
Apricot pie

There's more...

Monday, July 6, 2009

Summer kicks into gear with stone fruit

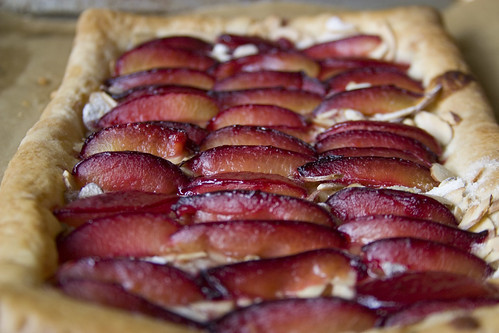
Plum and almond tart

Summer gets an early start with strawberries and raspberries, but I don't feel like the season truly hits its stride until the stone fruit start coming in. We had wild plum trees in our backyard when I was growing up, which made it easy to chart summer's progress, and also meant that come the end of June several of the trees in the yard were drooping with the weight of golf ball-sized plums. It didn't help that my parents planted additional varieties of plums, so that at the height of the season we had a veritable glut of fruit on our hands.

Unbaked plum and almond tart

Would that we had had this recipe back in those days! (For the most part, we made a lot of jam.) It is a simple and (relatively) easy way to go through some plums. I say "relatively" easy because the plums we got then, and the plums I get now in my CSA share, are of the cling variety--they don't give up their pits easily. In fact it can be a slippery mess trying to get the plums cut neatly into slices, especially if the plums are very ripe. The rest of the preparation, though, is straightforward and takes no longer than the oven takes to come up to temperature. You don't even have to toast the almond slices if you're short on time, though I recommend that you do.
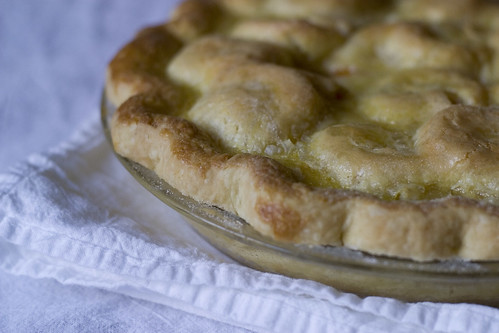
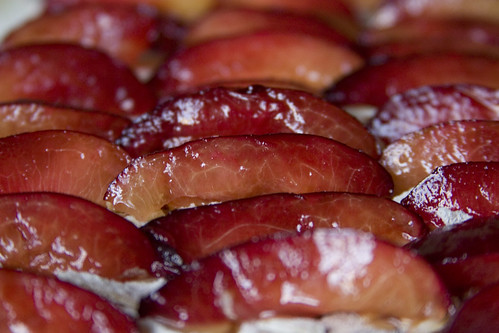
I think that this tart looks prettiest when you use a variety of plum that's dark on the outside and paler close to the pit, but you could use any kind of plum that you have on hand. Any kind of stone fruit, really, as I'm sure it would work with apricots, nectarines, or peaches--even cherries, if you're willing to pit and slice that much fruit for one tart. Recipe below!

Plums on the tart


Plum and Almond Tart

Makes one 14x14" tart

Ingredients

  • 1 sheet frozen puff pastry, thawed
  • 1/2 cup sliced almonds, toasted
  • 6 tablespoons sugar, divided
  • 2 tablespoons all-purpos flour
  • 1 3/4 pounds red plums, pitted and cut into wedges 1/3-inch thick

Directions

  1. Place oven rack in lower third of the oven, and preheat the oven to 400F/205C.
  2. Line a large baking sheet with foil or parchment paper.
  3. On a lightly floured work surface, roll out the puff pastry to a square 14 inches on a side, trimming the edges if necessary to make a neater square.
  4. Transfer the pastry to the prepared baking sheet. Leaving a 1-inch border on all sides, prick the pastry all over with a fork.
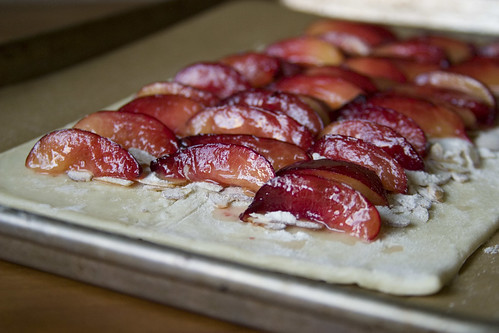
  5. In a small bowl, combine the almonds, the flour, and 2 tablespoons of the sugar. Sprinkle the mixture over the pastry, again leaving a 1-inch border on all sides.
  6. Place the plum slices in a medium bowl. Add the remaining 4 tablespoons sugar and toss to coat the plums evenly. Arrange the plums over the almond mixture.
  7. Bake the tart until the pastry is puffed and golden brown, and the plums are tender and juicy, 25-30 minutes. Cool the tart on its baking sheet on a rack, and serve warm or at room temperature.

Notes

  • The pastry can be prepared, sprinkled with the almond mixture, 3 hours ahead of time. Keep chilled.
  • This tart is best the day it's made (within a few hours of baking, to be honest), but it keeps reasonably well for something involving puff pastry.
  • If you happen to have some pie pastry lying around, or if you don't have puff pastry but can make some pie pastry, you could substitute it for the puff pastry. Leave an extra couple of inches' border around the fruit, and fold the pastry over the fruit to form a galette.
  • For a shinier finished product, boil together some plum (or apricot) preserves with a bit of water, and brush the mixture on the fruit when the tart comes out of the oven.

There's more...

Saturday, May 30, 2009

Bridging the gap between spring and summer

Strawberry dumpling (III)

I have what I admit is a limited concept of dumplings. I think of them as savory and filled, such as wontons, pierogi, and my personal favorite, potstickers*. When I'm feeling inclusive, I'll concede that various unfilled doughy concoctions are dumplings as well: matzoh balls, spaetzle, even gnocchi, and so on.

Recently, however, I found a recipe for a "dumpling" that turns all my preconceptions about dumplings on their collective head. As it turns out, dumplings can be sweet--as sweet as early summer strawberries, to be exact. And as luck would have it, I came across this recipe just in time for a new lot of fresh-from-the-fields strawberries. Ruth Reichl's twitter feed consistently gets my stomach growling, but usually it's only with descriptions of the fabulous things she's eating on any given day. This time around she got my stomach growling and linked to a recipe so that I could do something about it.

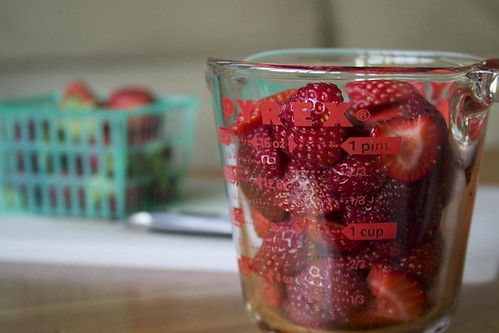
Measuring strawberries

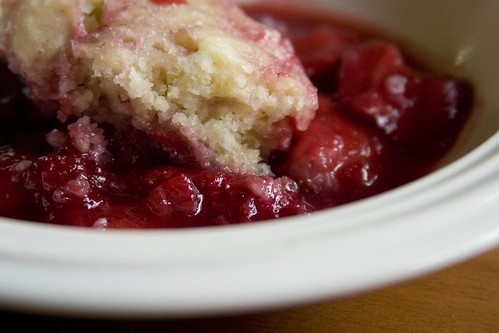
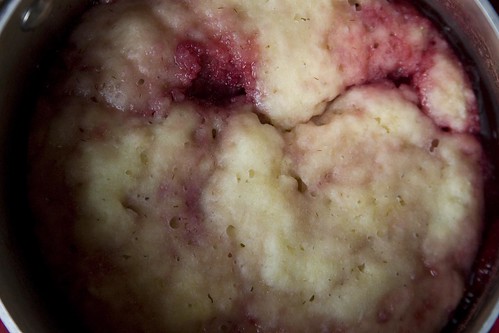
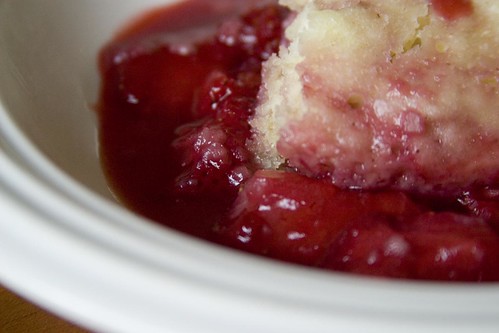
And what a recipe! If you like biscuits and you like stewed fruit, you must try this recipe. It's a bit like a cobbler with the topping stirred into the fruit, but stickier and more infused with strawberry goodness. A soft, very wet, biscuit-like dough (almost more like a batter, really) is stirred into a gently bubbling pot of slightly sweetened strawberries and simmered until the dough is cooked.

This dumpling is the perfect dessert for those summer days when the warmth of a balmy afternoon doesn't stay for dinner, when by evening you're reaching for a wrap and a warming dessert. The cooking time is short enough that the berries still taste fresh and bright, but long enough that they soften and turn a bit soupy. So if you're not quite ready to plunge headfirst into summer, and want something a bit cozy to do with your early strawberries, take a peek below for the recipe.

Strawberry dumpling in pot

Strawberry Dumpling

Adapted from Gourmet, June 2009
Serves 6

Ingredients

  • 1 quart strawberries, trimmed and thickly sliced (about 4 cups)
  • 1/2 cup sugar
  • 1 cup all-purpose flour
  • 2 teaspoons baking powder
  • 1/4 teaspoon salt
  • 2 tablespoons unsalted butter, cold, cut into pieces
  • 2/3 cup whole milk

Directions

  1. Toss together the strawberries and sugar in a medium saucepan. Let the berries stand, stirring now and then, for 10-15 minutes, or until juicy.
  2. Meanwhile, in a small bowl, whisk together the flour, baking powder, and salt.
  3. Using a pastry blender, a couple of knives, or even your fingers, blend the butter into the flour mixture until it looks like coarse meal with a few pea-sized lumps.
  4. When the berries are juicy, put the pot over medium heat and stir occasionally until the mixture boils. The berries will release more juice, and the sugar will dissolve.
  5. When the mixture reaches a boil, pour the milk into the butter and flour mixture and stir just to combine. The dough/batter will be very wet.
  6. Add it to the berries and stir a couple of times. Cover the pot with a tight-fitting lid, and reduce the heat to low. Cook, covered and undisturbed, until the dough has cooked and looks dry on top, 15-20 minutes. Once done, turn off the heat and let the dumpling stand with the lid in place for 5 minutes.
  7. Serve drizzled with heavy cream, if desired.

Notes

  • This recipe would probably work great with other types of summer fruit--not just berries, but stone fruit. If using stone fruit, the fruit should probably be very ripe so that the cooking time remains short.
  • The amount of baking powder called for in the ingredients list is not a typo, it really does have that much leavening in it. It results in a light, spongy dumpling that is almost pudding-like.

Strawberry dumpling (II)


* I have a particular weakness for potstickers. In fact, sitting down to write this post gave me such a craving for them that I ordered some for dinner. Yes, I am weak. But they're so good.


There's more...