Showing posts with label Condiments. Show all posts
Sunday, April 18, 2010

Preserving the best of winter

Clementine-kumquat marmalade

Before we begin, I must beg your pardon. I've waited so very long to share this recipe with you that at this point, I fear you'll have some difficulty in obtaining the ingredients. But it would be a shame to have to wait until next winter to make this marmalade, so I'm going to post it anyway. I hope very much that, what with California often being on the leading edge of the change in the turnover of seasonal produce, the bright hues of winter citrus are still in abundance at your local markets.

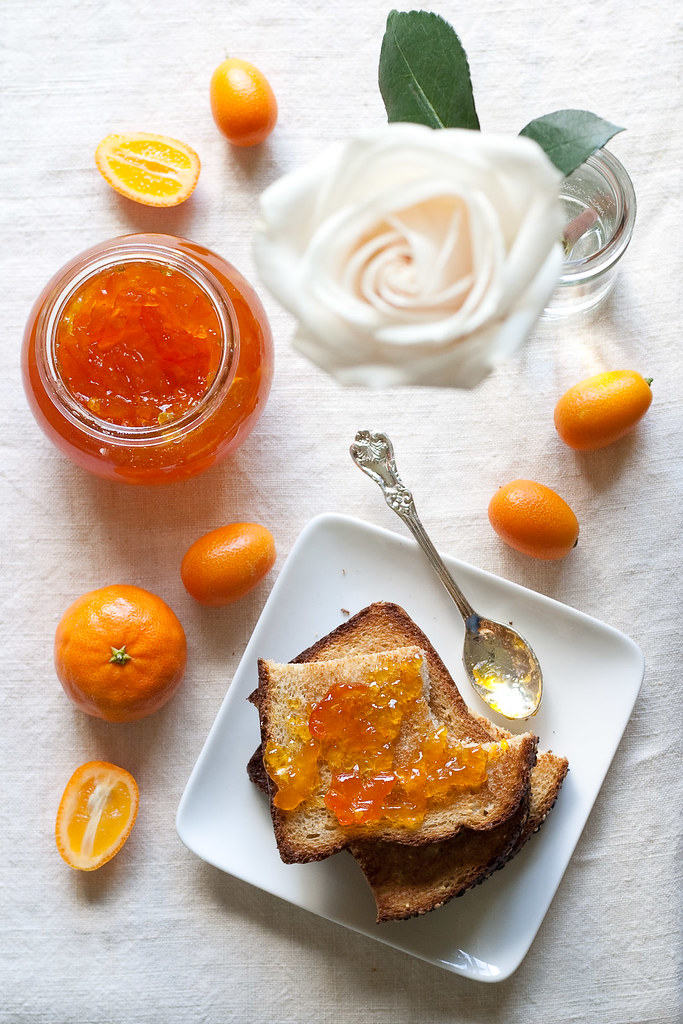
Breakfast table

Personally, I've missed my window. I made only a small batch as a test run, and as it often does, life (*cough* grad school *cough*) kept me from making another, larger batch before kumquat season came to an end. Now that that one small batch is long gone, I find myself pining for it.

I still love orange marmalade, but after making and tasting tangerine-kumquat marmalade, I admit that I'm spooning ordinary orange marmalade onto my toast with a little less enthusiasm than I used to. There might even be a sigh now and then as I remember that what I have left in my pantry for the next nine months or so is not, in fact, tangerine-kumquat marmalade.

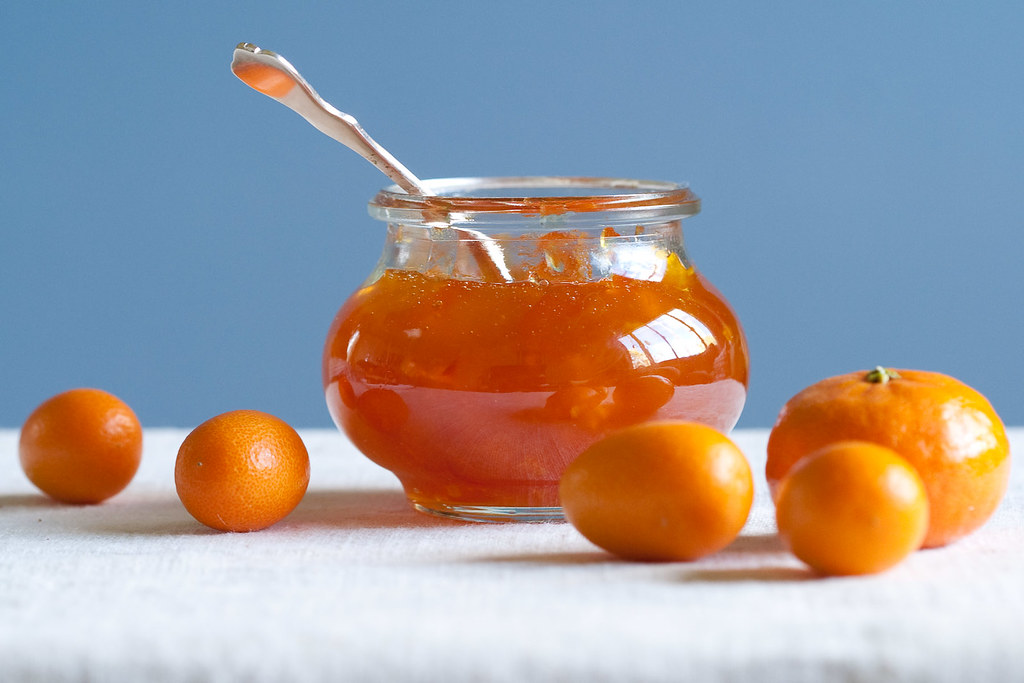
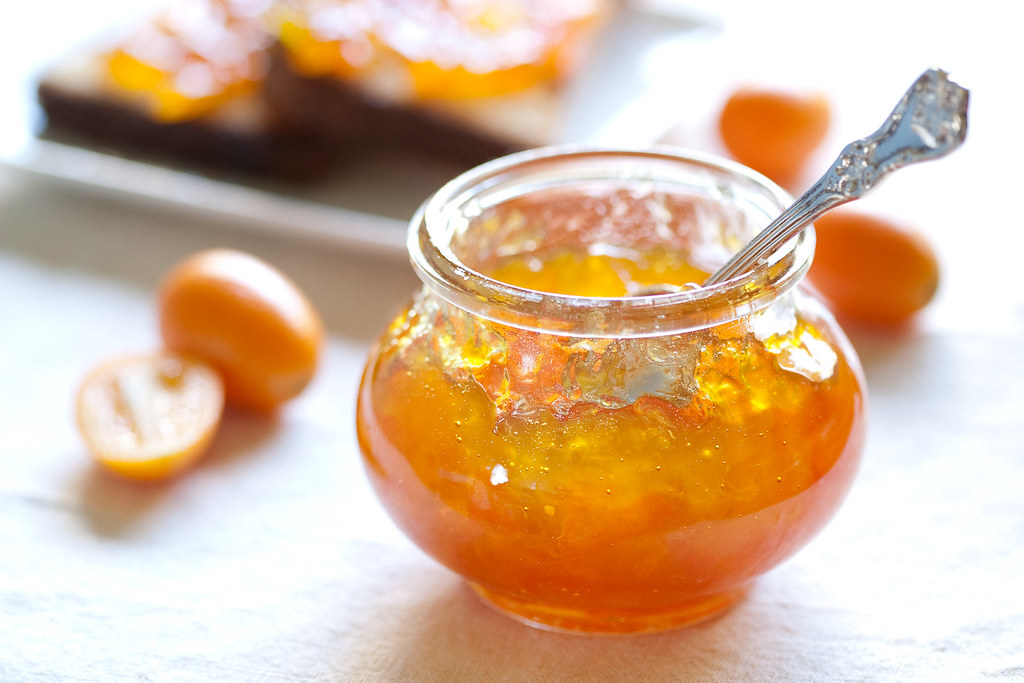
Pot of marm

Most marmalades succeed reasonably well in striking a balance among sweet, tart, and bitter flavors. None, in my experience, does it with the grace that this one possesses. As Thomas Keller notes at the beginning of the recipe, this marmalade is at home aside an elegantly prepared duck as it is atop a humble bagel with cream cheese.

Marmalade skeptics might look askance at the relatively large pieces of rind suspended in the jelly. Indeed, the marmalade does have a substantial (in my opinion, very pleasant) chew, but the rind's bitterness mellows with an overnight soak in water, so those large pieces are not as bold as they otherwise might be. In fact, other than the color, there's not much about this marmalade that is bold. But don't let that dissuade you. It doesn't need to be bold. It's perfectly content to wait, earnest and smiling, for you to discover its virtues in your own good time. And I'm sure you will--assuming you can find some kumquats.

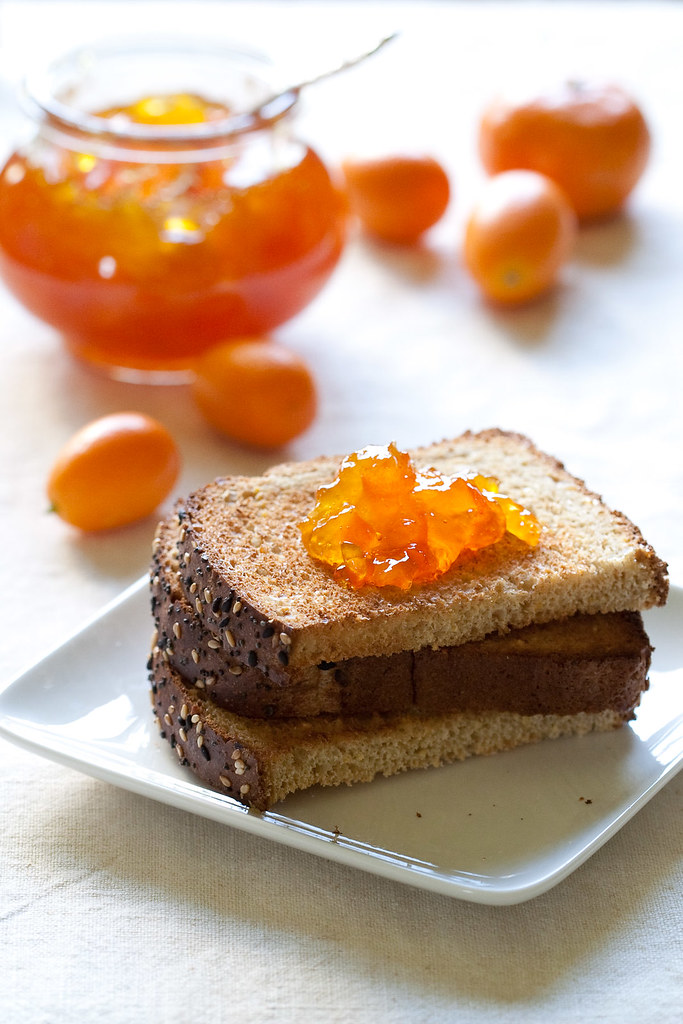
Marm on toast

Tangerine-Kumquat Marmalade

Adapted from Ad Hoc at Home
Makes about 2 1/2 cups

Ingredients

  • 1 1/2 pounds kumquats
  • 6 tangerines or other mandarin oranges, or enough to provide 1 cup of juice
  • 2 1/2 cups sugar

Directions

  1. Quarter the kumquats lengthwise, and remove the stems and all of the seeds. (If you prefer your pieces of rind to be smaller, cut the kumquats into eighths instead.)
  2. Put the kumquat pieces in a large bowl, and pour in enough cold water to cover by about 2 inches. Place the bowl in the refrigerator, and chill for at least 18 hours, or up to 24 hours. This soak and chill will temper the rind's bitterness.
  3. When you are ready to make the marmalade, quarter the tangerines and pour the juice from the cutting board into a 1-cup (or larger) measuring cup. Working with one quarter at a time, cut the tangerine flesh away from the skin (being careful not to cut into the pith). If you encounter any seeds, remove and discard them.
  4. li>Squeeze the tangerine juice into the measuring cup. Discard the rind, but reserve the juiced flesh. Continue until you have 1 cup of juice, then set the juice aside.
  5. Gather up the reserved tangerine flesh, chop it, and transfer it to a medium-sized pot.
  6. Add the kumquats, the juice, and the sugar, and stir to combine. Affix a candy thermometer to the side of the pot.
  7. Bring the mixture to a simmer and cook, skimming off as much foam as you can, until it registers 215-220F (100-105C) and a small amount dribbled onto a chilled plate sets nicely and wrinkles when pushed with your finger. Remove the pot from the heat.
  8. Ladle the marmalade into clean jars, cover, let cool to room temperature, and chill. The marmalade should be chilled for at least 2 hours, and ideally for 24 hours, before being served.

Notes

  • The marmalade keeps, refrigerated, for 1 month--that is, if you can make it last that long.
  • Alternatively, you can use the hot pack canning method for shelf-stable jars.


There's more...

Friday, June 27, 2008

Pork chops with pineapple relish

It's Friday afternoon, and although I'm at work, I am by no means in a frame of mind that is conducive to getting proper work done. Blogging is attractive at times like these: I get to feel like I've accomplished something (a small something), and it's far more enjoyable than debugging code that I've been trying to debug for the last several days. 


So, it's pork chops for a summer evening. I made these recently (is it already weeks ago?) and I thought the Suitor was going to cry with delight. Pork chops and pineapple are two of his favorite things. Put them together, with a bit of zing from some spicy chile peppers, and it's a recipe for a very happy Suitor. The original recipe is out of last month's Gourmet, but I did a bit of tweaking to suit what I had on hand and what the Suitor will (or won't) eat. Namely, no onion. There was also lemon juice instead of white vinegar, and Cointreau instead of dark rum. (I didn't want to go out and buy rum just for this dish, and I didn't think the Cointreau would detract too much from the overall tropical theme.) I will no doubt try it with the rum at some point, and if you have it on hand, by all means go for it. I'm sure it's delicious. 

One of the things I love about this dish is how very easy it is: if you so choose, you can make the pineapple relish ahead of time and stick it in the fridge, or if you work efficiently you can make it while the pork chops cook. 


Pork chops with pineapple relish
Serves 2

1 cup chopped fresh pineapple
2 teaspoons finely chopped fresh serrano or bird's eye chile
1 teaspoon chopped fresh thyme
1 teaspoon lemon juice
1 teaspoon ground coriander
2 one-inch-thick boneless pork loin chops
2 tablespoons olive oil
2 tablespoons dark rum (or spirit/liqueur of choice)

Toss together pineapple, chile, thyme, lemon juice, and a pinch of salt.

Pat pork dry, then sprinkle all over with ground coriander, salt, and pepper.

Heat oil in a large, heavy skillet over medium-high heat until it shimmers. Add pork and saute, turning once, until well browned and just cooked through but still juicy, 7-10 minutes. 

Transfer pork to plates and keep warm. Add pineapple mixture to skillet, deglaze with rum, and cook 1 minute. Spoon relish over pork and serve. 

There's more...

Saturday, April 12, 2008

All-Purpose Sweet and Spicy Sauce

I've been making this sauce right and left, as it's a quick and easy addition to a slap-dash meal of noodles and steamed or stir-fried vegetables. You could also use rice, but I find it particularly well suited to noodles. I won't presume to tell you what kind of vegetables, noodles, preparation method, etc. you should use--so far the sauce seems very versatile, and you can do just about anything you want with it. It is a simplified, modified-to-what-I-have-at-home version of the one found here, and it's quite easy to remember as the quantities are almost all exactly the same. I use tablespoon as my base unit (this makes a little more than is needed for one person), but I'll write the recipe in "parts" as it should scale up very easily.

1 part sugar
2 parts rice wine vinegar
1 part soy sauce
1-2 parts chile-garlic sauce, to taste
1 part grated ginger

Wasn't that easy? Anyway, you put everything in a bowl, whisk it together, and use however you like. Enjoy!

There's more...

Sunday, April 6, 2008

Orange Marmalade


On Friday I found myself with an abundance of citrus. I had minneola tangelos from a CSA box two boxes ago, I had Meyer lemons from my mom's trees, and most importantly, I had a bounty of oranges that a coworker had grown and brought in to share. Friday was an "off" day for many of the people in the lab, so there weren't many people at work in the first place. Late in the day, most of the oranges still hadn't been touched, so rather than have them sit all by their collective lonesome over the weekend, I brought home nine of them with the idea that I would make marmalade. I'd never made it before, so I had to look around a bit for the recipe that looked the most promising. In fact, I'd never done any canning on my own, only helped my mom when she was making jam, so the prospect of canning my own marmalade was doubly exciting.

The results, I am happy to say, are excellent. The marmalade is a beautiful color (the picture above doesn't do it justice), well balanced (sweet and a bit tart, with some bitterness from the peel), jelled but still spreadable, and just plain delicious. I was worried that it would not set up properly, as it remained fairly syrupy on the stove and I wasn't sure if I'd gotten enough pectin out of the seeds and pulp. In the end, though, it was fine. The recipe I used is a minimally modified version of this recipe, which has you make your own pectin rather than add store-bought pectin. As I am very much a by-my-bootstraps kind of cook, this method is preferable to me, but you could use added pectin if you so preferred.

Orange Marmalade
Makes 6 x 8-ounce jars, plus a little extra

Ingredients:

10-12 large oranges
2 regular or 4 Meyer lemons
3-6 cups sugar, to taste
4 cups water

Equipment:

1 vegetable peeler
1 orange juicer of a sort that allows you to collect the pulp and seeds
cheesecloth, muslin, or a jelly bag
butcher's twine
1 5- or 6-quart non-reactive pot
1 large ladle
1 large heat-proof measuring cup or pitcher
canning jars, rings, and NEW lids (the lids are not reusable)
1 wide, tall pot OR a dishwasher that gets very hot
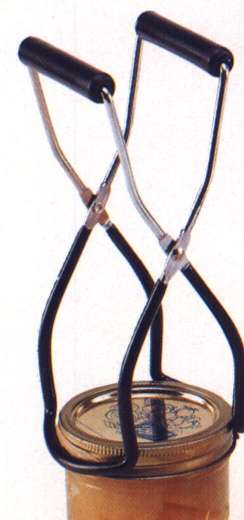
1 set tongs (for removing rings, lids, and possibly jars from boiling water)
1 damp paper towel (for wiping the rim of the filled jar before placing the lid on it)
clean towels and/or oven mitts

Optional Equipment:
1 candy thermometer
various canning equipment (jar lifters, jar wrench, jar rack, lid rack, etc.)
1 funnel (highly recommended, especially a canning funnel with a wide mouth)


Wash the fruit, scrubbing carefully, and pat dry with a clean towel.

Peel the fruit. If you are particular about the appearance of your marmalade (as I am), try to remove the peel in long, quasi-rectangular pieces. This will make for more even peel bits in the finished marmalade.

Using a sharp chef's knife, julienne the peel (see below*) and set aside. The two reviewers who've sampled my marmalade agreed that julienned peel is preferable to coarse pieces, as it remains "present" in the marmalade without overwhelming it (and without being something you have to work around).


Cut fruit in half through the equator, and set four layers of cheesecloth over a bowl (or one layer of clean muslin, or the jelly bag).

Juice the oranges and lemons. Collect the juice in a large pitcher; collect the pulp and seeds in the cheesecloth.

Combine juice and julienned peel in the 5- or 6-quart pot. If you are a perfectionist like I am, strain the juice as you pour it into the pot, so that you can retain any pulp that might have gotten through in the juicing process. I just set my cheesecloth (with the pulp and seeds in it) in a sieve for stability, put the sieve over the pot, and poured the juice through the cheesecloth-and-sieve.

Use a length of butcher's twine to tie the cheesecloth securely, so that you have a small bundle containing the pulp and seeds. Place bundle in pot, and tie loosely to a pot handle.


Bring mixture to a boil and let boil, uncovered, for 30 minutes, or until the peel is soft and cooked all the way through. Remove from heat, and place cheesecloth bundle in a bowl to cool.

Using your heat-proof measuring cup (or pitcher), measure out how much orange mixture you have (for this amount of fruit, I had just over 6 cups), then return mixture to pot.

Now it's time to add the sugar. Start with 1/2 cup sugar per whole cup of orange mixture, so if you have about 6 cups of mixture like I did, add 3 cups of sugar. Stir until sugar dissolves, placing pot back on the heat if necessary. When sugar has fully dissolved, taste mixture and add more sugar to taste. I ended up using a total of 5 cups of sugar to my 6 cups of mixture. The marmalade was slightly tart while still warm, but the tartness mellowed as the marmalade cooled. Keep in mind also that the sweetness and flavor will intensify as the marmalade boils down in the remaining steps, so be mindful of your sugar.

When the cheesecloth bundle is cool enough to handle, start squeezing it to extract the pectin. Grasp a portion of the bag that fits comfortably in your closed hand and squeeze, pulling the bag away with one hand while holding it firmly with the other. Make your way around the bag until, after a few minutes, you have worked all of its contents. For the amount of fruit used here, you should get somewhere between 2 and 4 tablespoons of pectin. When finished, add the pectin to the marmalade pot with the rest of the orange mixture.

If you haven't already returned the pot to the heat, do so now (medium-high heat). Bring mixture to a rapid boil and let boil until marmalade is "done," which will take anywhere from 15 to 45 minutes. After about 10 minutes, check it for doneness about every 5 minutes.

Checking for doneness (that is, whether or not it will jellify when cooled): I've seen three tests described for checking one's jam or marmalade. My marmalade failed two of them, but still set up beautifully, so don't fret too much if it looks like yours won't work.

Test #1: The Drip Test. Dip a clean, cool stainless steel spoon in the thinnest (that is, runniest-looking) part of the marmalade. Hold it up out of the steam, sideways, so that the marmalade can dribble down and drip off of the side of the spoon. If two large drips form and then coalesce, the marmalade is ready to be canned. Mine failed this test miserably. It was still very drippy when I canned it.

Test #2: The Wrinkle Test. If using this test, place a few small plates in the freezer around the time that you squeeze out the pectin. When you are ready to test the marmalade, remove one plate from the freezer and place a small amount of the hot marmalade on the plate. If it spreads out and looks runny, the marmalade isn't ready. If it moves sluggishly and wrinkles when you push it with your finger, it's ready. Mine failed this one, too: it was sluggish, but there were no wrinkles.

Test #3: The Thermometer Test. I like this one, because I'm the scientific type and because it worked for me. The marmalade should be done when its temperature reaches 8-10 degrees (F) above the boiling point. For cooks working at less than 1000' elevation, the "done" temperature range is 220-222F.

The last step is canning, which I will cover in more detail in a separate post. The main points of the process are:

1. Sterilize your jars and lids. If you want to be very thorough (and who doesn't?) sterilize the rings as well.

2. Work quickly, but carefully. You don't want to compromise the sterility of your equipment. You also don't want to scald yourself!

3. Be sure to wipe down the rim of the filled jar before you place a lid on it. Any bits of jelly remaining on the rim will interfere with the sealing process.

4. After you have screwed the ring tightly onto the lidded jar, place it upside-down on a wire rack and note the time (I use a pen and paper for this, as I am liable to forget). After 7-10 minutes, the jar may be turned right-side-up.

5. When you hear a very satisfying "pop!" from a jar, you will know that it has sealed properly.

I just love the color of the marmalade, and the fact that you can see bits of orange peel when the light shines through it. It's a bit difficult to tell in this image, but trust me, they're there.


* My apologies for the quality of the images in this post. My camera's phone phone's camera is excellent for a phone, but not ideal when it comes to fine photography. But it's what I have at my disposal for the time being, and I thought that some low-quality pictures would be better than none at all.

There's more...

Friday, March 28, 2008

Raspberry Jam

By request, here's the easiest jam recipe in the world. It's from the Sunset Home Canning book, and it's quick enough to be made on short notice for spooning over pancakes, cheesecake, etc. If you find that it's too runny, adding a bit of fresh lemon juice can help bring out more pectin. 


3 cups raspberries (fresh or frozen)
3 cups sugar

Mash berries in a saucepan and stir in the sugar.
Bring to a boil and boil for 3 minutes.
Remove from heat and beat with a wire whip or rotary beater for 5-6 minutes.
Ladle into sterilized jars and seal.

Enjoy!

There's more...

Wednesday, February 20, 2008

Artichoke and Olive Tapenade

The other night I cooked artichokes for dinner, and had a whole one left over. I love artichokes, but after having them with dinner two nights in a row (once at a friend's house and once at home), I was feeling a little ho-hum about a third night of plain steamed artichokes. Knowing that I had some crusty bread at home, as well as some lemons, parsley, and garlic, I got some green olives at the grocery store on my way home. The idea: tapenade. No recipe, just throw a bunch of things in the food processor (in this case, my little mini-prep) and adjust the seasonings to taste. It was delicious, especially spread over some toasted bread that had been rubbed with a cut garlic clove. Here are some rough quantities that kind of, sort of amount to a recipe. If you're serving more than one person, I might suggest that you double (or, depending on the number of people, triple) the recipe.

Artichoke and Olive Tapenade
Makes about 2/3 cup

1/2 cup chopped cooked artichoke heart* (make sure to remove the tough outer fibers of the artichoke stem)
1/3 cup chopped green olive
1/2 teaspoon lemon zest
1 tablespoon lemon juice (or more to taste)
extra-virgin olive oil
1/2 teaspoon chopped Italian parsley
salt and pepper to taste

Put the first four ingredients in a food processor and whiz away until the artichoke and olive are finely chopped, if not a paste. Add the oil gradually until the tapenade is the desired consistency (I think I used about 2 tablespoons of oil), and add salt and pepper to taste. Transfer to bowl to serve.

* I've used fresh artichokes here, as that's what I had on hand, and honestly that's what I prefer. You could also make this with canned ones if fresh 'chokes are either out of season or just plain unavailable where you live.

There's more...